 UPDATED 13Sep2019: Be sure to watch the videos below and the Q&A section at the end. Milling rough lumber for workshop woodworking projects saves money, but it also opens more creative possibilities than standard, pre-dressed wood. That’s why some woodworkers work with rough lumber, me included. But the thing is, success demands more than just running boards through your jointer and thickness planer. Great mill-it-yourself lumber ultimately depends on careful craftsmanship, and the five tips I’ll show you here are the kind of thing they never put in thickness planer instruction manuals.
Rough Lumber Trick#1: Crosscut First, Joint Later
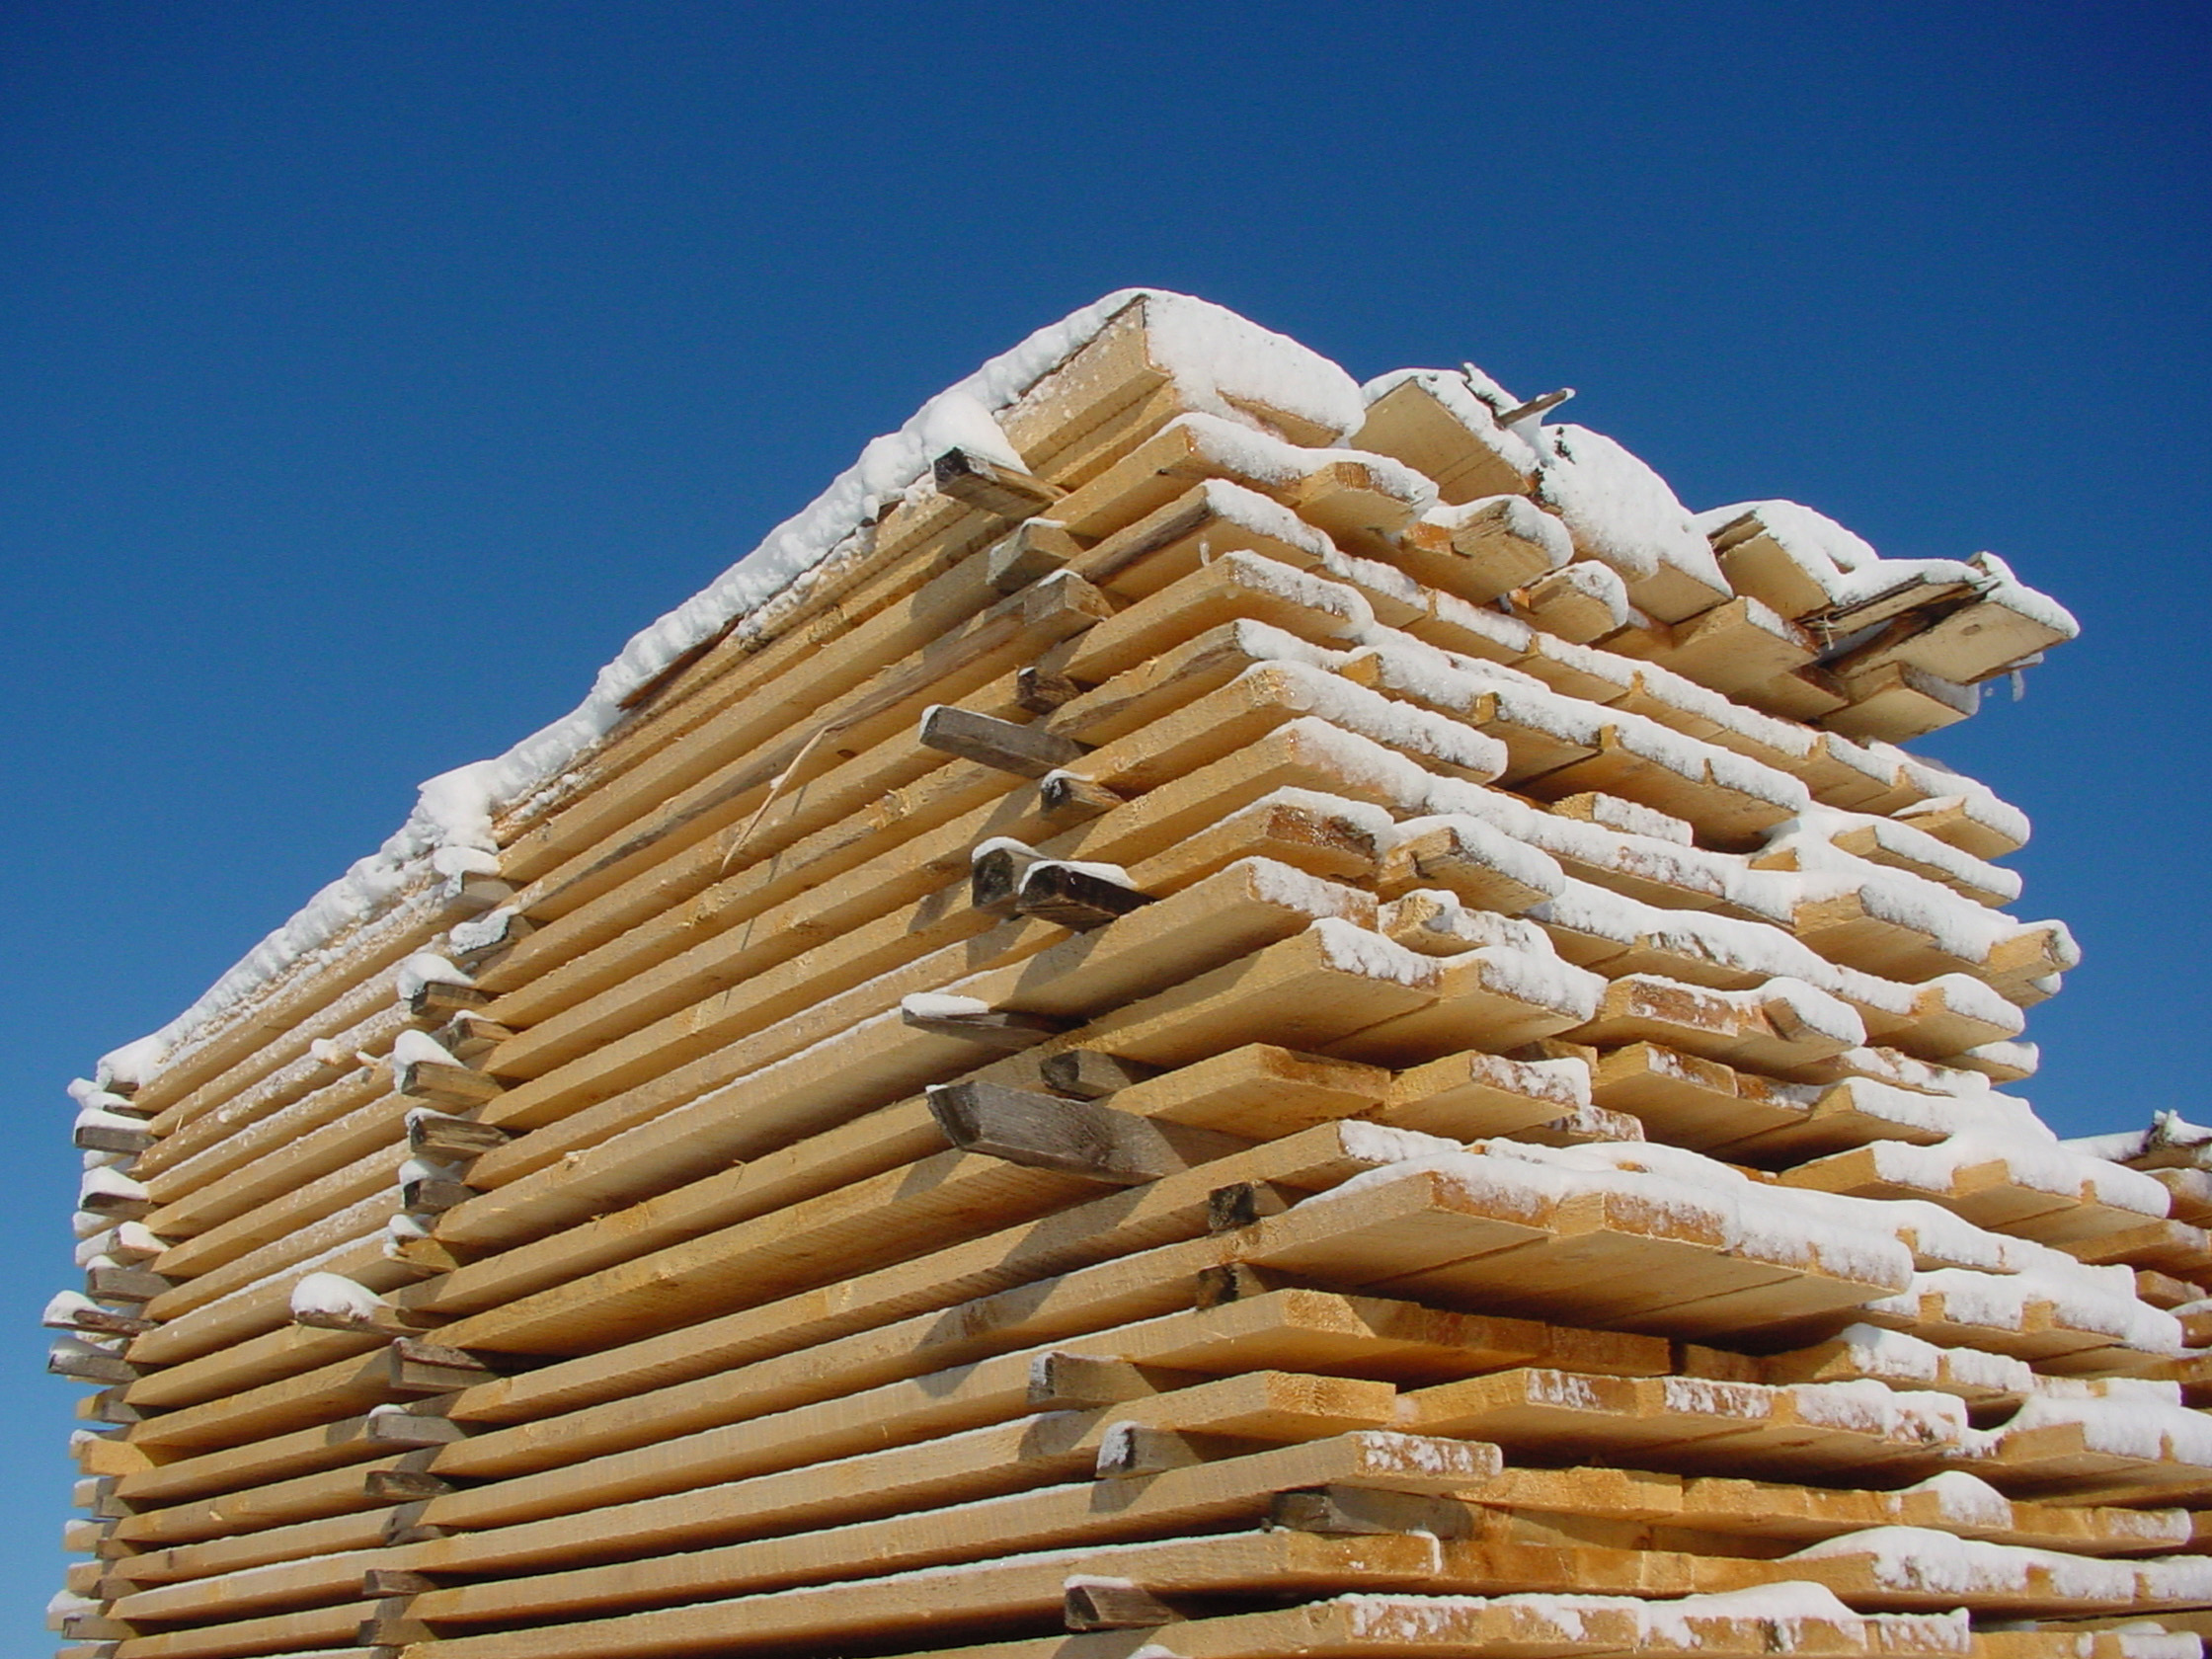
 Rough lumber isn’t just coarse to the touch, it’s also twisted, cupped and bowed to varying extents. That’s just what happens to wood as it dries after sawing from logs. And if this wasn’t enough, rough lumber also shows a surprising variation in width and thickness from board to board right from the get-go, since sawmills aren’t exactly precision instruments. Jointing and planing is all about making boards flat, edges square and surfaces smooth, and that’s why you’ll do yourself a favour by cutting project parts to rough length before milling. The shorter a board is, the less material has to be removed to make it true, all else being equal. That said, never try to joint and plane lumber shorter than 12” for safety reasons.
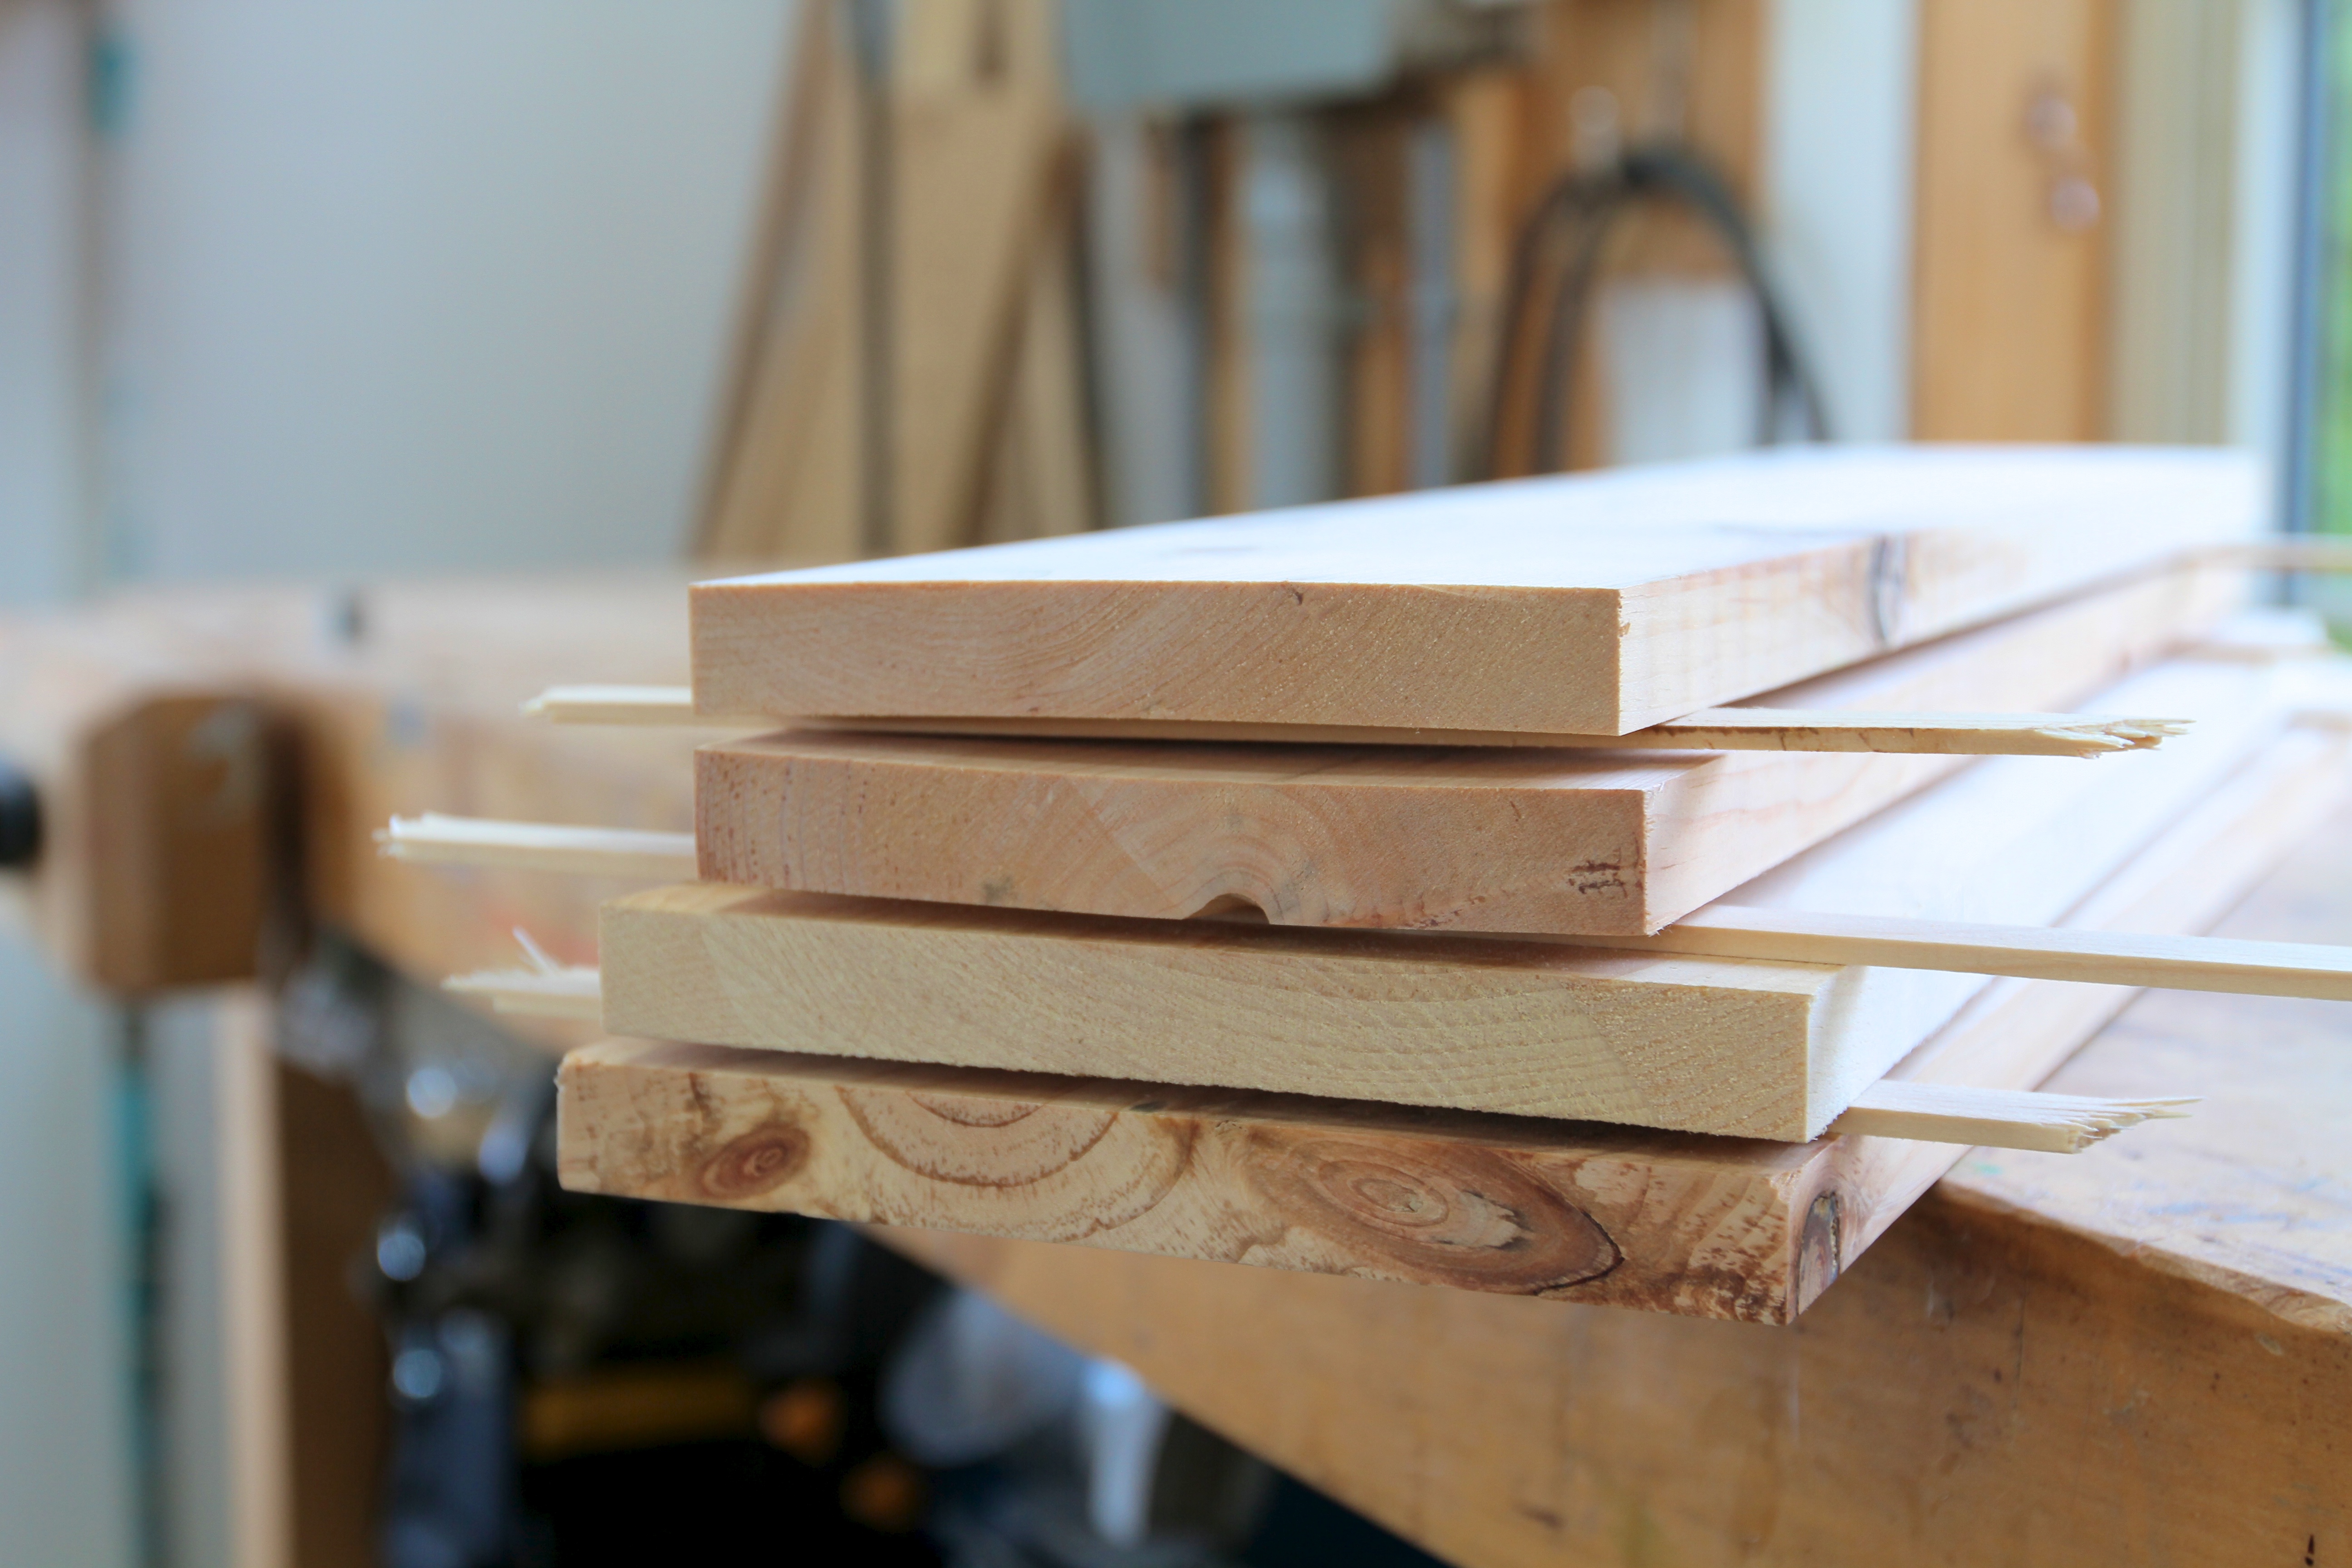
Rough Lumber Trick#2: Allow Extra Wood for Milling
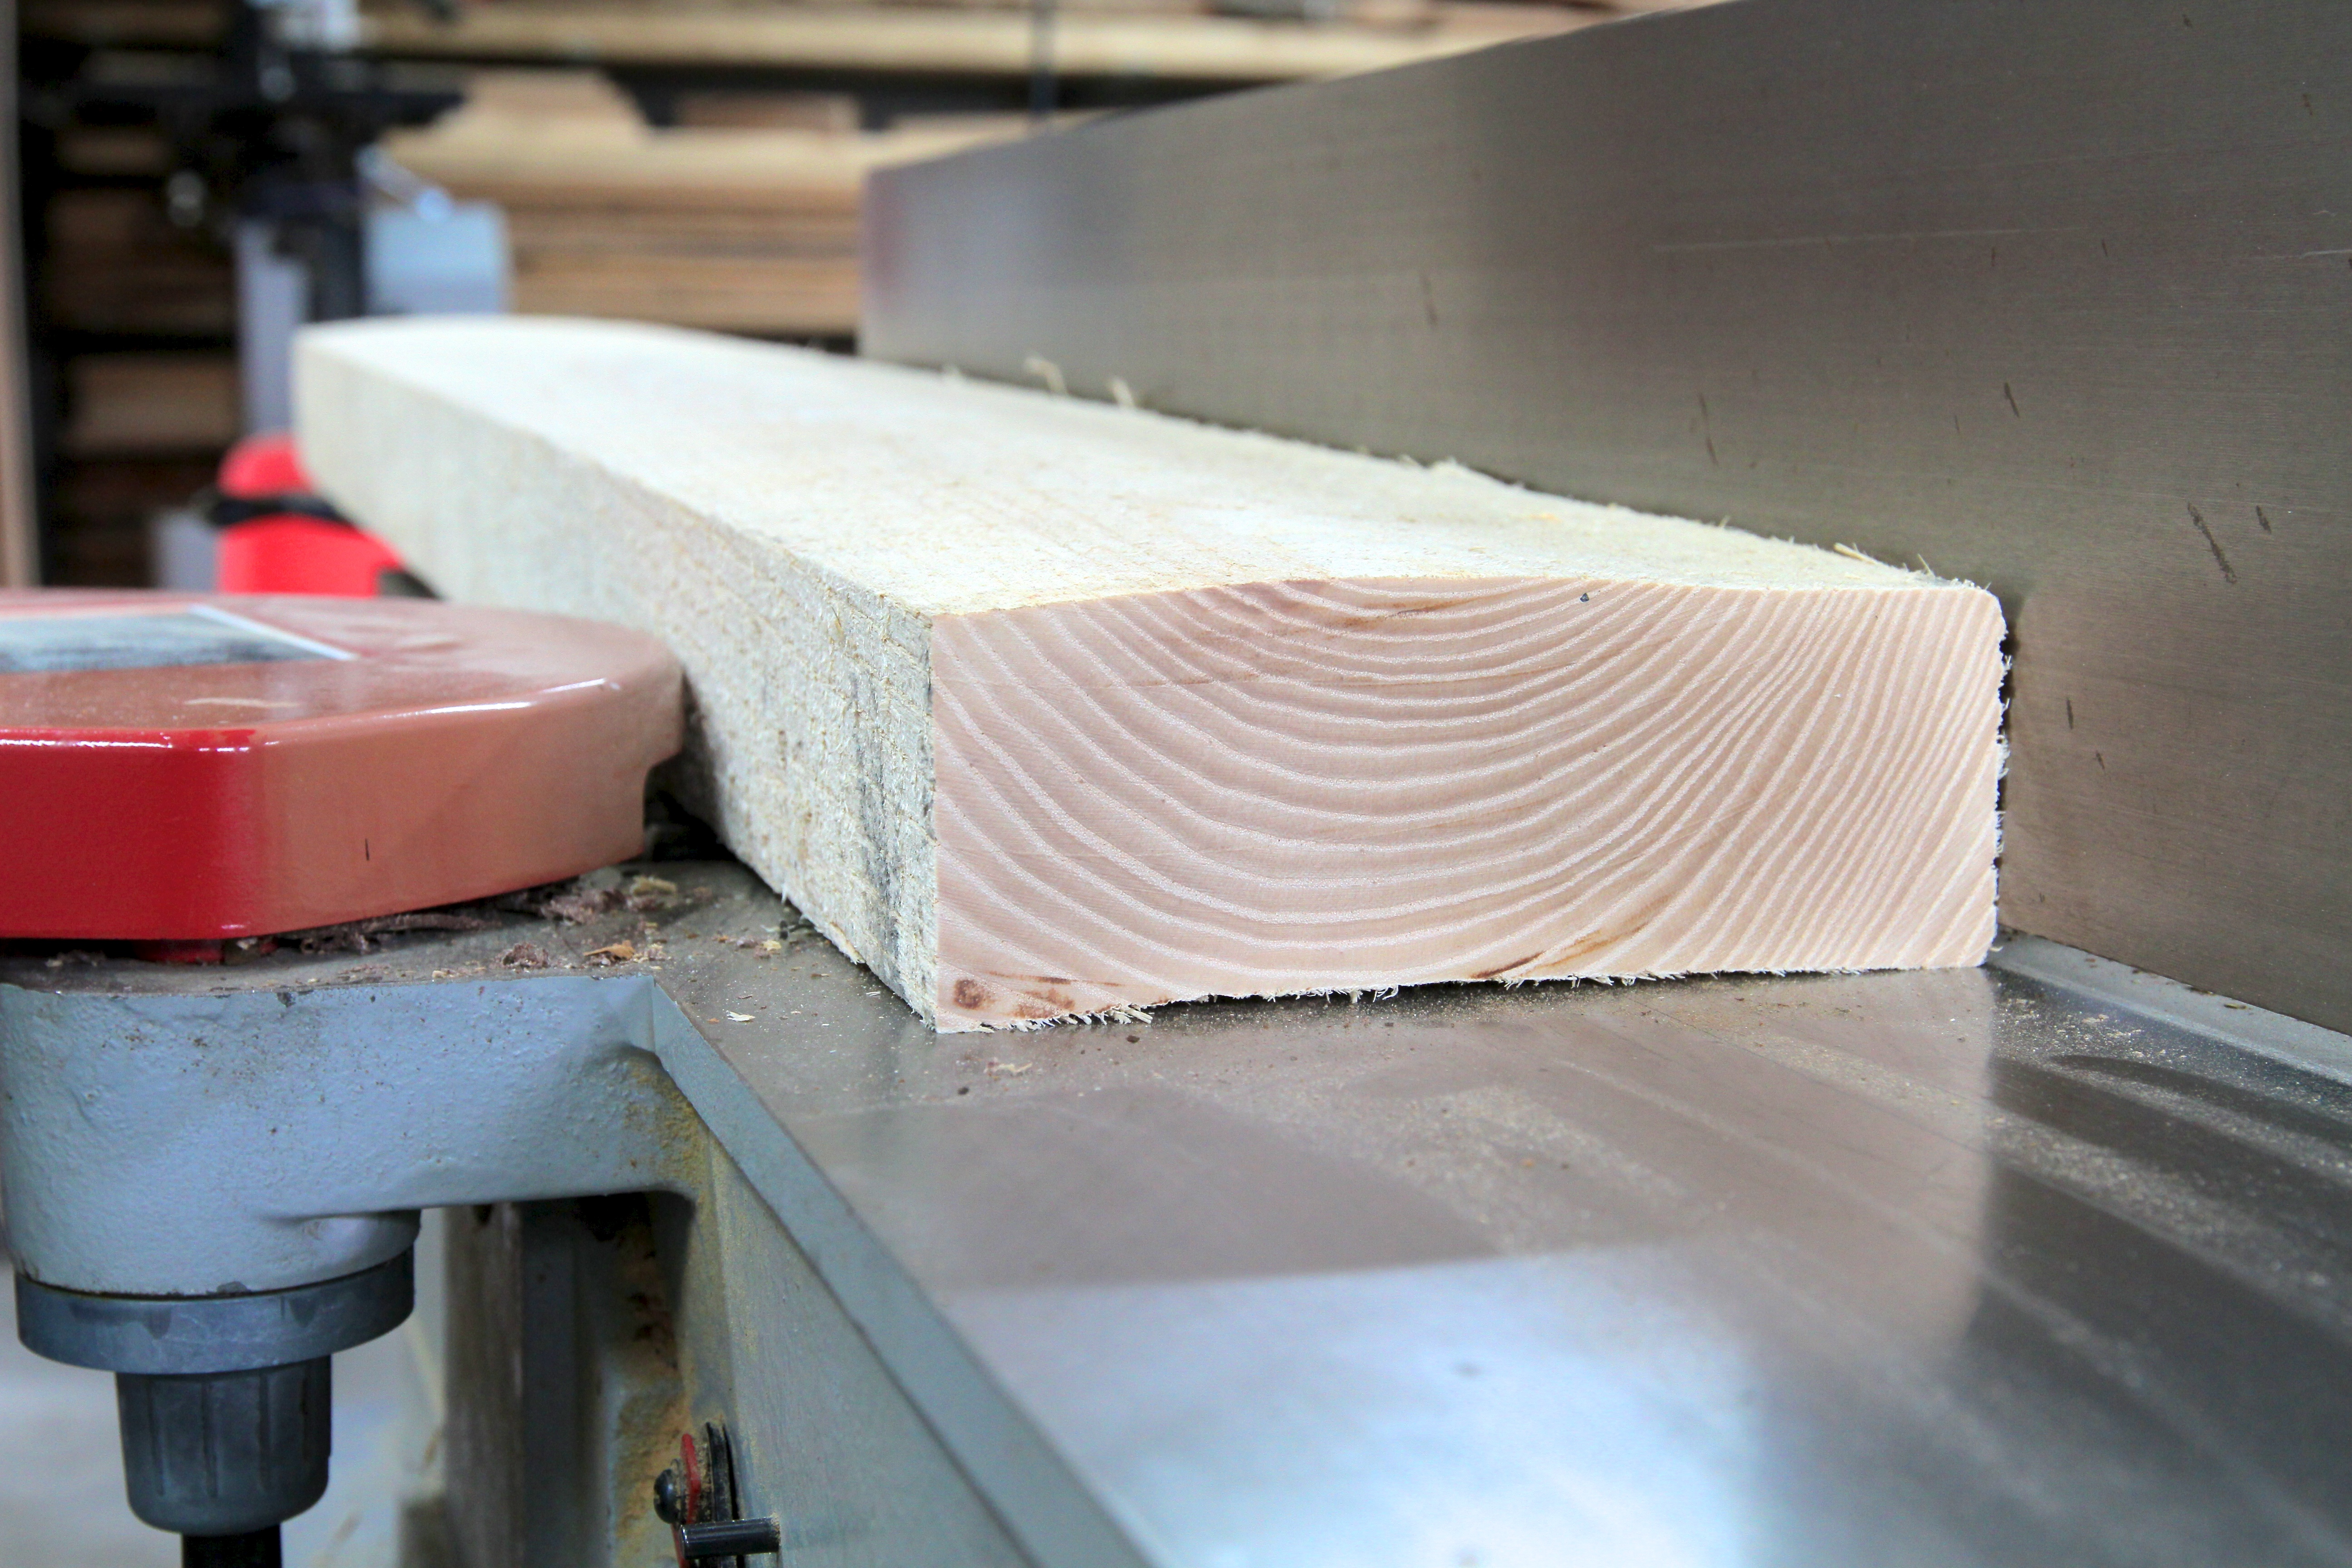
 In theory, rough lumber is sold in increments of 1/4”, but in practice you’ll find 1”, 1 1/2” and 2” thicknesses are the most widely available. Rough hardwoods are available in 1 1/4” thicknesses, and you’ll occasionally discover 1 3/4”-thick boards. Whatever you find, make sure you choose boards with enough extra thickness to let you mill down to the final part sizes you need. Depending on how long final parts need to be, and the actual thickness of the wood you’re buying (not all 1 1/2” wood measures a full 1 1/2” thick), you’ll need to allow more or less extra thickness for milling. Long project parts made from bowed wood, for instance, could need 1/2” of extra thickness or more.
Rough Lumber Trick#3: Orient Cupped Surfaces Downwards
Most boards have one concave side and edge, and you’ll get best results if you orient these surfaces downwards during the first stages of milling. Concave surfaces offer two contact points and a more stable stance for the lumber as it passes across jointer and planer beds. Convex surfaces, by contrast, are especially bad on the jointer since they encourage wobbling of wood and ever-increasing levels of inaccuracy with each successive jointer pass. Watch the video coming up later in this article to see how jointing wood is done.
Rough Lumber Trick#4: Dust Collection Improves Results
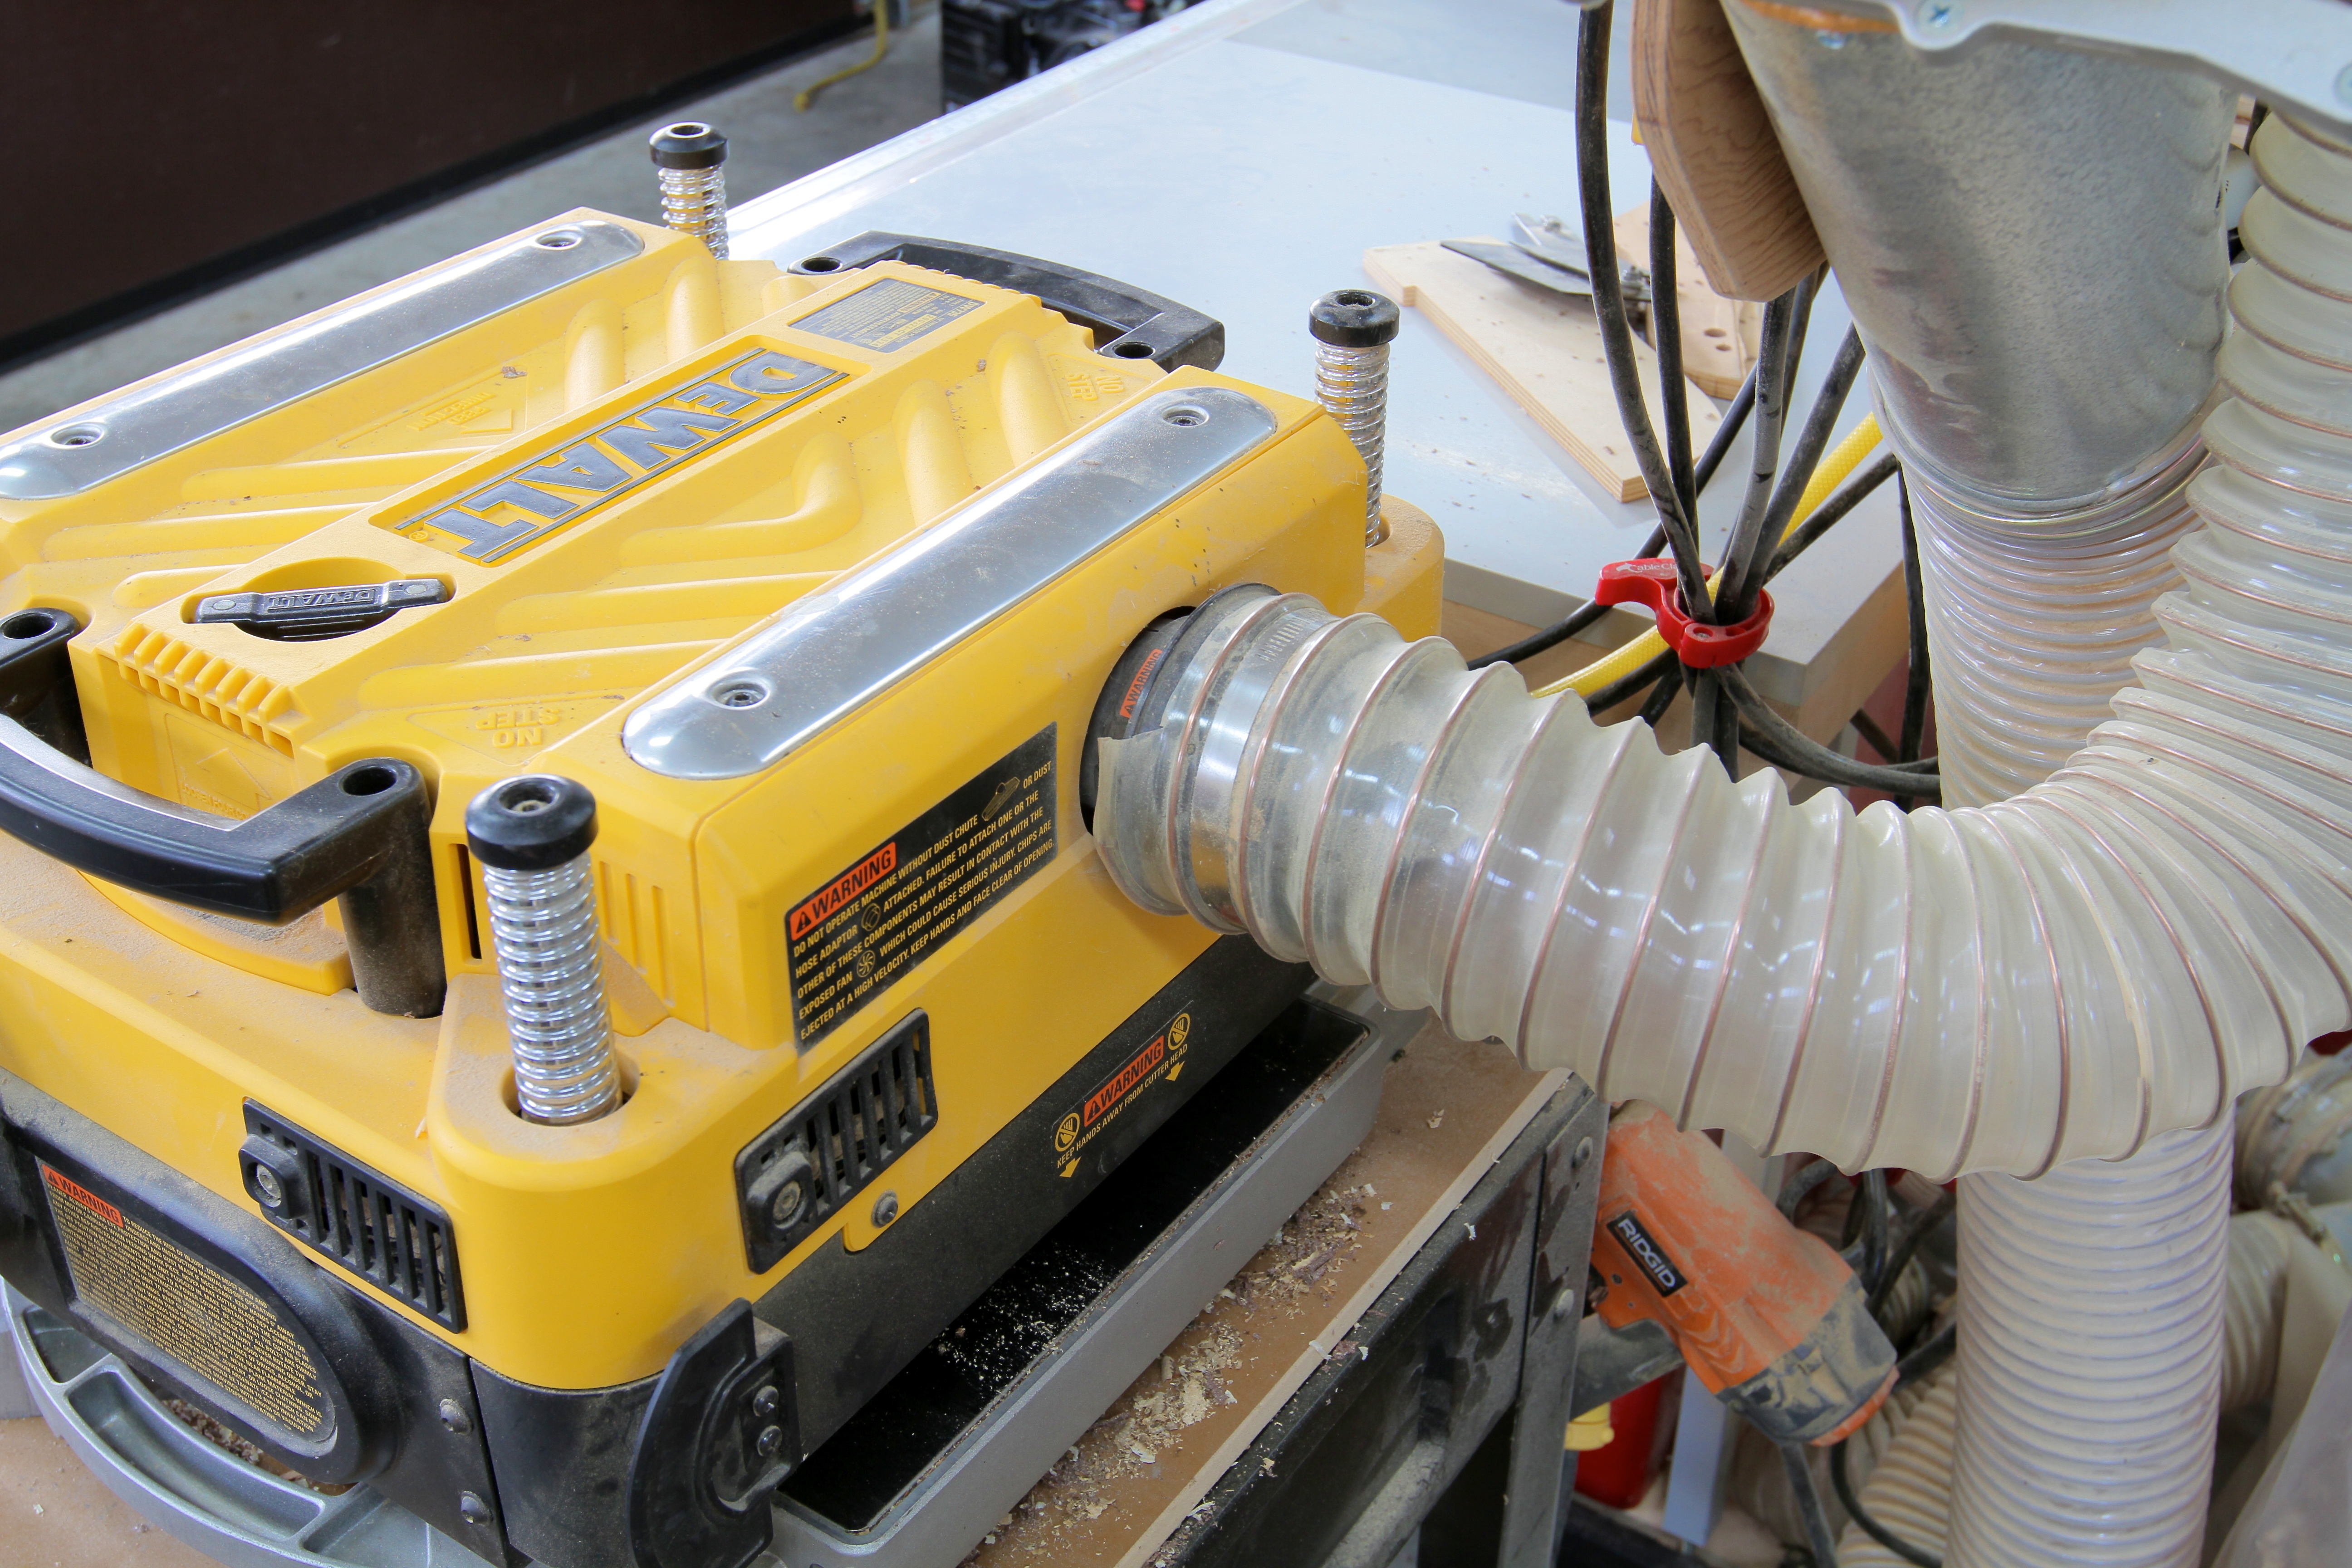 Most benchtop thickness planers use only the spinning action of the blades to eject shavings, and this isn’t always enough. It’s not unusual for shavings to build up around the cutterhead during heavy cuts, leading to pockmarked wood surfaces as drive rollers press shavings down into surrounding wood. All this is why a vacuum system is so valuable as part of your milling set-up. By mechanically extracting shavings from the planer, instead of just hoping they’ll blast out completely on their own, you’re much less likely to have shavings build up internally in the planer, clog and cause trouble. A dust system also keeps your shop a whole lot neater. The benefits really are huge. Click here for a tour of the dust collection system I installed in my own shop.
Rough Lumber Tip#5: Joint and Plane in Stages
There’s no such thing as completely stable wood because lumber is always picking up and losing moisture from surrounding air, depending on relative humidity levels. And here in Canada, where I live, the most likely stability problem you’ll face is caused by wood that’s too wet. Outdoor storage of lumber is the reason why. Even covered storage areas allow wood to pick up moisture from the air that’ll cause shrinking of boards later when the wood comes inside during heating season. This dynamic is why it makes sense to give your wood time to stabilize at stages while milling. Instead of jointing and planing down to final sizes immediately, joint one edge and a face of each board, let the wood sit in your shop or some other heated space for 3 or 4 days, then complete intermediate planing. You’ll want to leave excess wood available for final milling steps in case some cupping, warping or twisting sets in. Although this is quite likely when working with rough lumber, it’s no problem as long as you allow for it.
Rough Lumber Tip#6: Travel With a Handsaw
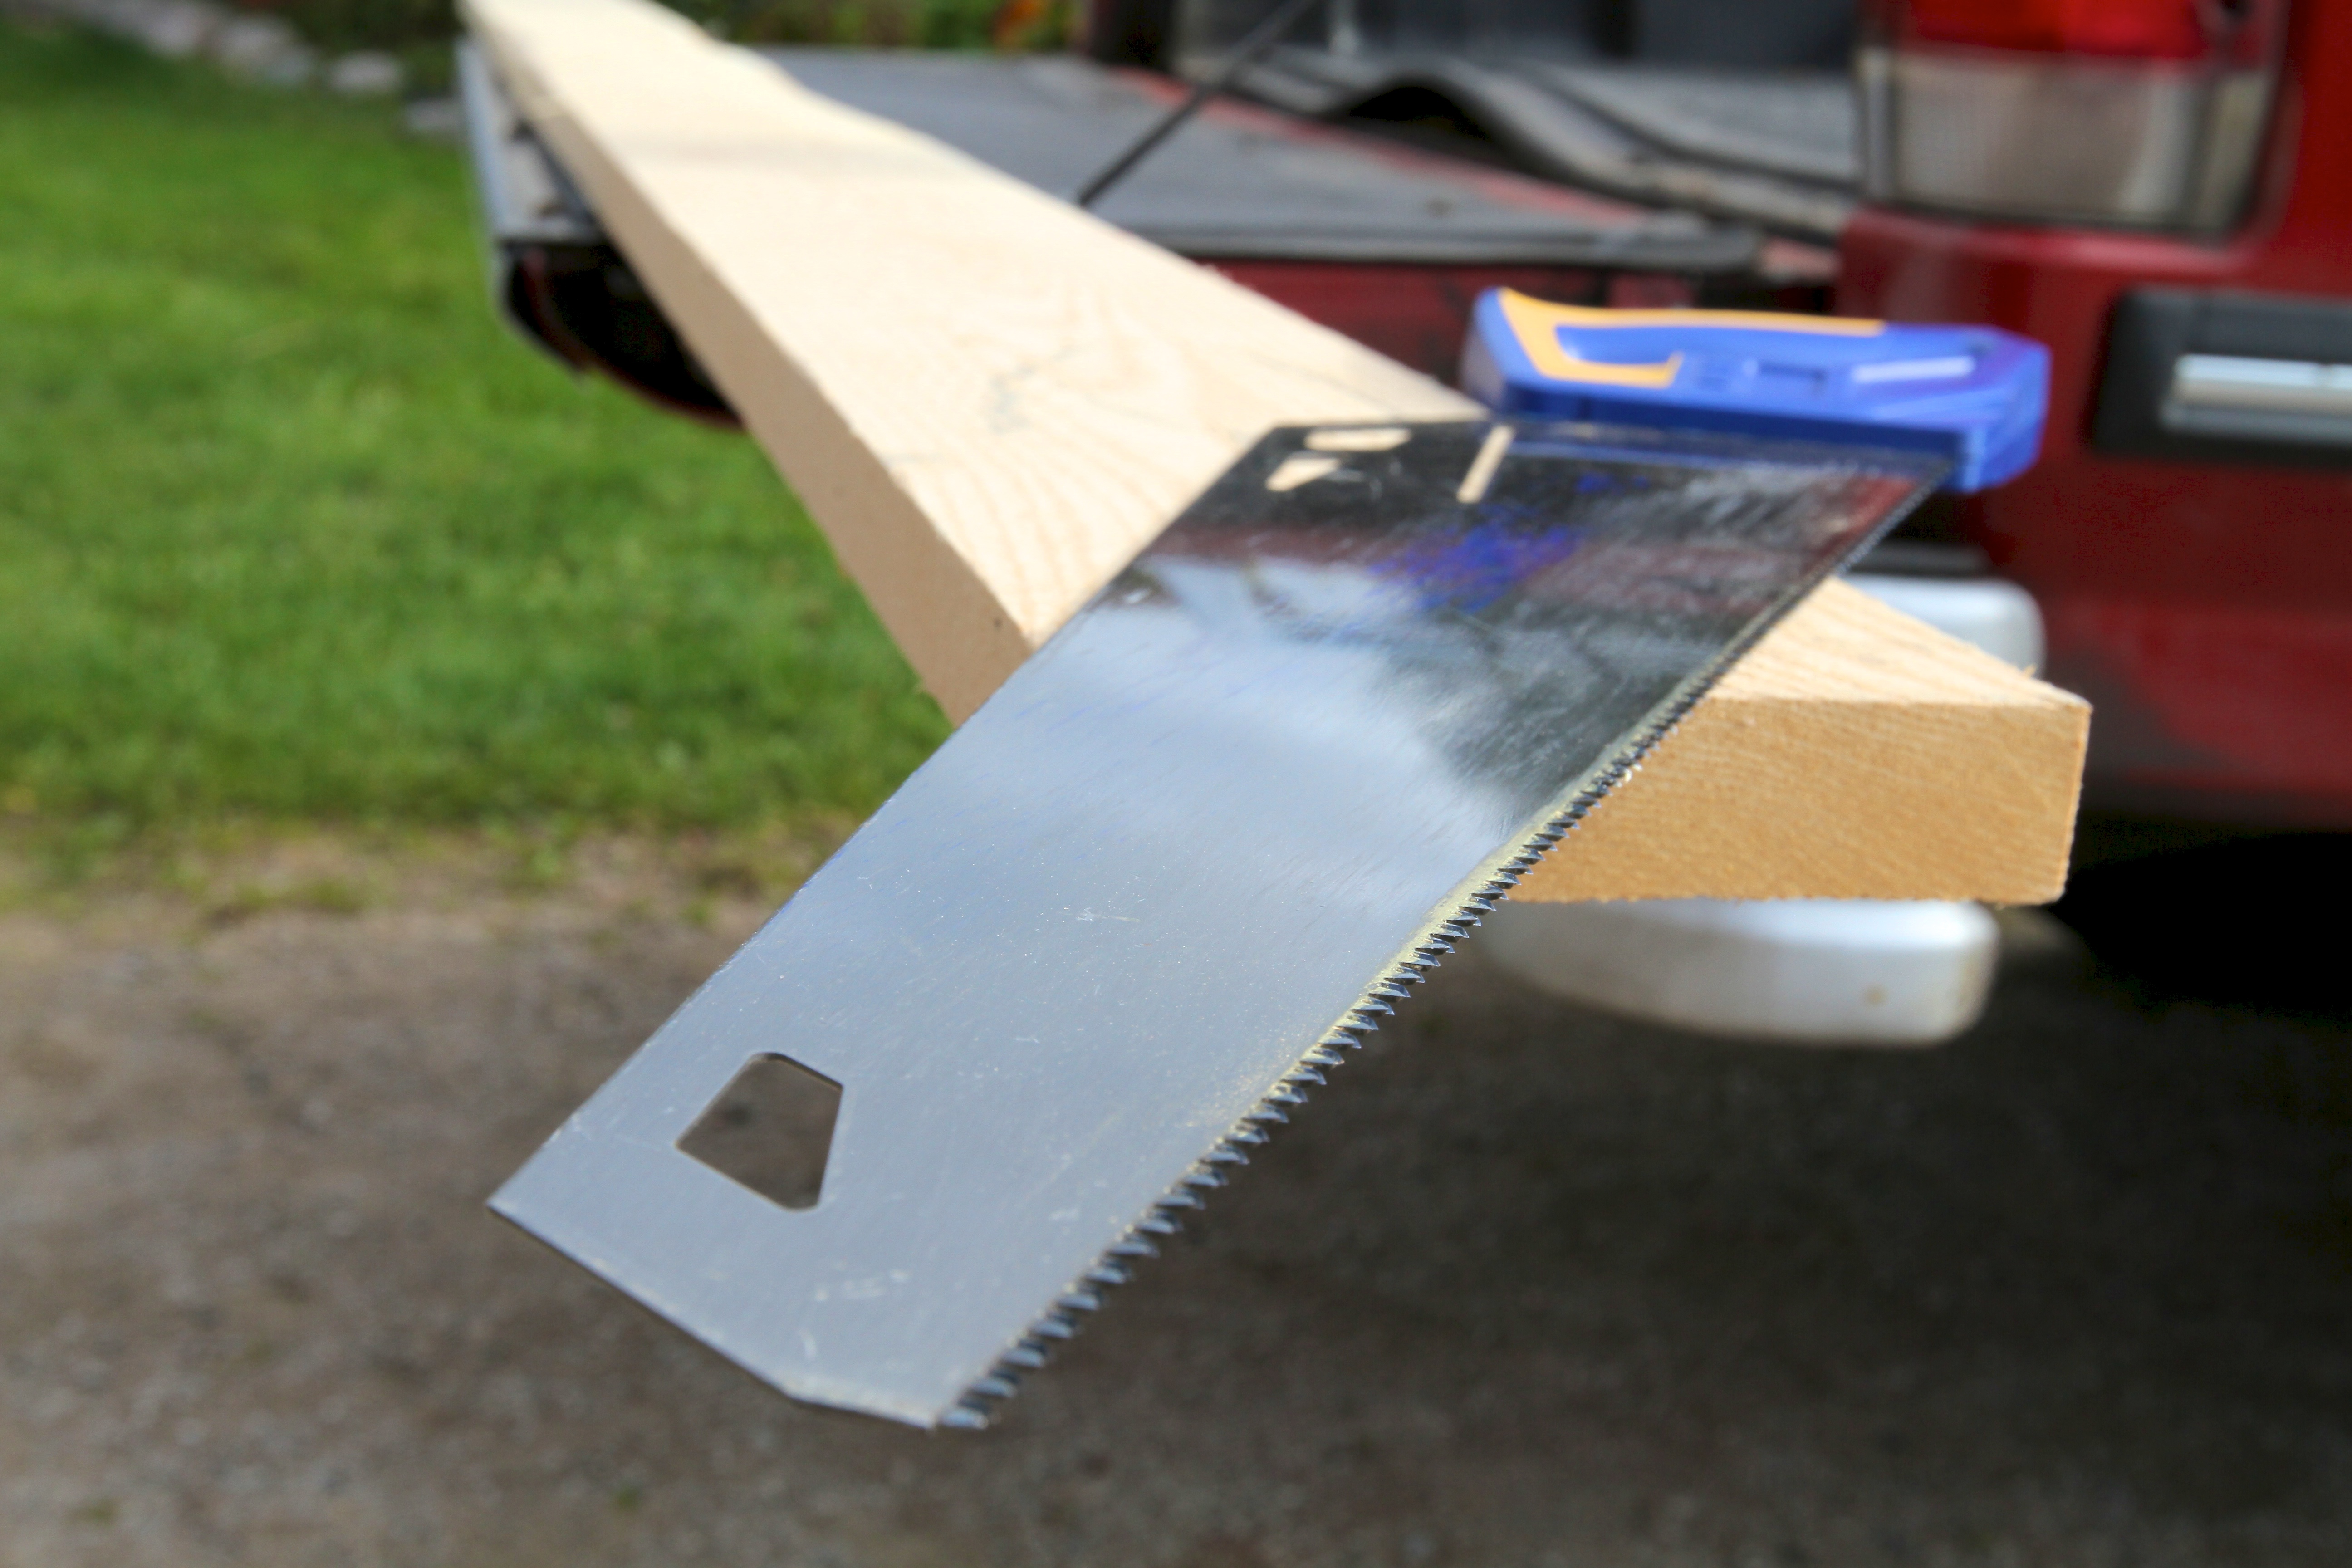
 Rough lumber often comes in lengths that are much longer than necessary for furniture projects, not to mention the trouble of transporting big boards home from the lumberyard. That’s why I like to travel with a good handsaw when buying wood. Coupled with a rough-cut list, a handsaw lets me rough-cut boards to size for easier transport and quicker milling when I get home. Shorter wood lengths are also easier to get into the workshop. A hard-point, Japanese tooth design with a conventional handsaw handle is surprisingly effective. It takes less than 30 seconds to crosscut a softwood 2×12 with this tool, and you never need an extension cord or battery.
Skill isn’t as mysterious as it looks. It’s nothing more than understanding why crucial details are important and how to put them into practice. Rough lumber is my favourite choice for woodworking because it gives access to more interesting and varied woods, it costs less and it allows creative control over thickness dimensions. Give it a try and you’ll probably never go back to pre-planed lumber.
Rough Lumber Q&A
Q: How long does it take freshly cut rough lumber to dry?
A: The rule of thumb is that it takes one year of air drying time for every inch of lumber thickness, but there’s more to it than this. If you stack lumber with spaces between each board and direct a household fan on the pile, drying time can decrease a lot. Use a fan in this way on your wood in a dry and heated space and you can get moisture content down to the required 7% to 9% in 8 weeks after being sawn.
++++++++++++
Q: Where can I buy rough lumber?
A: Every rural community in forested areas will have some type of small sawmill you can buy from. It makes the most sense to be at the mill as your lumber is being sawn. That way you can take the boards home immediately and treat them properly for best drying results. Even if you live in a city, construction-grade 2x10s and 2x12s from building supply outlets offer something like a rough lumber experience. Click here to see how construction-grade lumber can be used to make some surprisingly fine furniture at low prices.