Every time I enjoy the look and feel of a room enhanced by a good roof window, I think of a man named Villum Kann Rasmussen. He was the Danish inventor and businessman who developed the first modern roof window in 1941, and his passion for adding light, air and beauty to otherwise dark and dingy interior spaces has spread around the world under the brand name Velux. His grandkids are still running the company and they’re a big part of the reason that today’s top roof windows are reliable, beautiful and extremely well made. Modern flashing systems and roof membranes make it easy to create leak-free installations, but there’s more to success than just good hardware.
Roof windows are openable skylights located within reach of the floor, and a crucial and often overlooked installation issue in our cold, Canadian climate is insulation of the light tunnel that connects the ceiling to the roof window. Long tunnel or short, without enough R-value and a high resistance to indoor air infiltration, condensation will build up on the light tunnel and within the frame surrounding it during cold weather. This is the root cause of annoying problems that are easy to avoid during installation, but almost impossible to remedy after the fact.
In order to transmit the maximum amount of light and fresh air to the room, the ceiling surface around every roof window needs to be flared. You’ll get best results if the sides angle outwards at 45º, the top edge is parallel to the floor and the bottom edge perpendicular to the floor. Hidden challenges occur when it comes time to insulate these angled shapes correctly, and this is where information can help.
The Long and Short of It
A key ally in your insulation work is foam. With a high R-value and good resistance to air infiltration, you can’t beat extruded polystyrene foam for roof window jobs.
- If your light tunnel is long enough to include framed walls as part of the installation, apply rigid sheets of 2”-thick extruded polystyrene foam to the insides of your light tunnel frame (at least one layer; two is better), sealing all gaps between sheets with spray on polyurethane foam from a hand-held can. Drywall goes directly over top of the foam, held in place with deck screws driven into underlying wall studs.
- If your light tunnel is short, as it will always be when a roof window is installed in an attic or cathedral ceiling, leave the wooden framing elements open, then completely fill the space between them with spray foam insulation applied directly to the underside of the roof sheathing.
 Never use fiberglass or any kind of batt insulation here because the potential for wintertime condensation is too high. Spray foam offers great insulation value and completely seals warm, indoor air from infiltrating into the framing cavity. This is key because indoor air leaks are the source of condensed moisture.
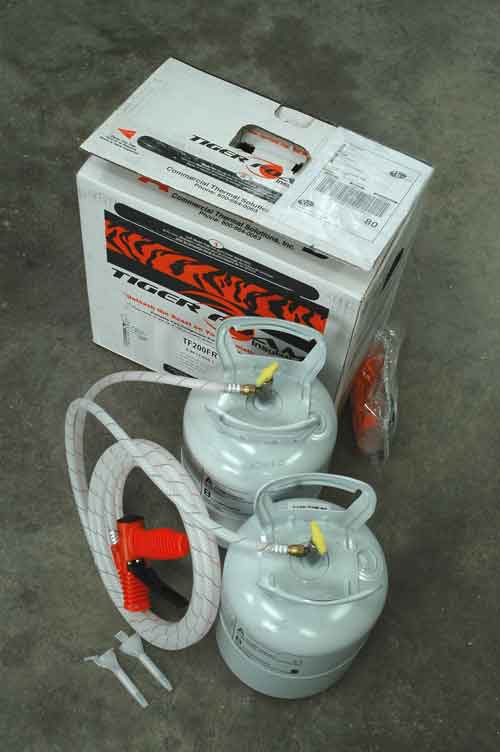
Spray-it-yourself foam kits are now available for insulating large areas. Most kits include two separate, pressurized tanks that feed into a single application gun. Safe operation requires eye protection and a respirator, but the results are excellent. Leave the foam alone for a few minutes to harden, then use a reciprocating saw with a long blade to cut off excess foam before covering the flared surfaces with drywall or wood.
At first glance, roof window installation seems easy. That’s why subtle details are often overlooked, and why some installations fall short of their potential. But address the key details that go beyond the obvious, and you’ll enjoy the kind of ambience, fresh air and reliability that Mr. Rasmussen had in mind when he brought roof windows to the world.