UPDATED 29May2020: Depending on the design of your home, your attic might just offer some surprisingly gorgeous living space in exchange for a modest investment of time, energy and money spent finishing it. Who can resist a well-lit, airy, attic loft with openable skylights? But regardless of how you finish your attic, outfitting the space to allow easy access up and down stairs is usually a challenge. Few homes offer enough room for a full-size staircase leading to the attic, and that’s why an entire industry of compact attic stair systems has emerged. Some models are quite simple, while others are more like ladders than stairs.
Few manufactured attic stairs I’ve seen look attractive or solid, and that’s why something entirely different caught my eye. Earlier this year, I discovered a reasonably-priced, innovative, Italian-made attic stair system that looked strong, attractive and flexible enough to fit into a variety of small spaces. My experience installing and using the system first hand has since proven my hunch to be correct on most counts.
If you feel you have enough room for full-size staircase, click here for a tour of the different options, with tips and tricks for success.
COMPACT STAIRS: My Experiences With the Arke Attic Stair Kit
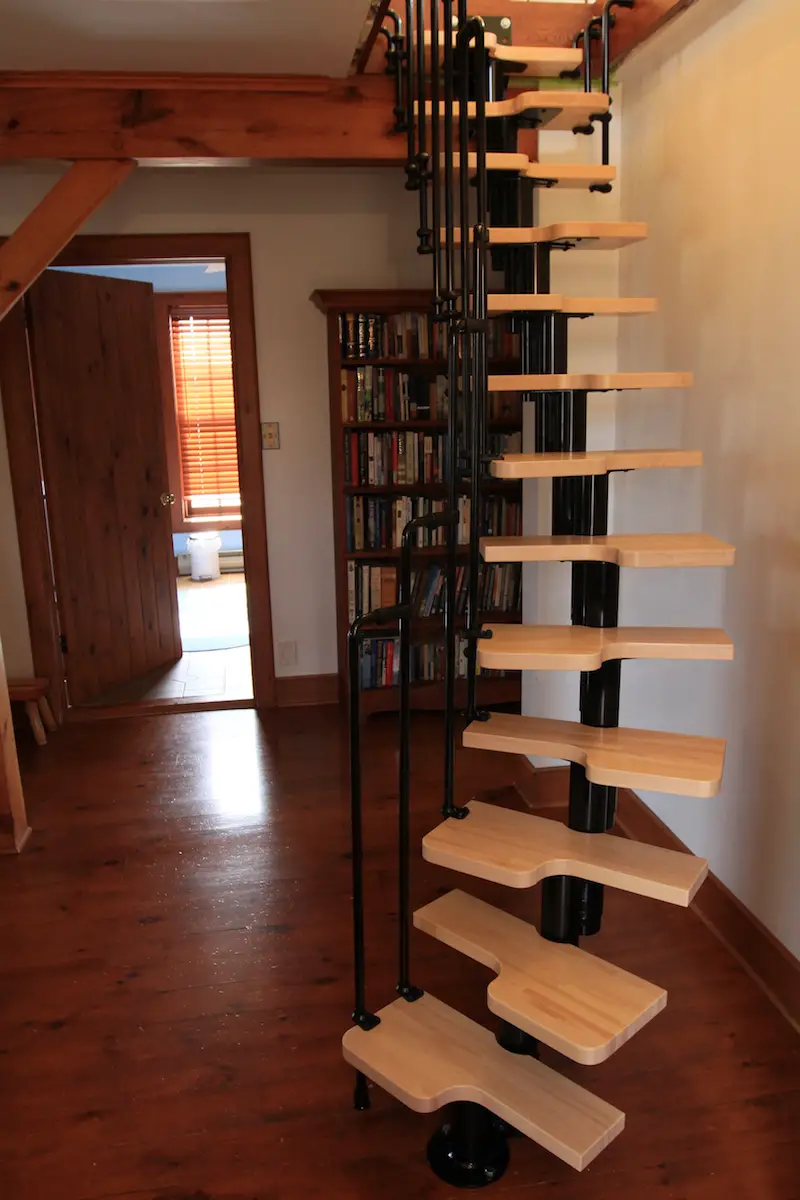
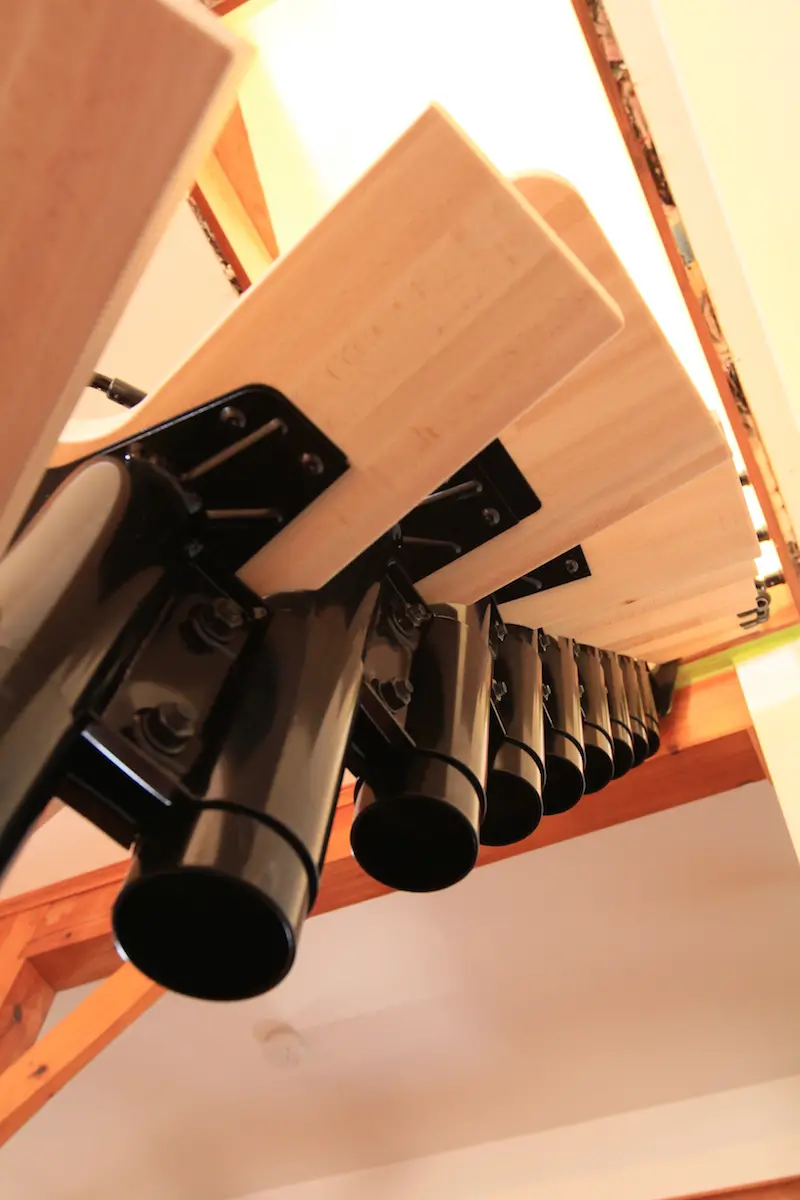
The stair system I installed in my own attic is called Karina, and it’s made by a company called Arke (778.571.0824). Though based in Europe, Arke has a US warehouse and Canadian dealer support that proved helpful answering my technical questions. Unlike any other stairs I’ve seen, Karina is made with a series of metal parts that bolt together to form the main framework of the stair. It reminds me of the way vertebrae fit together to form a spine. This approach lets the system precisely conform to a range of ceiling heights, while also letting you configure it to most any kind of curved or straight installation. All it needs is a 24”-wide ceiling opening, with about 5 or 6 feet of horizontal floor space.
The proof of any attic stairs is in the climbing, and I found Karina more comfortable and safer than other attic systems I’ve tried. One key to making this happen is the L-shaped wooden stair treads that allow full-width treads to fit into half-size spaces. Treads like these aren’t as easy to walk on as a conventional, full-size ones, but they are much better than the kind of ladder or ladder-stair usually available for attic access.
At $1900, Karina offers great value, solid results and a better attic access experience than anything I’ve seen. The system also includes a unique railing design that’s part of why it’s so flexible. It’s made from a series of L-shaped steel pipes that fasten to the treads and to each other with plastic fittings held in place with set screws. Though the pipes are small in diameter, the railing assembly is quite solid when bolted together and tightened up. The horizontal top portion of the railings makes it easier to grab than any kind of steeply sloped conventional railing. Additional railing packages are available for the perimeter of stairwell openings.
How to Build Stairs: Three Installation Tips
Arke offers an installation DVD, but improved written instructions and visuals would make the Karina installation experience easier. Even with my experience as a homebuilder, I found the installation process more challenging than I expected. Part of the issue is understanding how the railing installation varies depending on how a particular layout is curved. I’d rate DIY installation of Karina as moderately challenging. There are three tips I discovered that will prove helpful if you install a Karina system yourself.
First, you’ll find a straight configuration is easiest to achieve because it simplifies railing assembly. Curved layouts are great, but you won’t be able to use the railing drilling template that comes with the kit.
Second, if you do decide to curve your Karina, be consistent about how you rotate each steel riser unit during assembly on the floor. I found it necessary to tweak the position of part after the stair frame was temporarily propped into place. It would help if the manufacturer stamped graduation lines on the steel parts to guide assembly for straight or curved installations as they bolt together.
One last thing. As I discovered, it’s best to wait until the stair frame and wooden treads are installed before drilling the treads to accept the railing.
Finished attics are efficient, attractive and useful. Getting a good set of stairs might be all you need to make the attic loft lifestyle make sense for you.