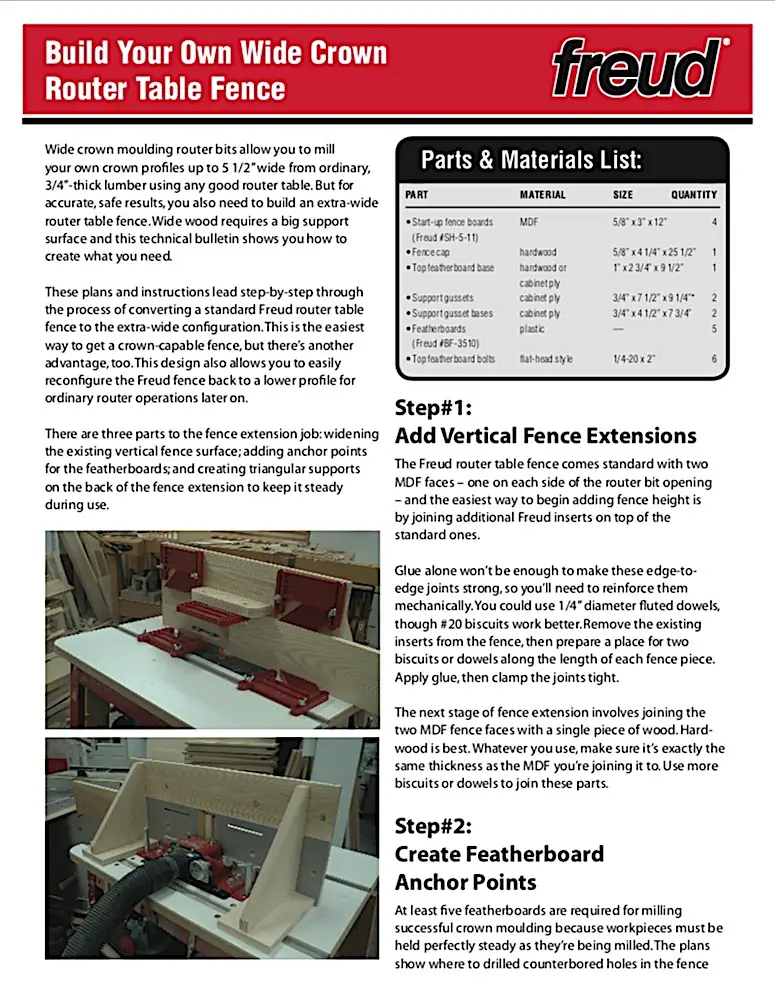
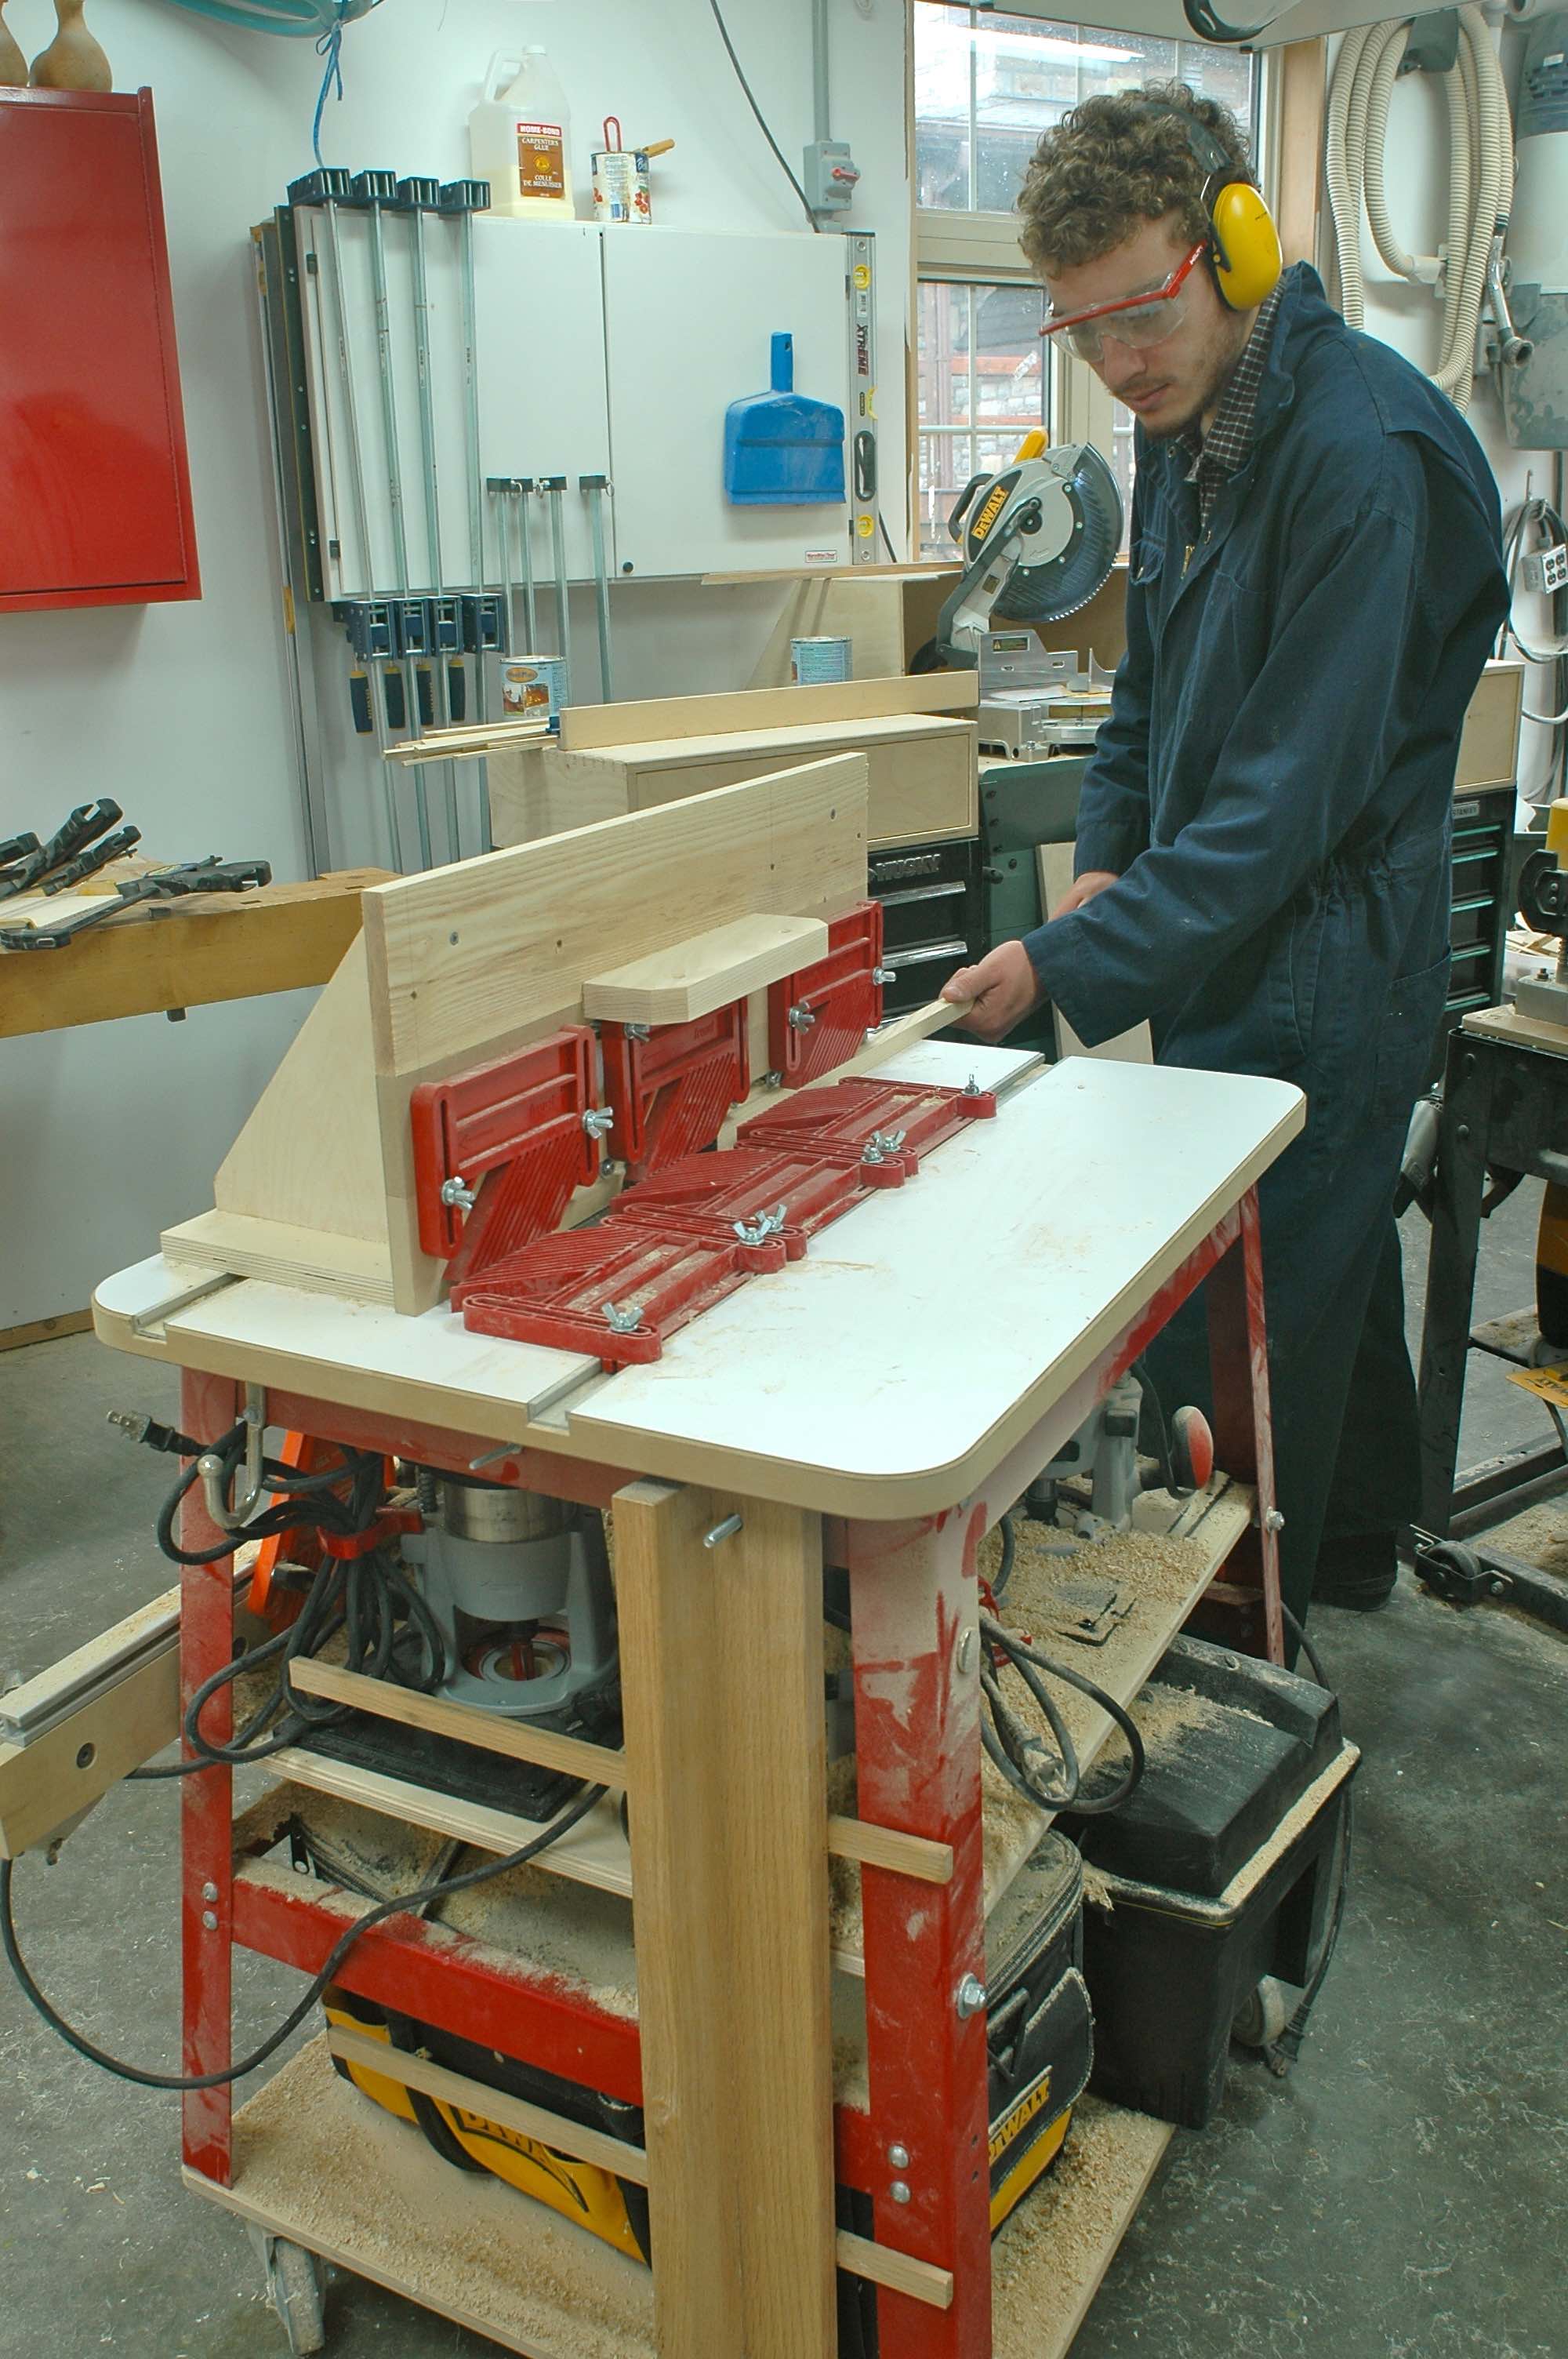
UPDATED 2Oct2020: Crown moulding looks great, and that’s why plenty of homeowners are willing to fork out good money to buy it. But that doesn’t mean the crown itself has to cost you a bundle. These days even big crown profiles — up to 5 1/2” wide — can be milled on the smallest portable router tables, and this means big savings, plus a handful of other distinct advantages. That’s my son, Robert, in our workshop using one of our router setups.
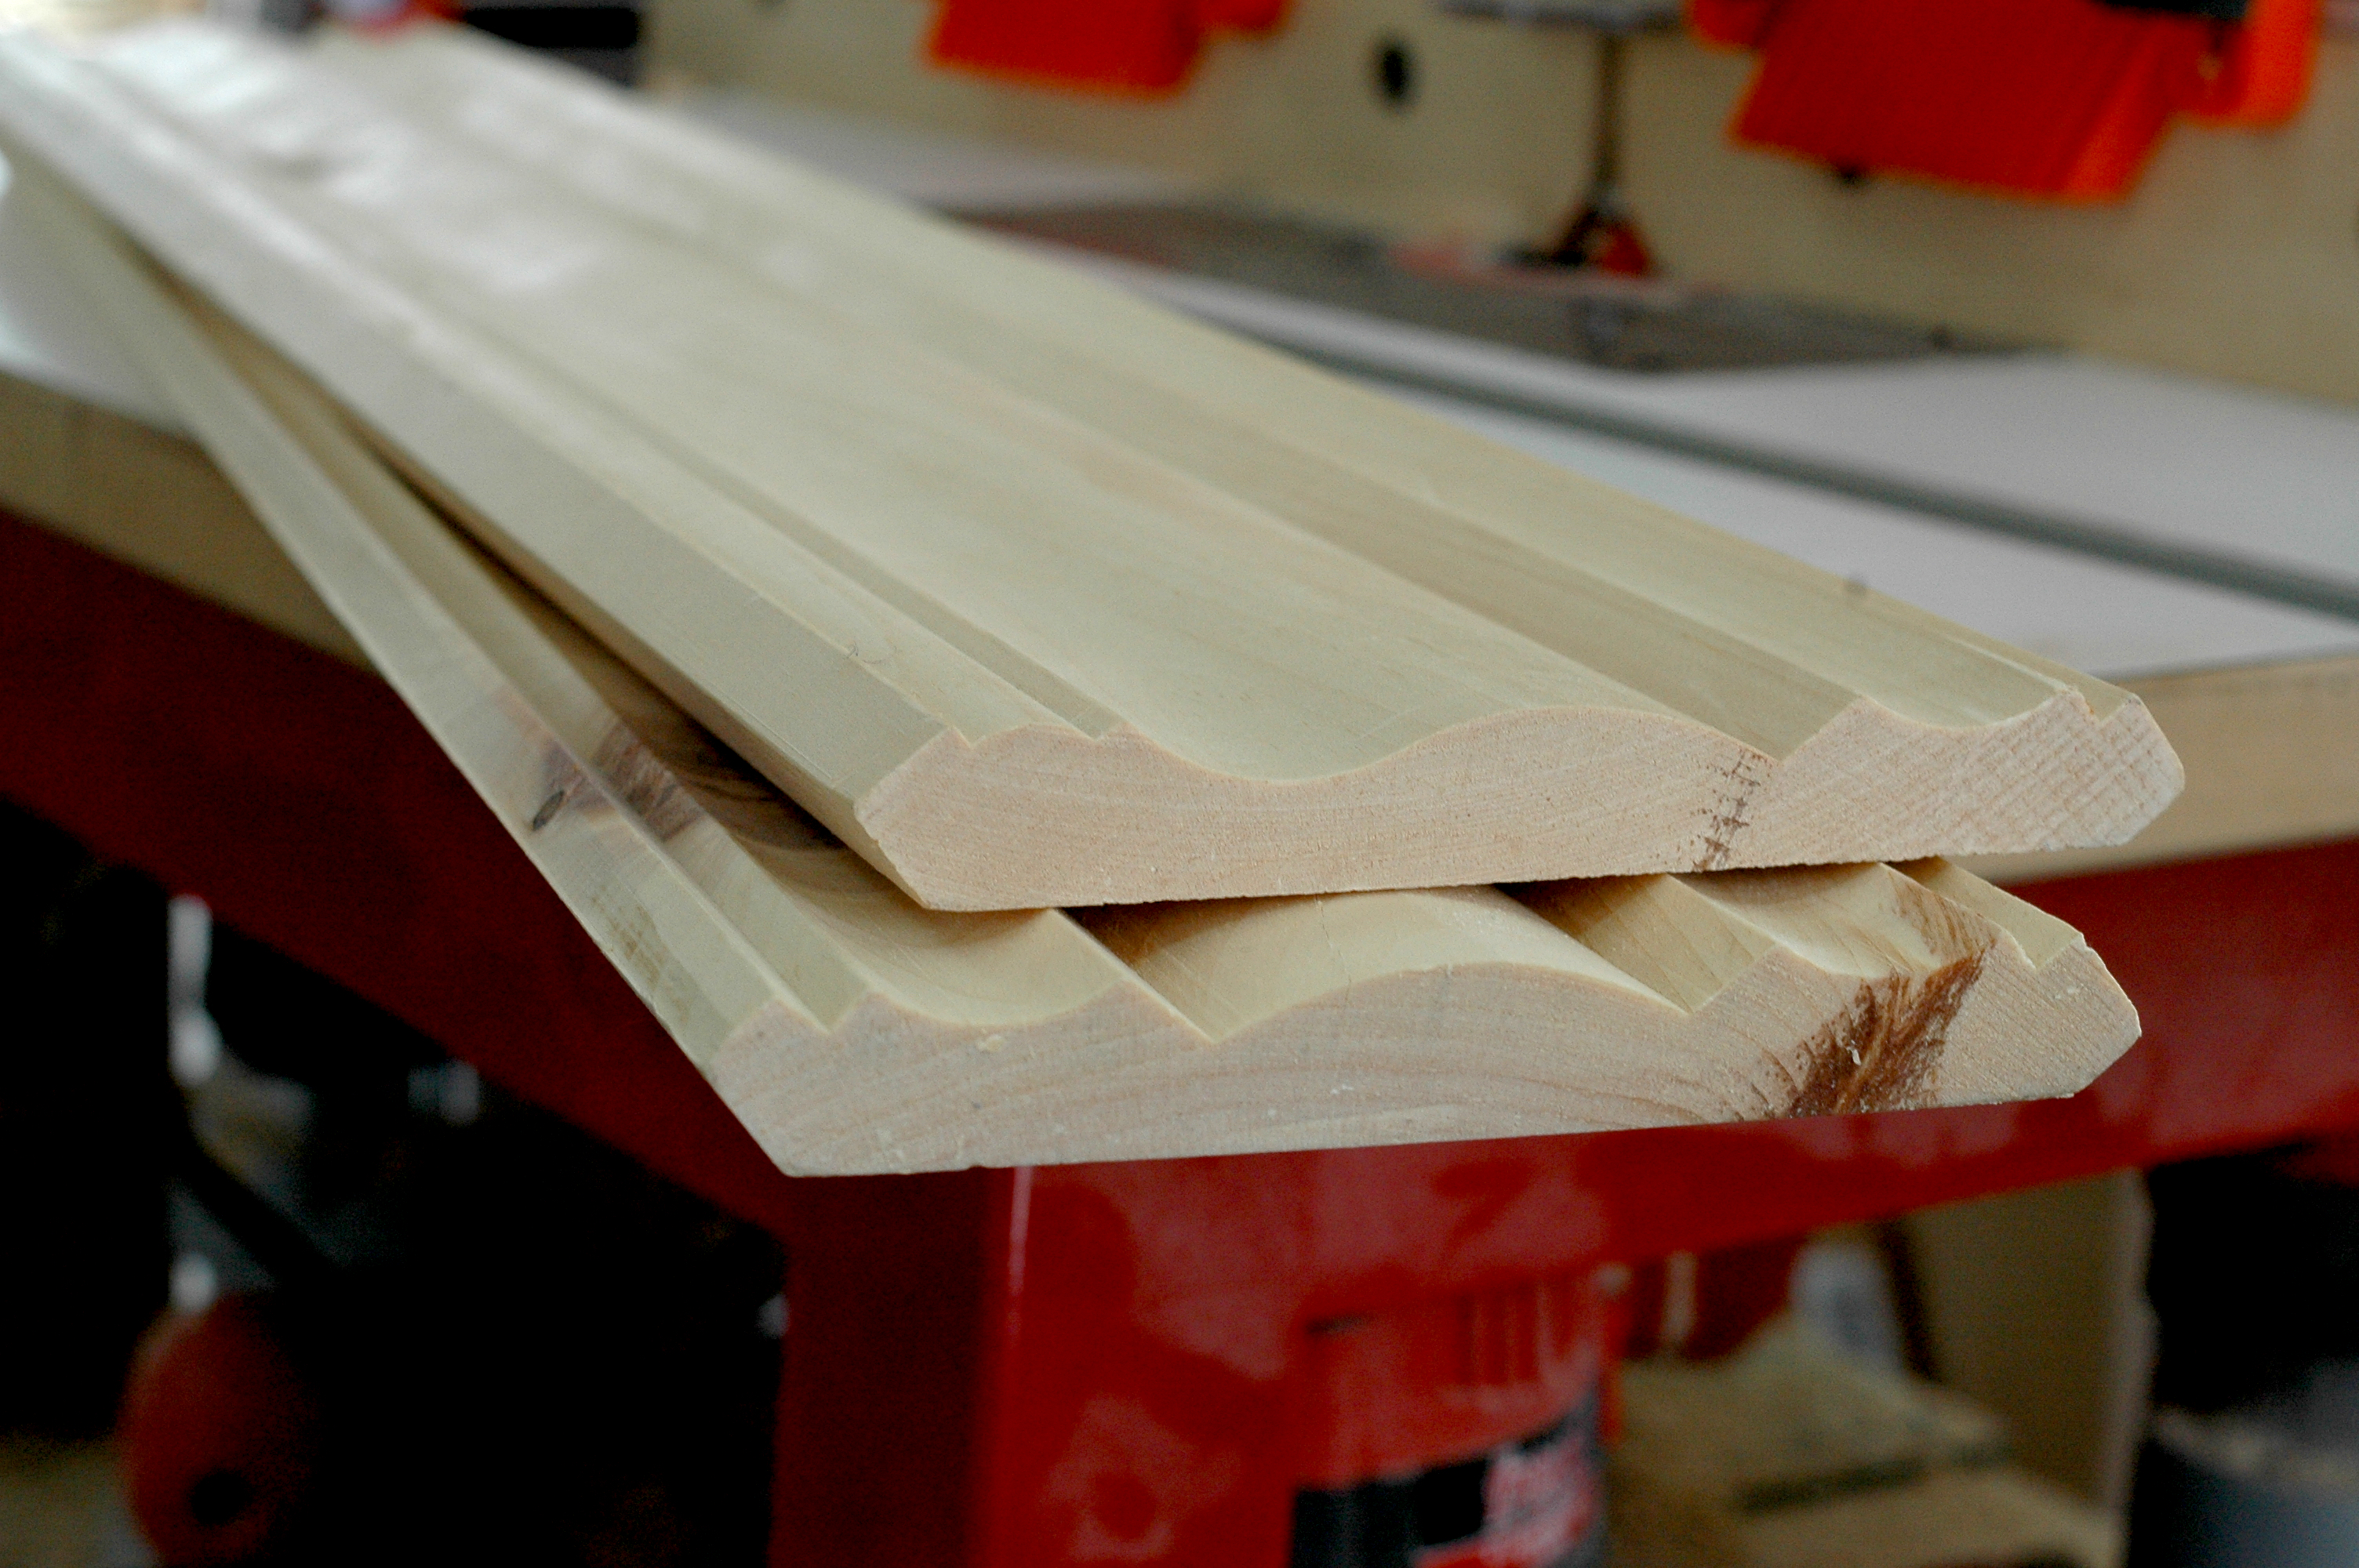
The process is fast and the profiles you get are crisper and more intricate than what comes off a lumber rack. You can also make use of wood species beyond all that ordinary pine and oak stuff. And if you ever choose to sell your house, explain to prospective buyers the benefits of your particular shop-milled crown, and the mystique may even let you talk up the price a bit, too.
It’s been possible to mill narrow crown moulding for years, but today’s wide-crown revolution is different. The innovation that makes it possible is a dual router bit system. Mill the top half of the profile with one pass, flip your wood over on edge, then mill the lower half with the second bit. The two mating profiles are shaped to work together, meshing seamlessly where they overlap the wood in the middle.
For best results, start with lengths of flat, twist-free, clear 1×6 wood of your choice. You’ll also need a decent router table and a wide fence (plans below), though it doesn’t have to be large. The main thing is that the table top be perfectly flat or slightly crowned. But watch out. A dished table top, on the other hand, is big trouble because it causes the wood to rise and fall relative to the bit as the leading end, the middle then the trailing end of each board passes across the dished zone. Even 1/16” of a dish can get you in trouble.
Steady feeding of the wood is also key. Jiggle the wood around — even a little — and you’ll get less than perfect results. That’s why you’ll want to use featherboards whenever you can to hold each piece of wood tightly against the fence. A continuous feed rate makes a smoother profile than if the wood stops and starts while routing. Have someone on each end of the wood as it goes through, to keep it moving.
The only thing that each pair of wide crown bits doesn’t do is create the angled edges that allow the crown to sit tight to the ceiling and walls. You can get router bits for this purpose for different spring angles, or saw the angle on a tablesaw. Either way, a little care with your router table yields some beautiful crown, at a fraction of the cost of the same off-the-shelf profiles everyone else is using.
Click below to download a set of construction plans for making your own wide router table fence for milling crown moulding.