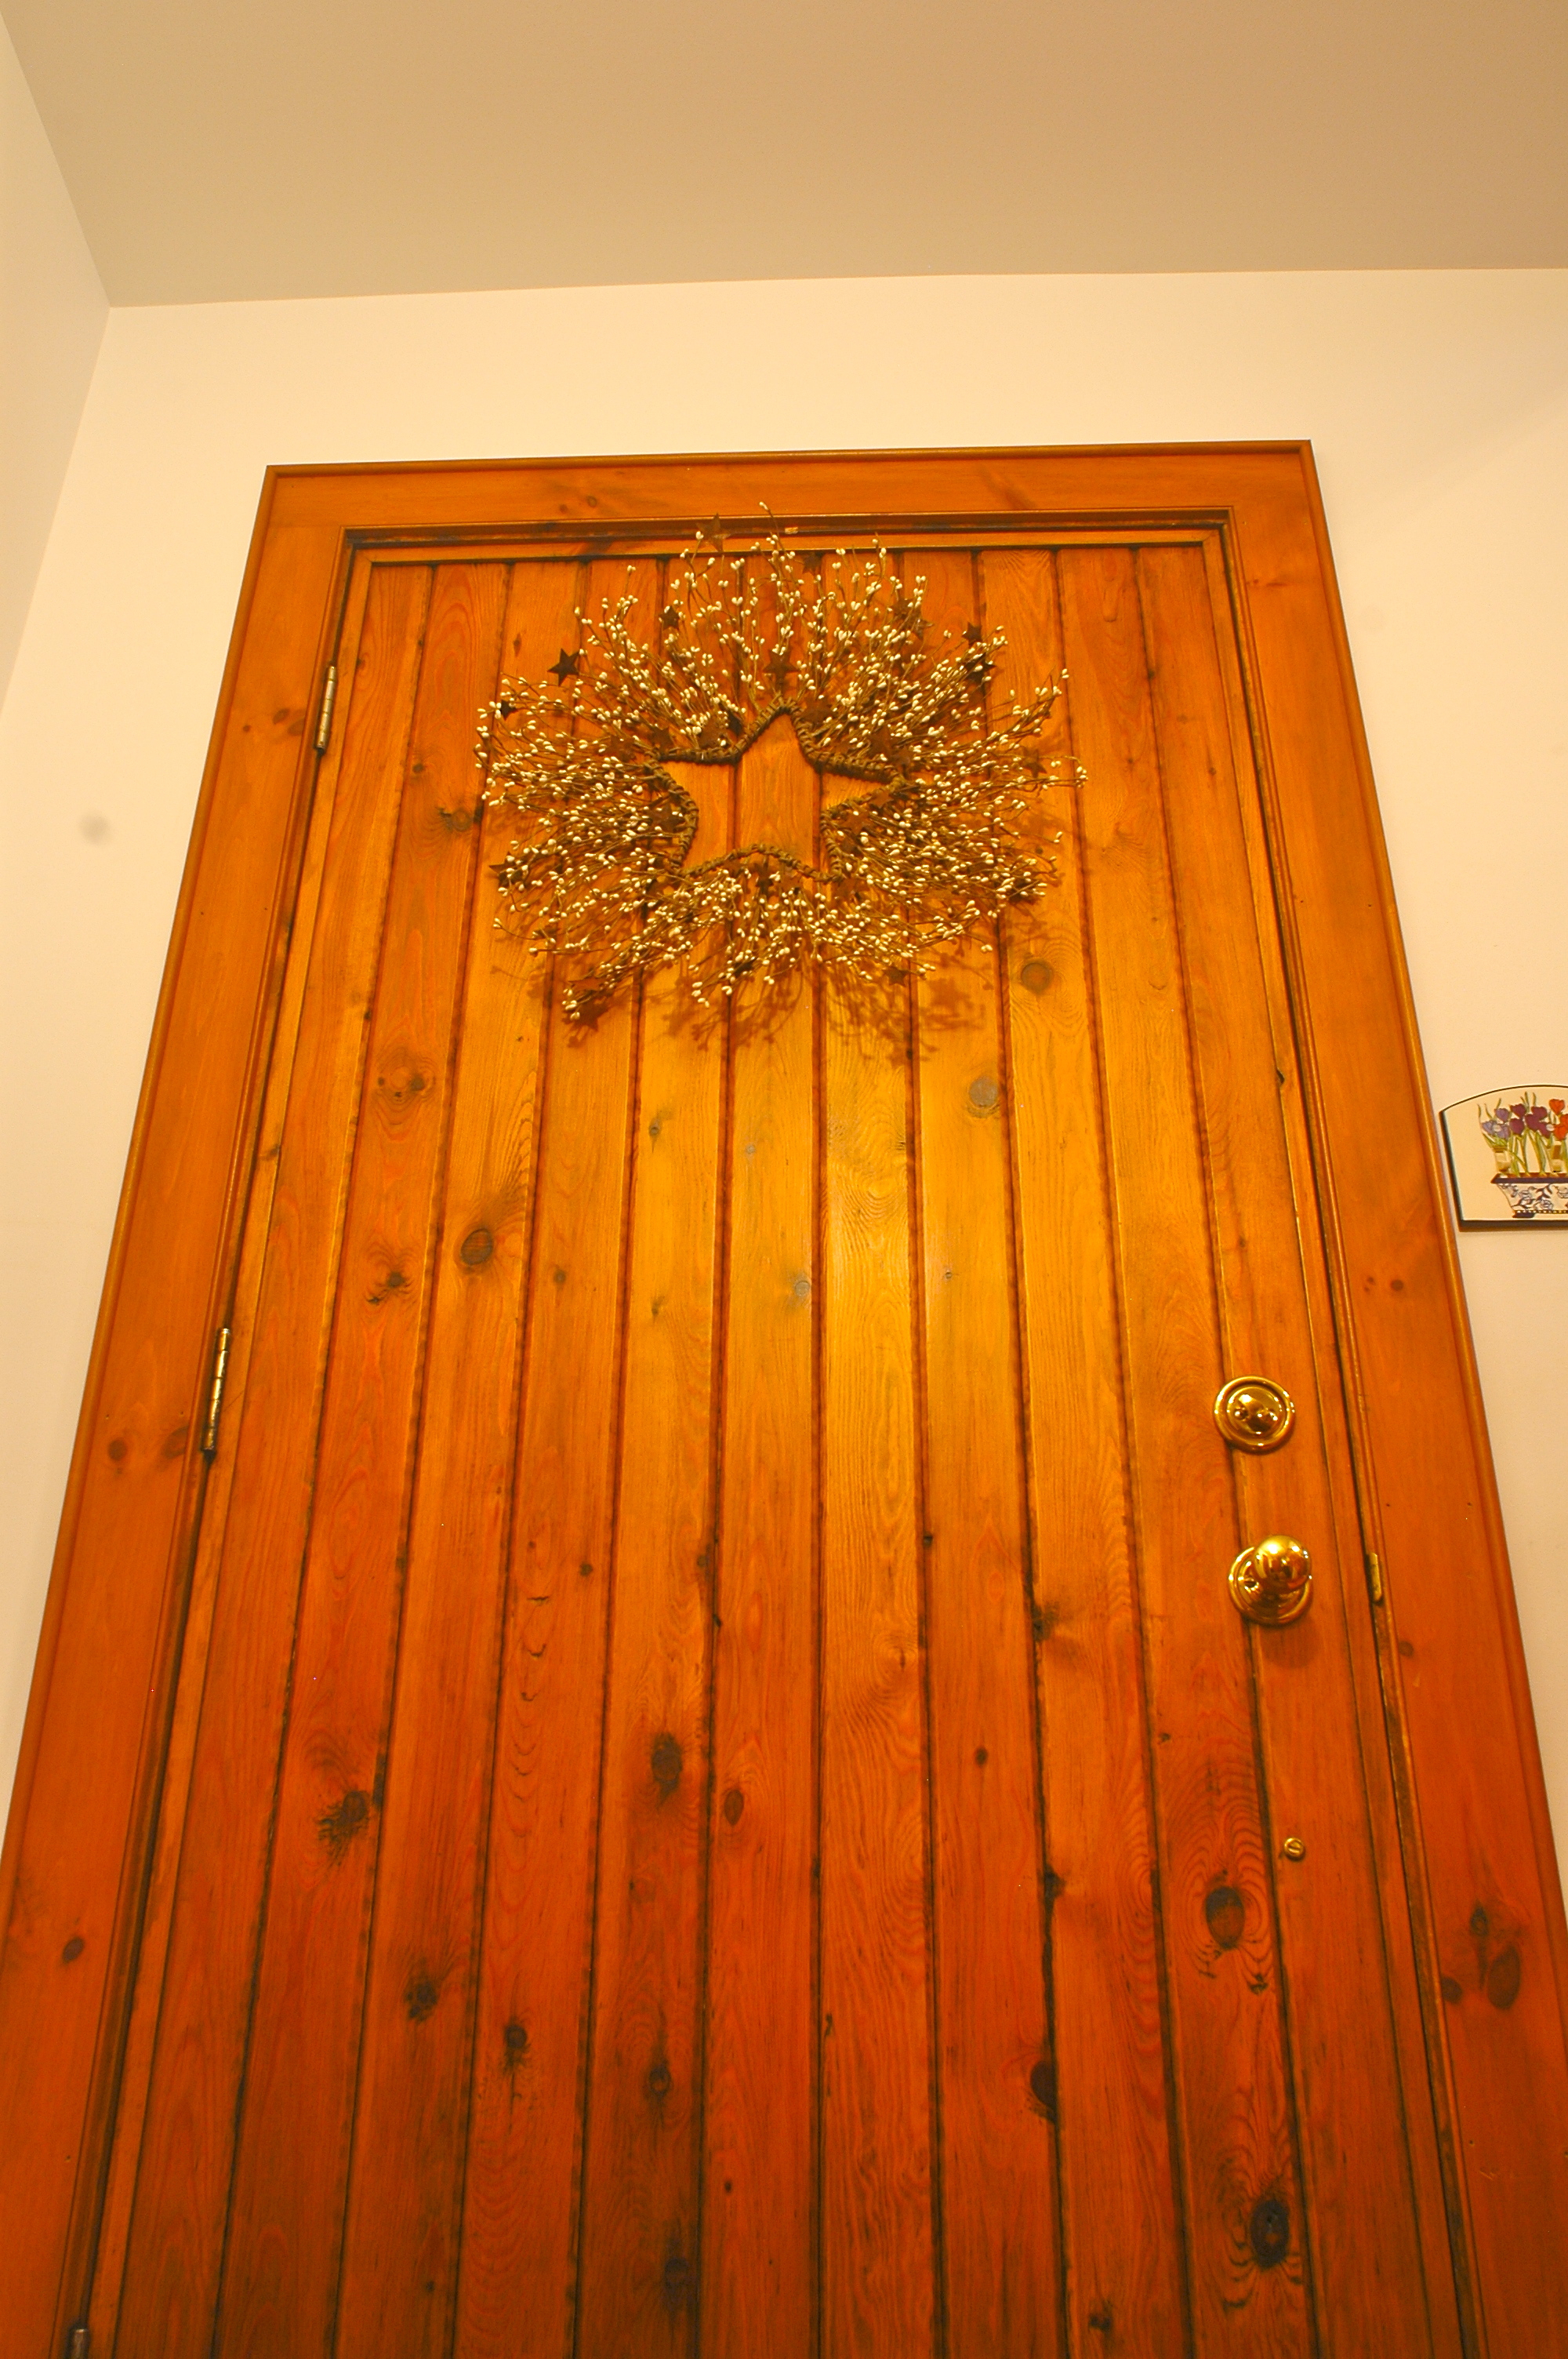
UPDATED 20Dec2019 + Plans: Do you want to build a door? This article is a great place to start. I’ve been a cabinetmaker and professional woodworker since the mid-1980s, and I’m happy to tell you how I make exterior doors. It’s not that difficult and the results look great. The doors shown here are all ones I made in 1990, and they still look excellent and work perfectly today.
To be honest, it’s hard to complain about the performance of modern, pre-hung, insulated, metal exterior doors. They keep out weather as well as a submarine hatch, but there’s a problem. Two problems, actually. First, they cost a lot. It’s not unusual to pay $1000 or more for a good prehung exterior door. And second, ready-made metal doors can be boring and predictable. This kind of dissatisfaction is why I began making high-performance exterior wooden doors a long time ago. The oldest are now nearly 30 years old as I write this, and they continue to work as well as the day I hung them. Building your own involves just moderate skills and difficulties. It’s not for a newbie woodworker, but you don’t have to be a master woodworker to succeed, either. In fact, you don’t need fancy tools or skills. A tablesaw, miter saw and some ordinary hand tools are all you need. The design is pretty simple. You also don’t even need a workshop to build these doors. Any space will do – garage, basement, a home under renovations, even the driveway makes a good work space when the weather is pleasant.
How to Build a Door – Warm & Cozy
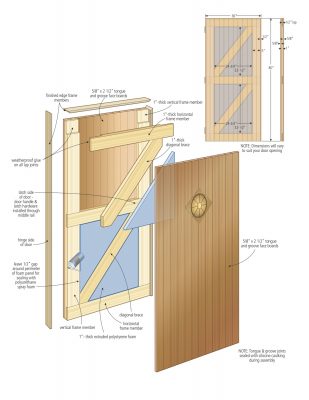
Start by downloading the plans you see here. Click and they’ll arrive free on your computer. With the plans in hand (either printed or viewable on a screen), continue reading the instructions coming up. They cover the basic approach I use to build insulated, exterior doors, along with key details for making success happen.
- The outside of this door design is made of a weather-sealed exterior skin of 5/8″ or 3/4″- thick vertically-laid tongue and groove lumber.
- The internal frame of the door is hidden, made of a 1-inch thick structural wood frame that surrounds an insulating foam core.
- The interior face of the door is another 5/8″ or 3/4″- thick layer of tongue and groove lumber similar to the exterior face.
- The top, bottom and sides of the door are capped with a 1/2″- thick border of wood that goes around the perimeter, both for good looks and to keep rainwater out from between internal laminations.
Whether you decide to build a wooden door yourself or have a professional do the job, real wood exterior doors are practical, effective and beautiful. Here are more details:
How to Build a Door Step#1 – The Inner Frame
I recommend an inner frame made of wood that measures a full 1-inch thick. You could build the inner frame thinner, but that reduces the amount of space for insulation. Standard 5/4 decking lumber, available at every building supply outlet, is ideal for the inner frame because it measures a full 1″ thick. This matches the standard thickness of rigid foam insulation you’ll install later for warmth.
The main thing to remember about the door’s inner frame is that it must be strong. The tongue and groove indoor and outdoor layers won’t add much resistance to sagging, so rigidity depends largely on the frame.
The easiest, super-strong way of connecting the top, bottom and sides of the inner frame is with lap joints, screwed and glued together with a weatherproof adhesive. Moisture shouldn’t ever get this far, but if it does, at least you don’t have to worry about the glue letting go. Regular carpenters glues go soft after extended contact with moisture, so you’ll need to use something else. Either type II or type III wood glue or polyurethane glue works best. Look for names like Titebond III, Weathertite or any brand of liquid polyurethane glue. Titebond III is my favourite outdoor glue for general use with wood, but there’s more you need to know for other exterior applications. Click here for more information on the tricky job of selecting an exterior glue for different applications.
How to Build a Door Step#2 – The Exterior Skin
The outdoor skin keeps driving rains out of the inner core, yet it must also be free to expand and contract seasonally a bit with changes in humidity. The 5/8″ by 2 1/2″- wide tongue and groove boards I use for this purpose do a good job, but only if the joints between neighbouring pieces are sealed with caulking during assembly. The best product for this job is polyurethane caulking. This wasn’t available when I made my first doors, but I certainly do recommend it now. It’s strong, sticks like crazy, remains flexible and takes paint. No other high performance caulking boasts all these claims. If you can’t find polyurethane caulking (it’s actually getting more difficult to find these days), then silicone will work, too.
Choose the best tongue and groove boards for the exterior face of your door. The knottier pieces are best reserved for the inside face of the door, where it’s always dry and there are no driving rains.While you’re building the outer door face, lay a bead of caulking down the groove of each board before nestling it with its neighbour. Each board should also be glued and nailed to that part of the underlying frame that it crosses, using stainless steel finishing nails driven through the tongue of each board diagonally.
How to Build a Door Step#3 – Insulating the Door Core
With the outer skin complete and installed (but the interior skin still not in place), cut pieces of 1-inch thick rigid foam board to fit within the spaces of the inner frame, leaving a 1/2-inch gap all around. Secure the sections of foam to the back of the outer skin with glue, to keep it still in preparation for air-sealing the rigid sheets to the door frame with expanding polyurethane foam. Inject spray foam into the gaps around pieces of foam, let it harden, then use a hacksaw blade (taken out of the frame) to remove the hardened squeeze out. A hacksaw blade is flexible enough that it can lay flat on the wooden frame, slicing off all the excess spray foam easily. It really works.
How to Build a Door Step#4 – The Interior Skin & Perimeter Frame
This next step is just like applying the exterior skin, but easier. Use polyurethane caulking between each piece of tongue and groove wood that will form the interior face of the door. The odd cracked knot or flaw is okay on the inside of the door because it will always stay dry.
Complete the door by adding a cap of wood around the entire perimeter of the door. In the plans these caps are called “finished edge frame members”. These are important because they hide the edges of the frame, plus the interior and exterior layers.
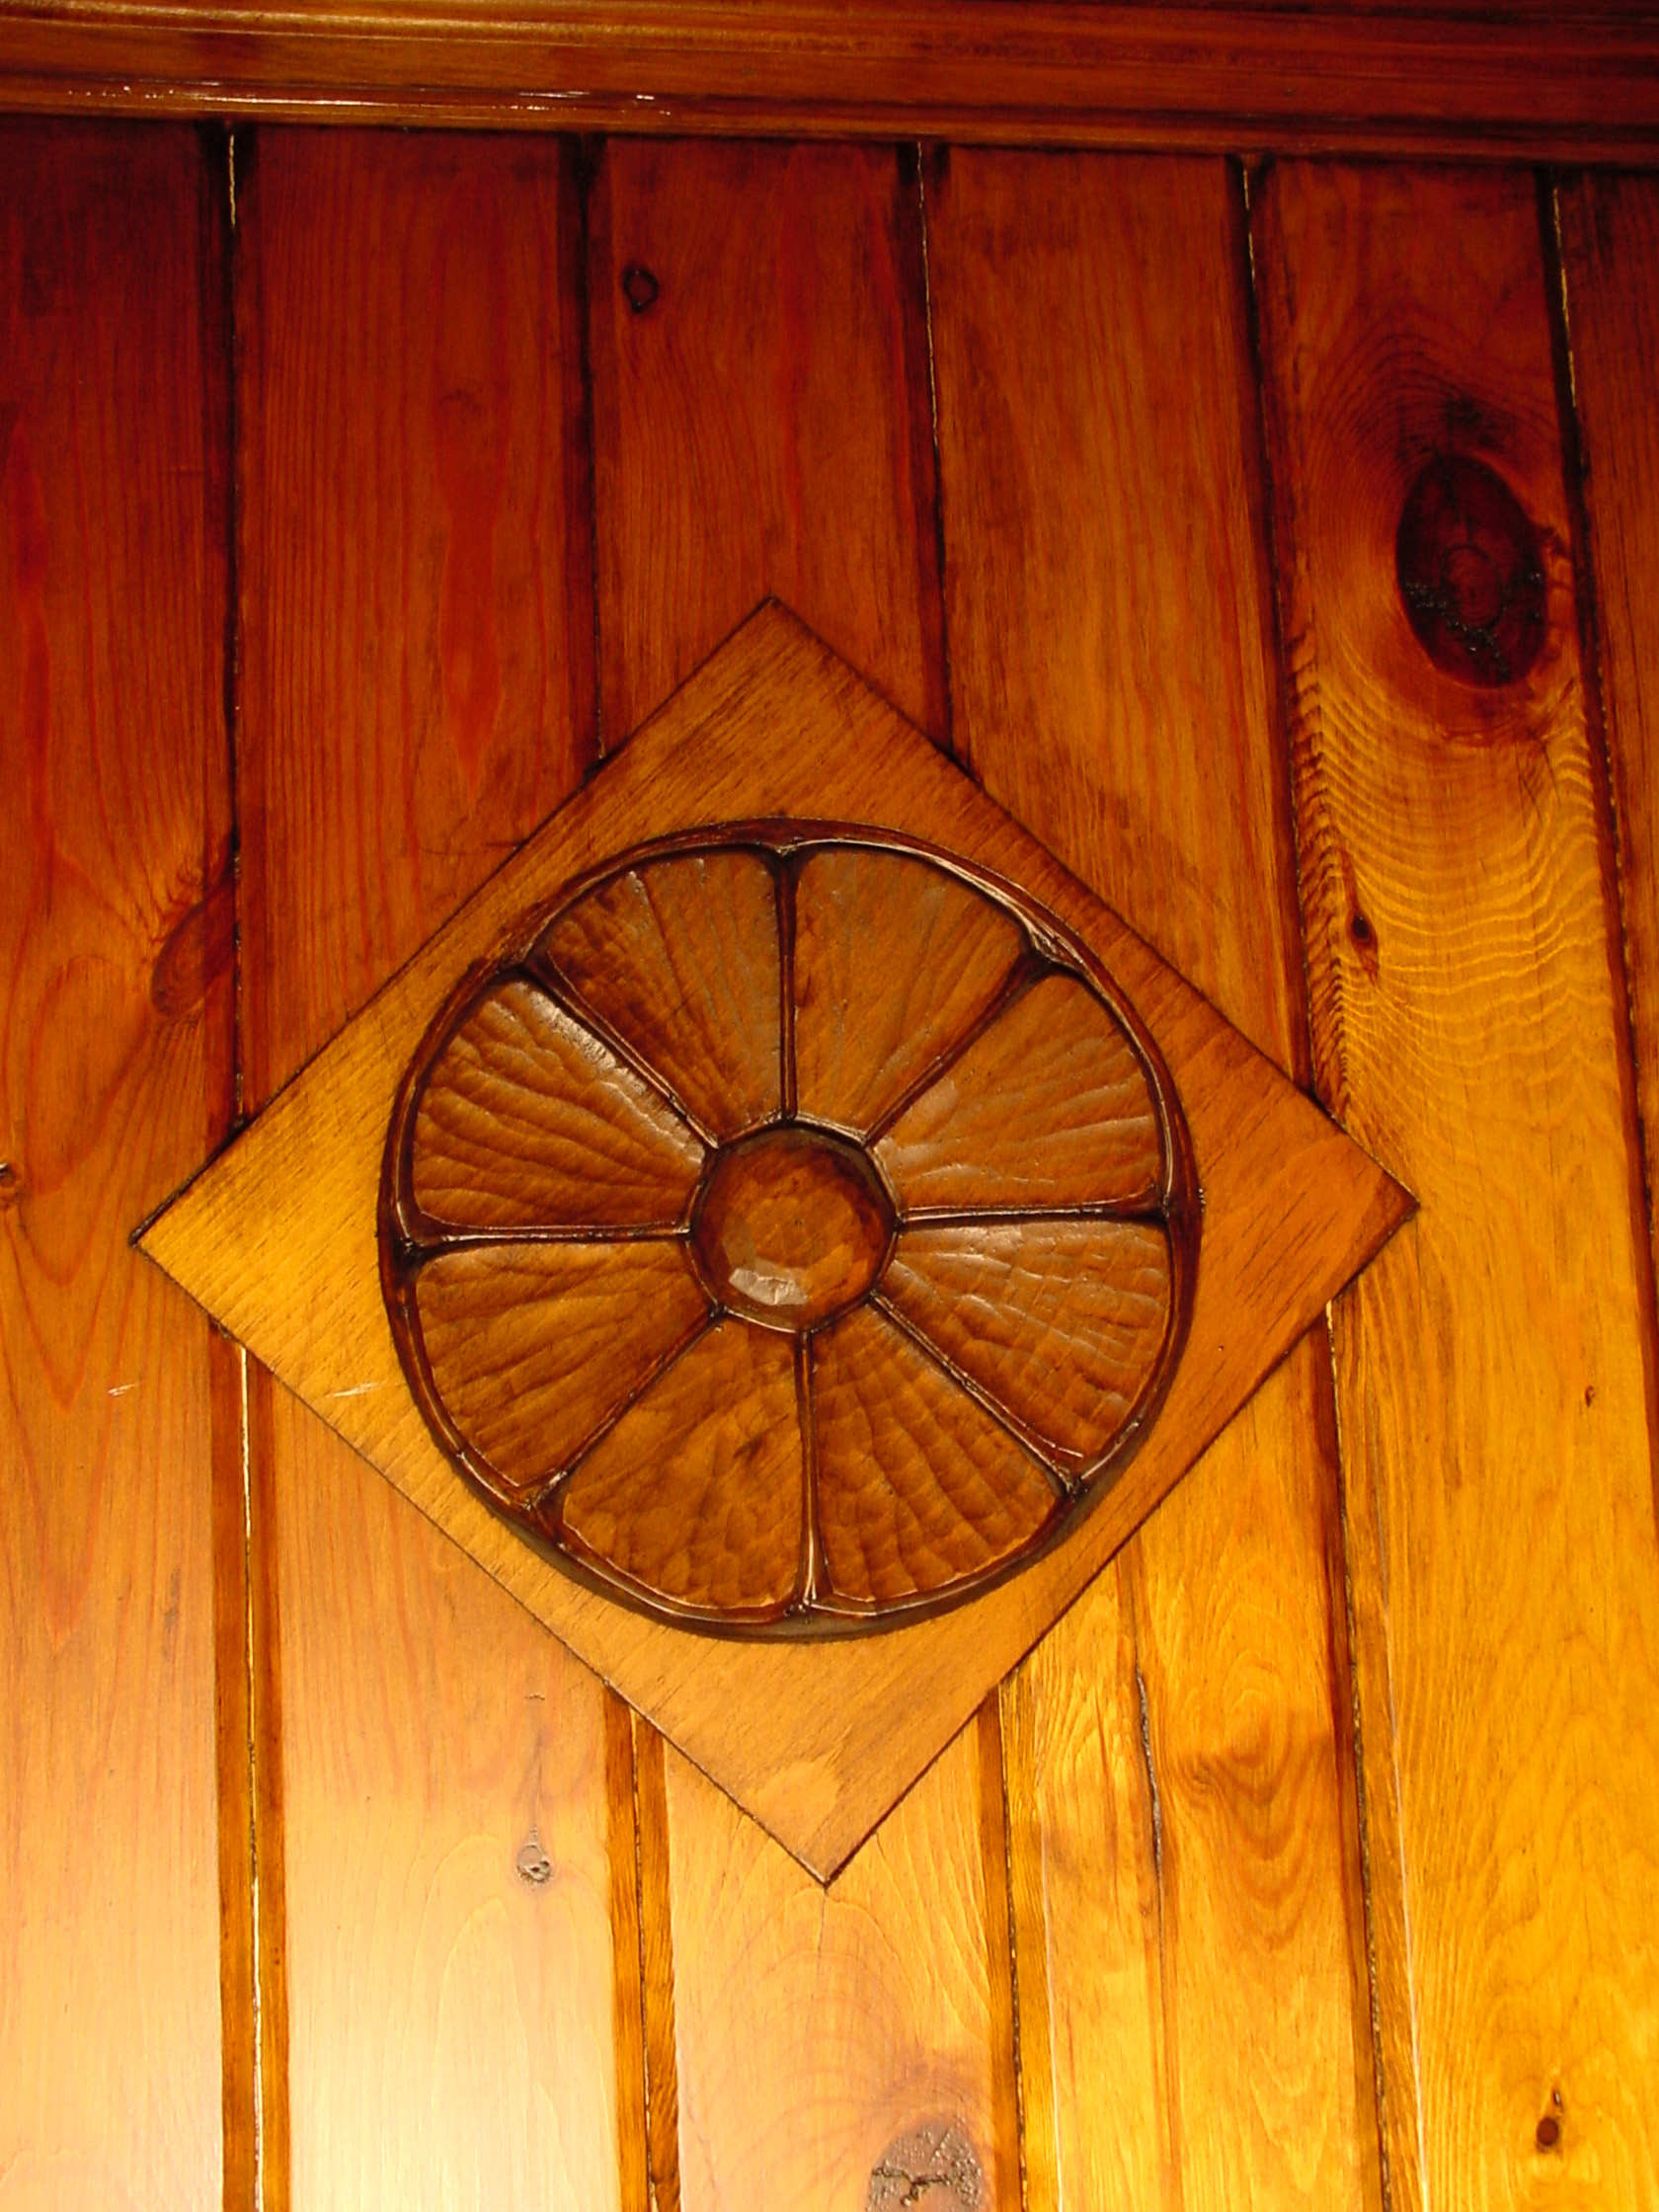
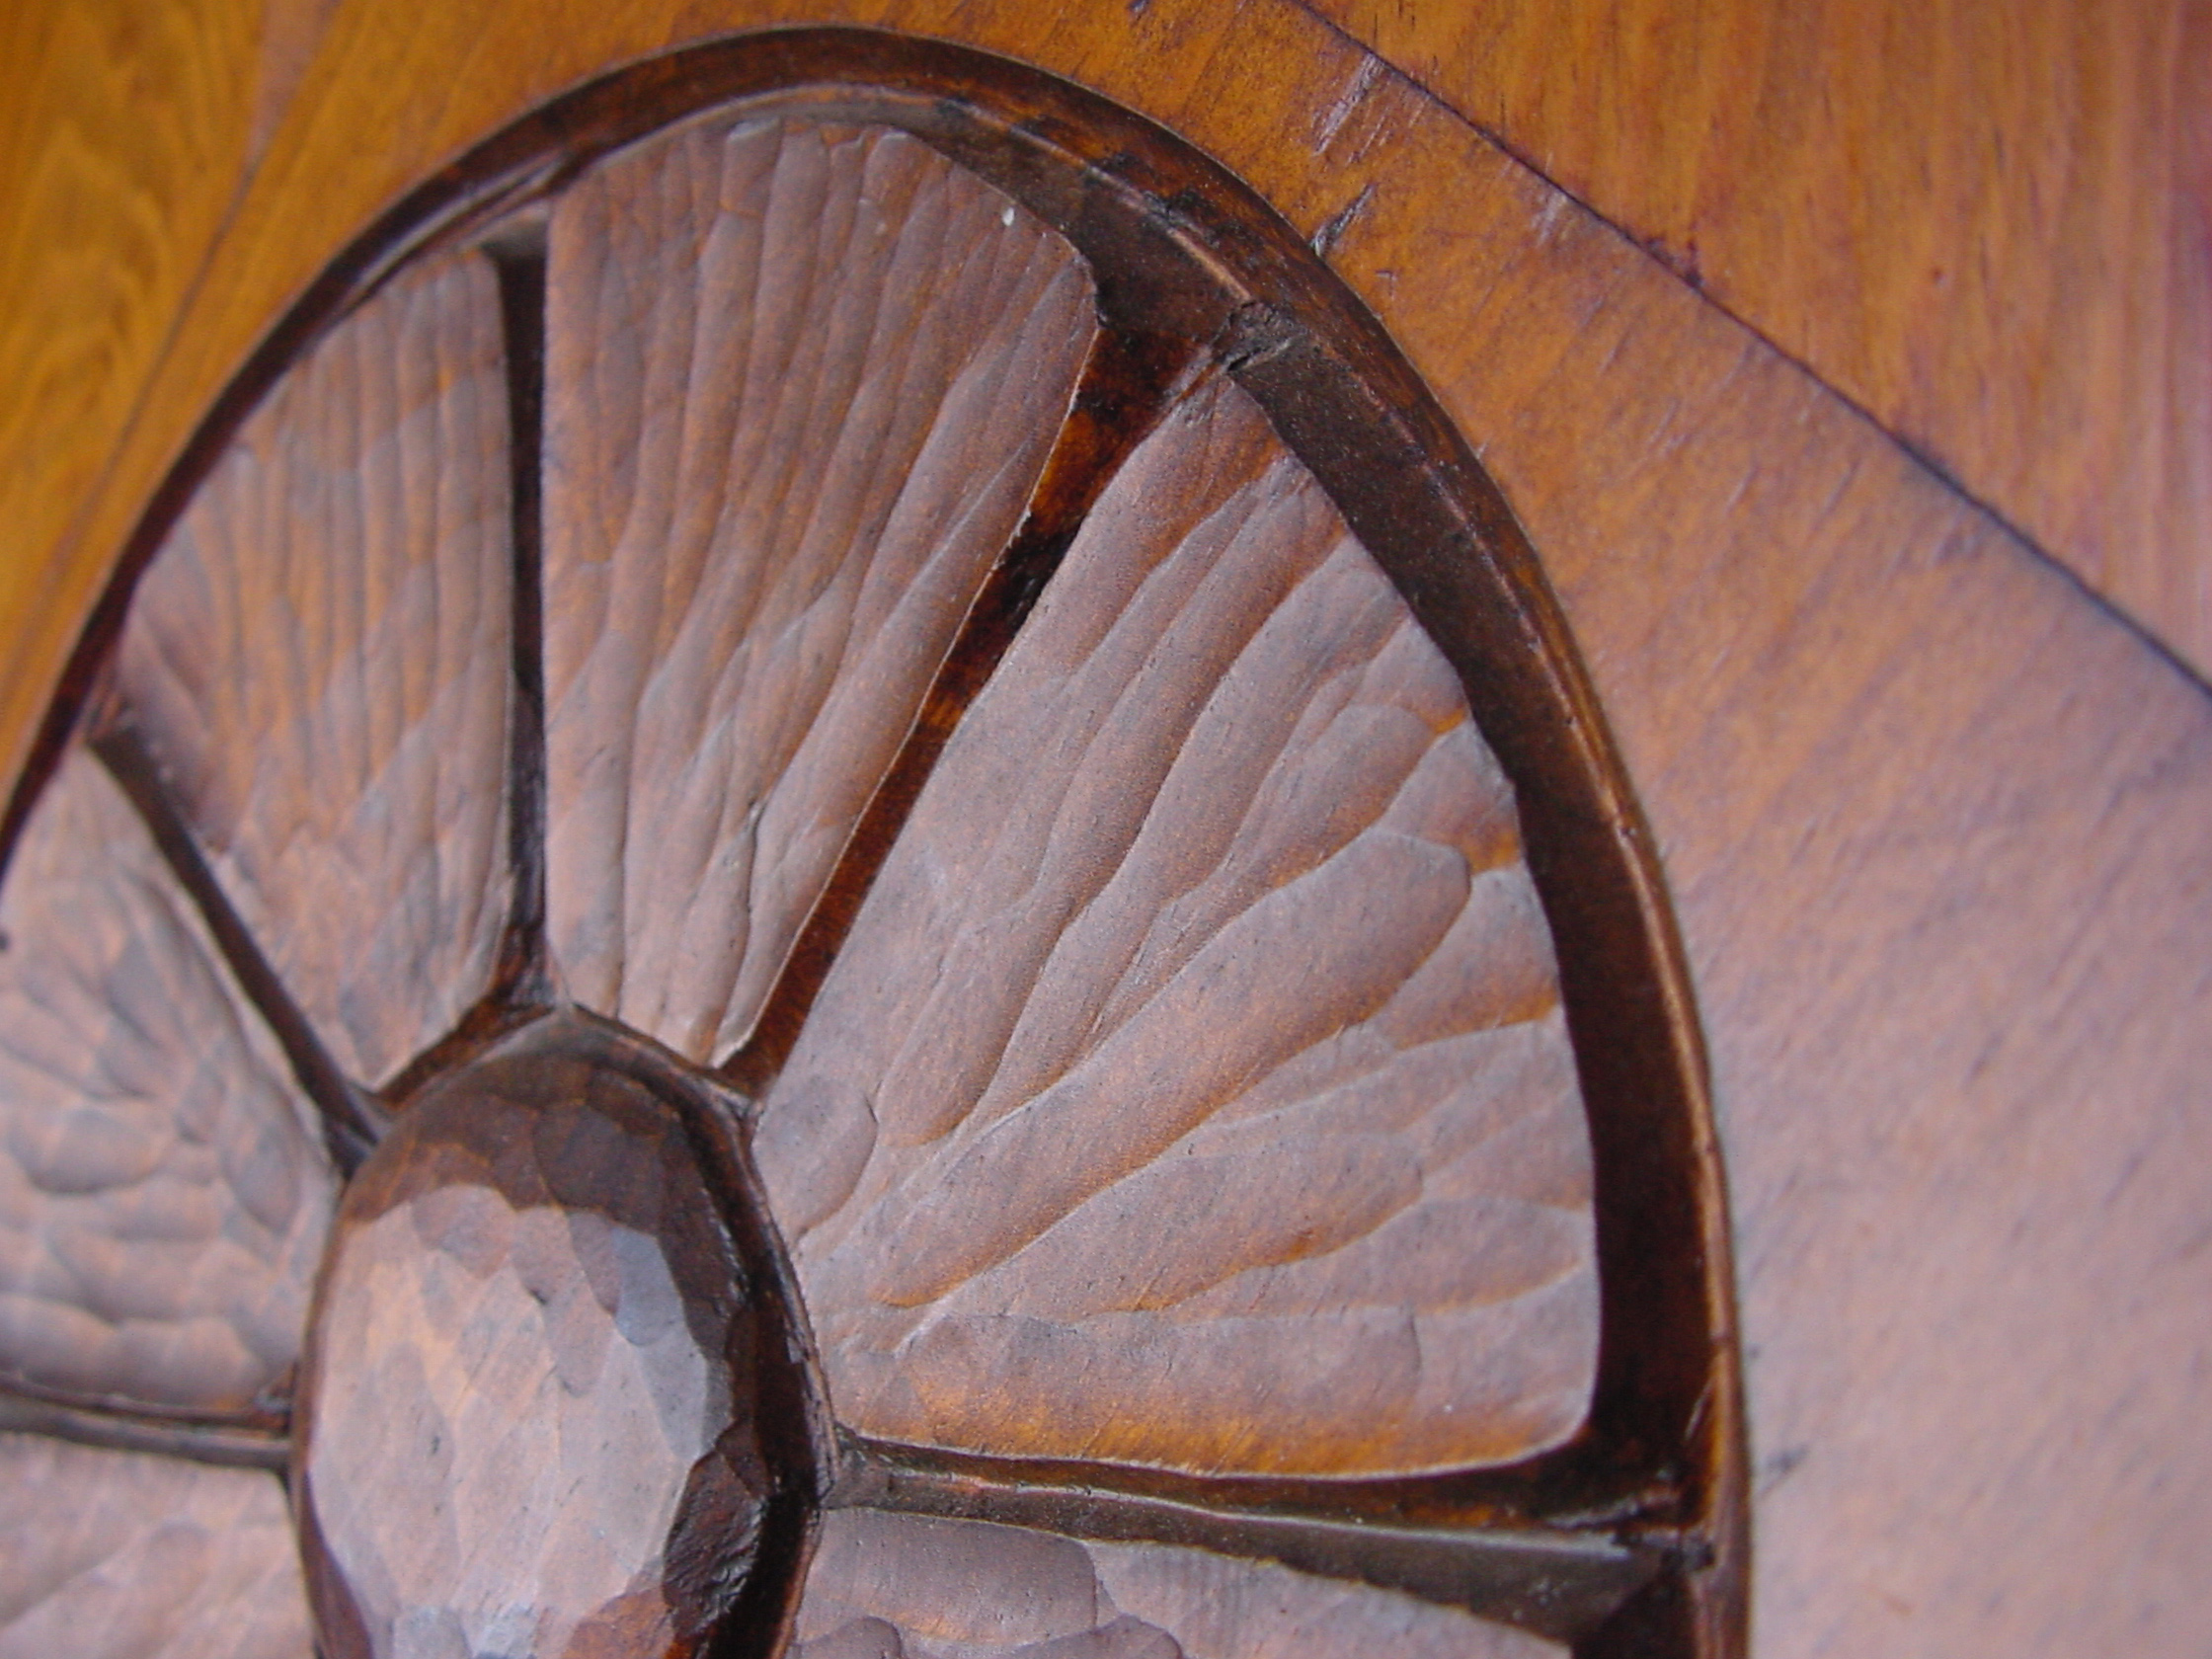
If you count your time (or pay for someone else’s), building a wooden warm door probably comes out more expensive than a ready-hung metal one. That’s why there’s a place for easy-install, ready-hung doors of all kinds. And though I’m glad they’re available, I’m also glad there’s an opportunity to exercise the craftsmanship that adds a little variety and creativity to the world. And talking about creativity, consider adding carvings to your door. This is a topic in itself, but here’s a glimpse of what carved door details look like up close.