UPDATED 14Aug2020 + two videos below: Installing your own trim, moulding and baseboard is one of the most useful do-it-yourself home improvement ventures you can take on. It’s also a bedrock skill for woodworking in general. Whatever your motivation, here are five trim installation tricks that make all the difference. Be sure to watch the two videos at the end, too. I think you’ll find them useful.
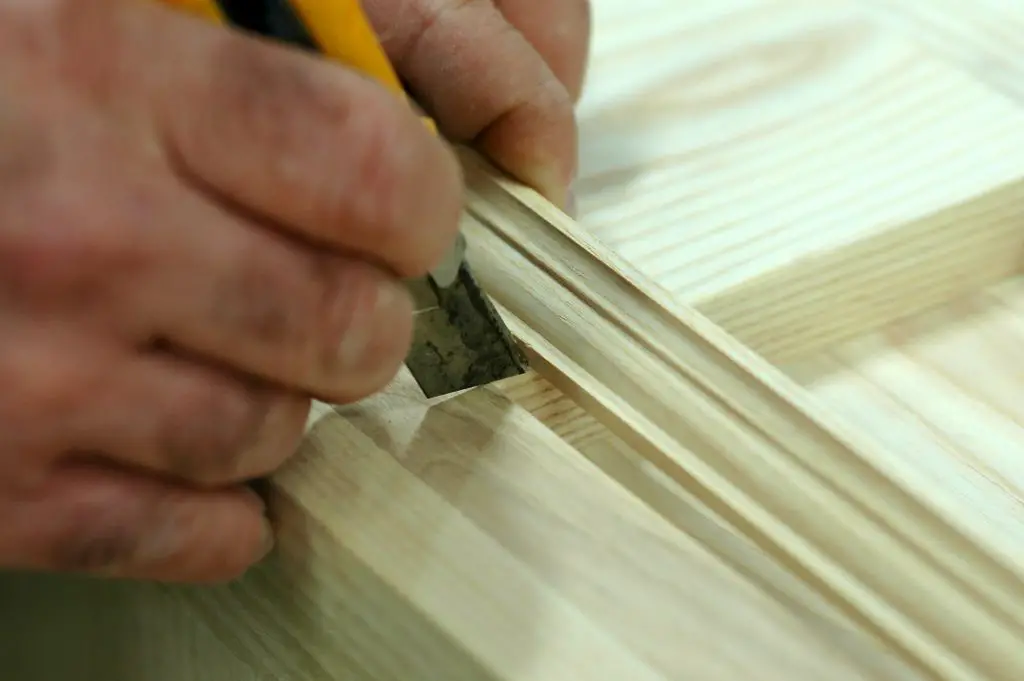
Installing Trim Trick #1: Mark All Cuts with a Knife
The sharp tip of a fresh utility knife makes a consistently thin, crisp, straight mark that’s easy to follow accurately with a saw. Pencils don’t work nearly as well because they never stay sharp. Place a piece of trim in position where you want it to go, then use the tip of the knife blade to make a mark. When it comes time to cut your trim, shine a strong light on the wood and sneak up to the knife mark with several shallow cuts until you’re right on the waste side of the line.

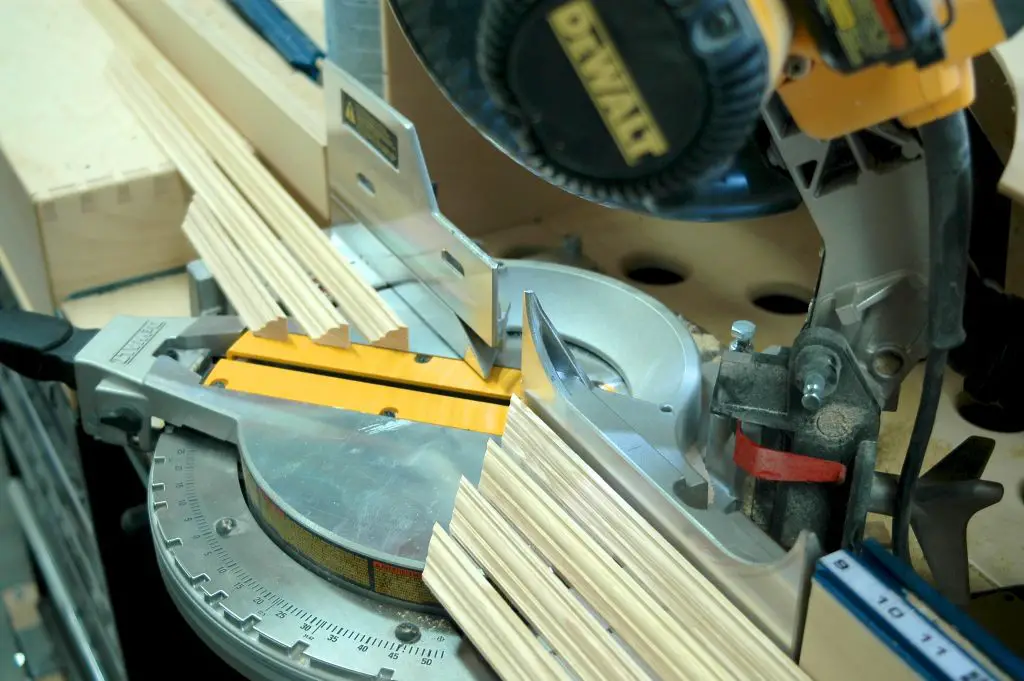
Installing Trim Trick #2: Use a Mitre Saw with the Right Blade
A mitre saw is essential for cutting trim accurately to your layout marks, but it’s only as good as the blade it spins. Don’t attempt any trim installation job without a fine-toothed carbide blade at your disposal. Expect to spend $80 to $100 for a great 12″ diameter blade that’ll last a long time with regular, professional sharpenings. Smaller blades of similar quality will be less money. Occasionally, the stock blades that come with miter saws from the factory are surprisingly good too, as you’ll see in the video at the end of this article.
Installing Trim Trick #3: Shim the Trim
It’s not unusual to need custom-cut joint angles to fit out-of-square doors, windows or wall corners. This happens more often with household trim than it does with furniture and cabinets. And while you could do this by tweaking the saw setting one way or the other a few degrees, sometimes it’s more accurate to simply shim one end of the trim. This tilts the trim slightly, allowing you to tweak angles by a quarter of a degree or less. Cardboard or small wooden wedges placed against the mitre saw fence work great.

Installing Trim Trick #4: Adjust Joints with a Block Plane
No matter how skilled you are with a mitre saw, sometimes a piece of trim is just a little too long. That’s better than too short, because a few strokes with a block plane can make everything perfect. One of the best ways to slightly shorten the effective length of an almost-right mitre joint is by planing the back surface of trim, not the mitred end. If you need to remove more than just a paper-thickness of wood, plane the joint face itself, but only with the trim fully supported on a solid surface. You want all movement to be only from the plane, with the trim steady as a rock.
Installing Trim Trick #5: Secure Trim with Pins Not Nails
Twenty-three gauge pins are the latest kind of air-driven fastener, and they combine reasonable strength with an almost invisible entry hole. That’s because they’re so small in diameter. Pins are roughly the same diameter as a standard sewing needle, so they leave behind marks that virtually disappear after sanding and finishing. The best pinners for trim installation fire pins up to 2-inch-long that can hold door and window trim as well as full-size crown moulding. For strongest results, apply a little glue on hidden back surfaces of trim before installation.

Installing trim is one of the most effective ways to make your house elegant and unique, while saving pretty good money. Doing the work yourself also lets you connect with your home in a way that only hands-on investment can deliver. These same skills transfer immediately to many kinds of woodworking and cabinetmaking projects you might taken on in the future, too.
Watch the videos below to learn about a different way to install door and window trim, plus a detailed tutorial on how I cut trim precisely on cabinetmaking projects in my shop.