It’s easy to look past the obvious fact that lumber comes from logs, but once you start thinking this way, interesting things can happen. It’s surprisingly easy to mill short, small logs into furniture-grade boards, right in your own workshop, all without special equipment. Dry this wood properly and you’re ready to joint, plane and cut material into parts for small projects. It’s a lot of fun, and it get’s you closer to the roots of woodworking.

Besides saving money, this kind of micro milling gives access to species of wood you’ll never find for sale in lumberyards. You’ll also get complete control over grain orientation and the look of your wood. You can even treat construction-grade beams and planks from building supply outlets as your “logs” resawing them into thinner pieces for project work using some of these same techniques.
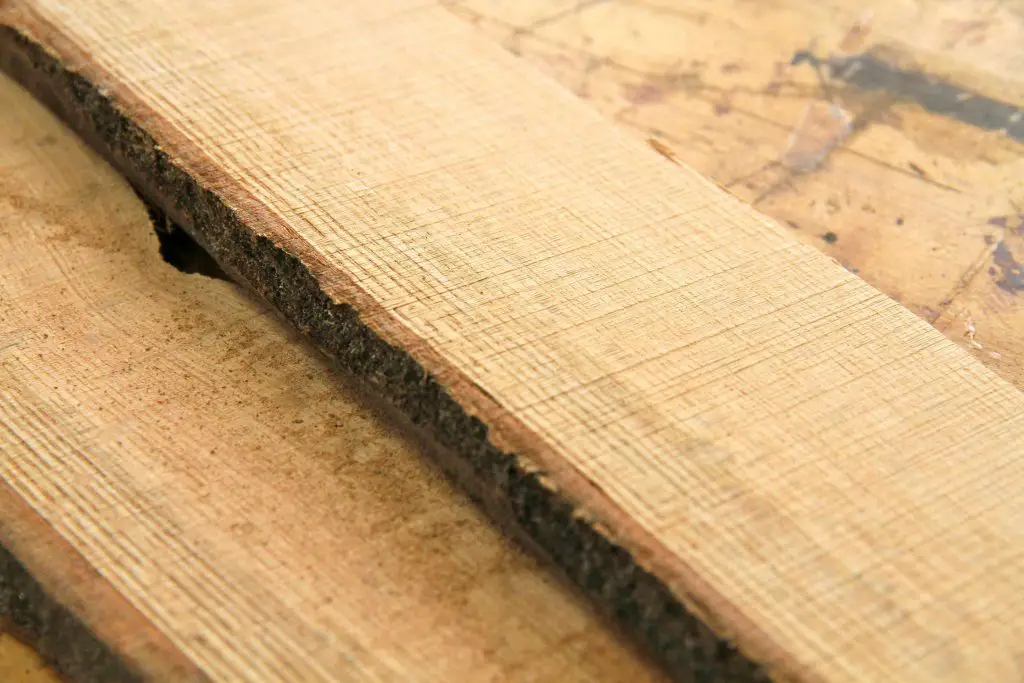
I’ve had good results using two methods for milling lumber from small logs in my shop. The simplest involves a hydraulic wood splitter – the kind used to turn logs into firewood. Clear, straight-grained, easily-split species of wood are easy to cleave into board-like billets. Most firewood splitters handle blocks up to 24” long, so when you find a good log, cut blocks to this length, even if you’re making your firewood shorter. You’ll find the best boards come from the middle of a log, where the wood is widest and the growth rings closest to perpendicular to the face of the boards. Split boards 1” to 2” thick, depending on how a particular piece of wood behaves and how thick you want your finished boards to be. Species like ash and oak split cleanly where no knots are present, so you can split them closer to final size. Wilder grain yields more irregular split boards that require extra material for jointing and planing into shape later. I usually split bigger logs in two passes, each one 180º apart.
Sawing Your Lumber
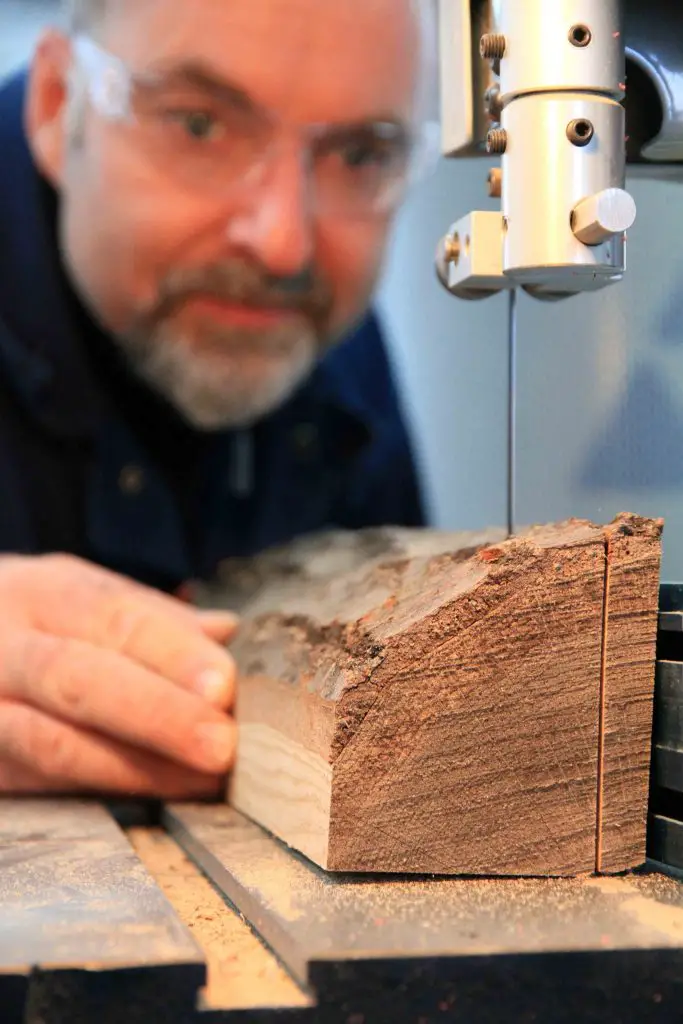
Any bandsaw 14” or larger makes a great workshop saw mill for converting longer logs into boards. Depending on the diameter of your logs, you can saw them in the round, or pre-split logs into quarters before sawing. A sledge hammer driving a wood-splitting wedge works well for this kind of initial splitting. The bandsaw method handles logs that are longer than typical wood splitters, and the results are smoother and more refined. Maximum practical length of logs for bandsawing is about 36 to 48”, which is plenty for many home workshop projects. Even urban communities produce big limbs or tree trunks that mill perfectly on a bandsaw.

Drying Your Shop-Cut Lumber
Regardless of how you mill your micro lumber, drying involves the same process used with other kinds of rough lumber. No matter how long it’s been since your logs have been cut, the wood is still too wet for woodworking if those logs have not been sawn into boards. That’s why you need to promote air circulation on all sides of every board, and a household fan really speeds progress. Stack your lumber with 1/2”-thick strips of scrap lumber between each piece, then direct air flow over the pile. If you can set things up in a heated space, drying time is surprisingly quick. I’ve had micro lumber drop from 25% moisture content to 10% in less than a month. Ash, pine and cedar can typically dry this fast without warping or splitting. Maple, oak and especially apple wood benefits from slower drying.
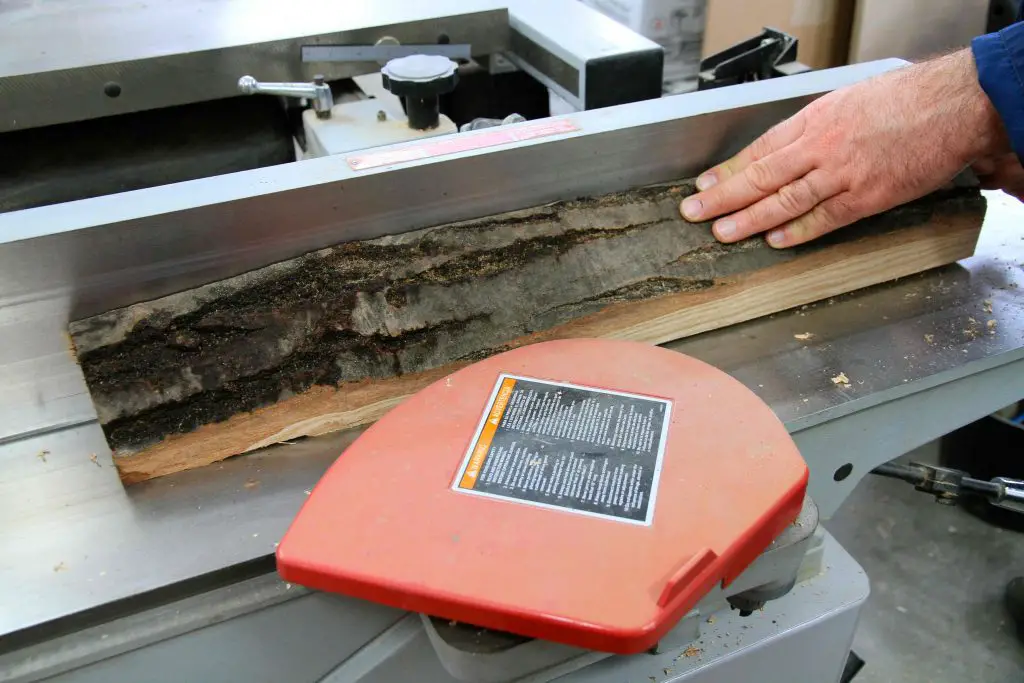
Jointing and planing comes next, and it’s my favourite part of the process. That’s because the beauty of the wood really starts to show through at this stage, though results take a little more time to achieve than with regular rough lumber. Irregular shapes mean more passes over the jointer and planer before you get to flat, precise material for projects.

One thing you’ll probably notice as you work is how smoothly your dried, workshop lumber planes, saws and chisels. The difference is especially striking with softwoods, and the reason is air drying. It’s a gentler process than the heat-driven kiln drying applied to most commercial lumber, and the wood shows it. Air dried lumber simply behaves more pleasantly and predictably under any blade.Making your own rough lumber without a sawmill probably isn’t going to keep you supplied with wood for all your projects, but it’s still worth doing. The more you put into your projects, the more you get out.
Growth Rings Matter
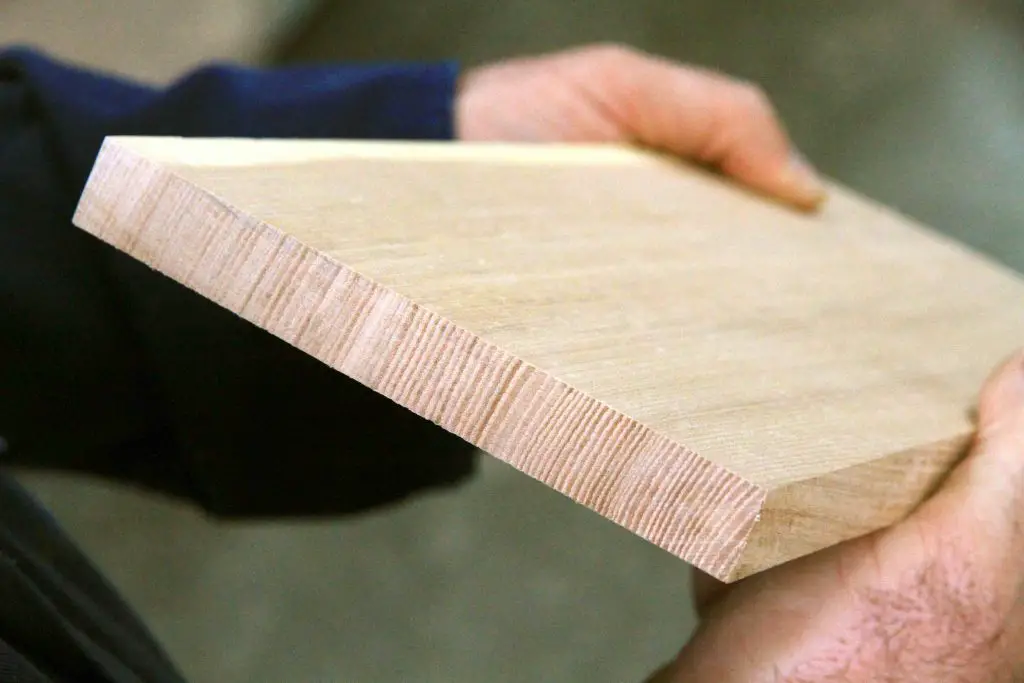
Control over grain direction is one of the hidden advantages of milling your own lumber on a small scale. When you want lumber that’s as dimensionally stable as possible, cut your boards so growth rings are as close as possible to 90º with the face of the boards. This is called quartersawn or vertical grained lumber and it’s what you can see below.

Wood like this has fine, straight and regular lines on the surface of the board, and it’s one of my favourite grain patterns. If you saw small logs so growth rings run parallel to the board face it’s called flatsawn. You’ll get a wilder, more pronounced grain pattern, which suits some projects perfectly. Just remember that flatsawn wood expands and contracts 200% to 300% more than vertical grained wood for a given change in moisture content.
Watch the video below to learn more about vertical-grained and flatsawn lumber. It comes from my short course on building a great wooden table.