UPDATED 11Sep2020 + video below. Trees only grow so wide, and that’s just one reason gluing boards together edge-to-edge to make wider panels is a basic woodworking skill. Stability and appearance are the other benefits of edge gluing solid panels from narrower boards, and success depends on mastering three steps. Too many novice and intermediate workshoppers spend more time struggling with edge gluing than they should. That’s where this article can help.
Edge-Gluing Step#1: Jointing Solid Wood

The quality of edge-glued boards is judged by how smooth and gap-free the joints are. This is where a process called jointing comes in. It involves milling board edges so they’re straight, square and able to come together more or less gap-free. Exceptionally well milled lumber is sometimes straight enough for immediate edge gluing as it comes from the store, but this is rare. Most woodworkers use a stationary machine called a jointer to create true edges. Watch the video at the bottom of this article for details on using a jointer effectively. You can also use a hand plane if your tool budget and workshop space don’t permit a jointer, though you’ll need to invest time to develop planing skills.
I’ve always found jointing before edge gluing works best as a trial and error process. Even with a properly tuned jointer, and lots of experience, neighbouring boards will still sometimes show small gaps when they come together. Placing boards side-by-side on a flat surface highlights trouble before glue application, when it’s still easy to joint again. Gaps as wide as a couple of sheets of paper are acceptable along the middle of a joint, but if you’ve got anything larger than this, use the jointer again. You’ll also want to avoid high spots in the middle of board joints. This leaves gaps near the ends, and these are more likely to open up after gluing than small gaps in the middle.
As you dry-fit boards without glue at this stage, also pay attention to the orientation of curved growth rings visible on board ends. Most boards show a cupped, concave growth ring pattern, oriented towards one board face or another. Some woodworkers like to orient cups of neighbouring boards in the same direction, but I’ve had better luck alternating the cups – one up, next one down. If one particular board face looks great, feel free to put it into view even if it puts the ring pattern out of sync. Click here to learn more about orienting growth rings properly. With all neighbouring boards fitting tightly, mark mating edges with an X, so you know the way the boards go together best when it comes time to apply glue.
It’s not necessary to install biscuits or dowels along board edges for strength, since modern wood glues form a bond that’s stronger than wood. Biscuits or dowels do help with board-to-board alignment, but I find installing them more trouble than it’s worth. In 30+ years of cabinetmaking I’ve used glued alone for edge gluing with no issues.
Edge-Gluing Step#2: Clamping and Glue-Up

Now’s the time to dry-fit everything in clamps without glue as a final test under pressure. This offers two benefits. First, it prompts you to get out all the clamps you’ll need for the job, without having to rush around later adjusting more clamps while glue hardens. Second, dry-fitting under pressure lets you double check that any paper-thin gaps that were acceptable in step#1 will actually close up completely when you tighten things down. You can’t wait until after the glue is applied to determine this because each joint will be hidden under a berm of glue squeeze out. This could easily be hiding an ugly gap that would only become obvious later, after sanding, when it’s too late to do anything about it.
Book Matching Basics

The most beautiful edge-glued boards combine two pieces of wood with grain patterns that are mirror images of each other along the joint line. This is called book matching, and though it’s most commonly used with veneers, it works just as well with solid boards, too. The trick involves creating the all-important mirror image grain patterns first, and to make this happen you’ll need to saw one piece of wood into two pieces on edge. This is called resawing, and though it’s usually done on a bandsaw, I’ve also had excellent results with a tablesaw.
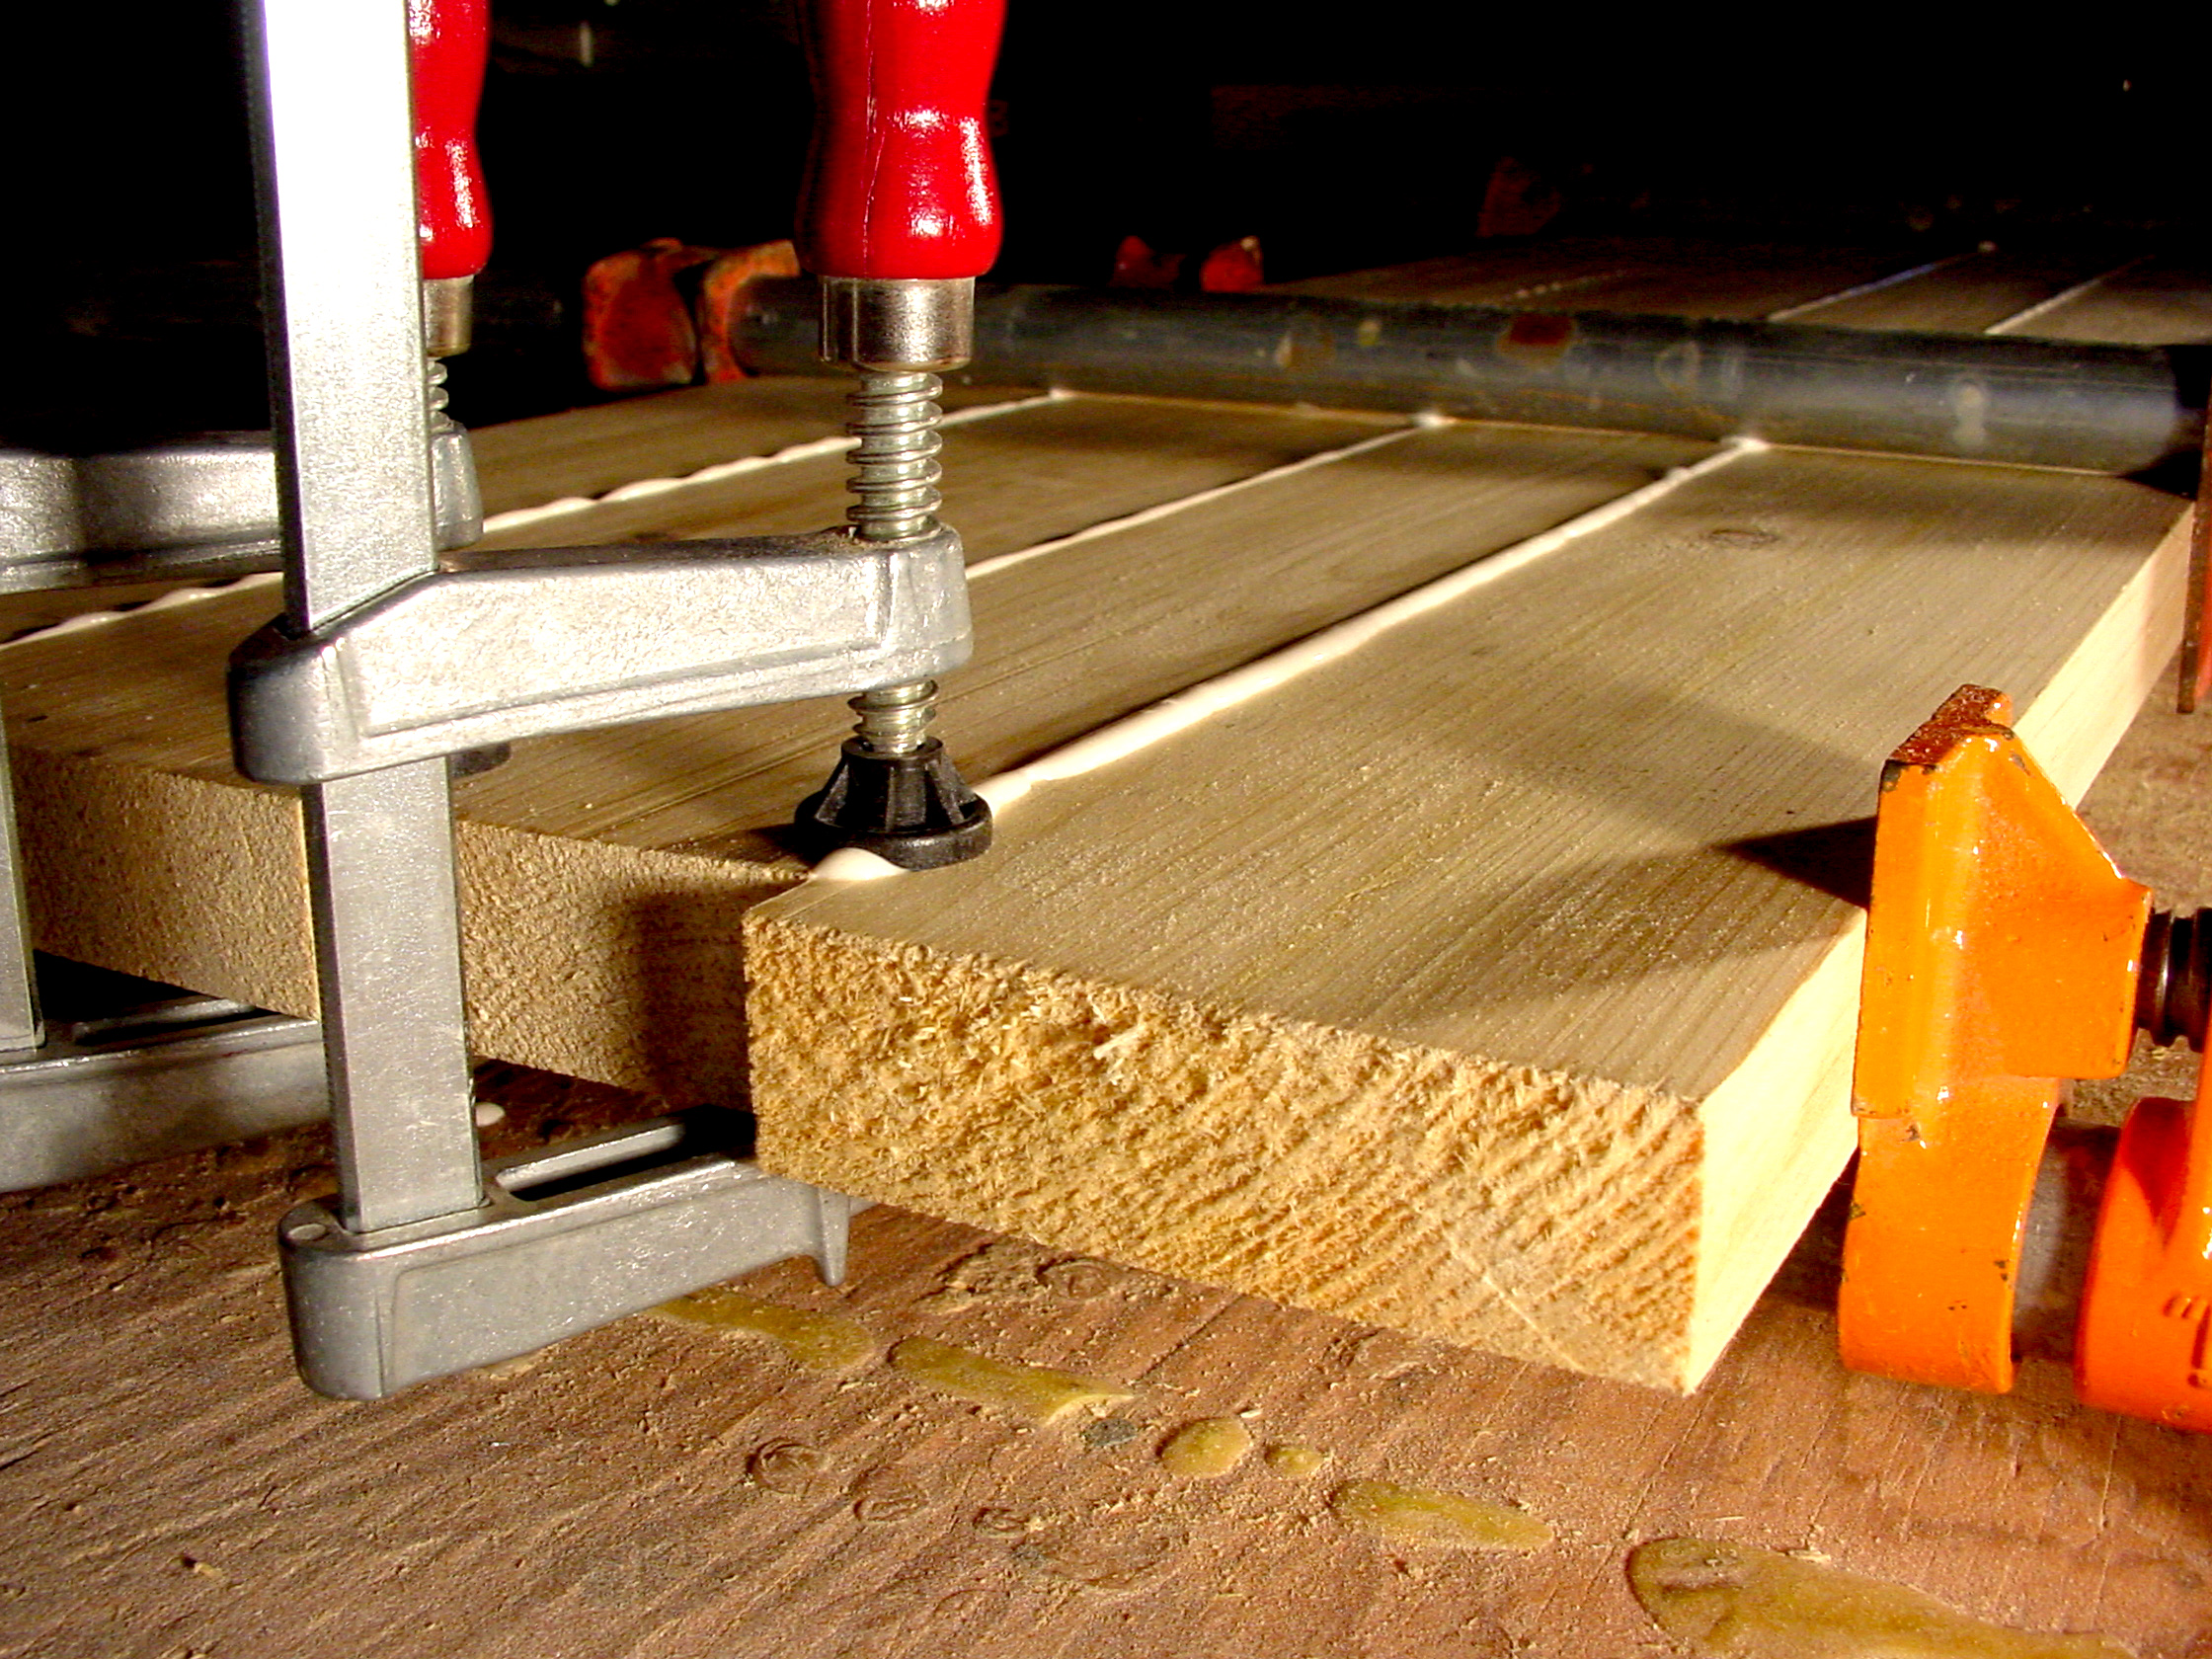
While you’re at it, apply small clamps over the joints at all board ends, as you can see above, to ensure each piece of wood aligns vertically with its neighbour. Boards almost always have at least a small amount of warping, and this forms steps along joints with neighbouring boards. But as long as the ends of all boards are held in alignment by small clamps, you can push any high boards down later by hand so they’re flush with their neighbours during final assembly. Go back to the jointer if any of the gaps don’t close fully under pressure.
When everything looks good, apply a generous bead of glue to one side of each joint, bring the boards together by hand, then tighten up the end clamps. Push any high boards down so they’re flush with neighbours, and hold them that way while a helper torques down the main clamps with moderate pressure. There should be squeeze out along the entire length of each joint. This excess glue is easiest to scrape off when it’s half hard. Don’t wait until the squeeze out is fully hard.
Edge-Gluing Step#3: Smoothening the Panels
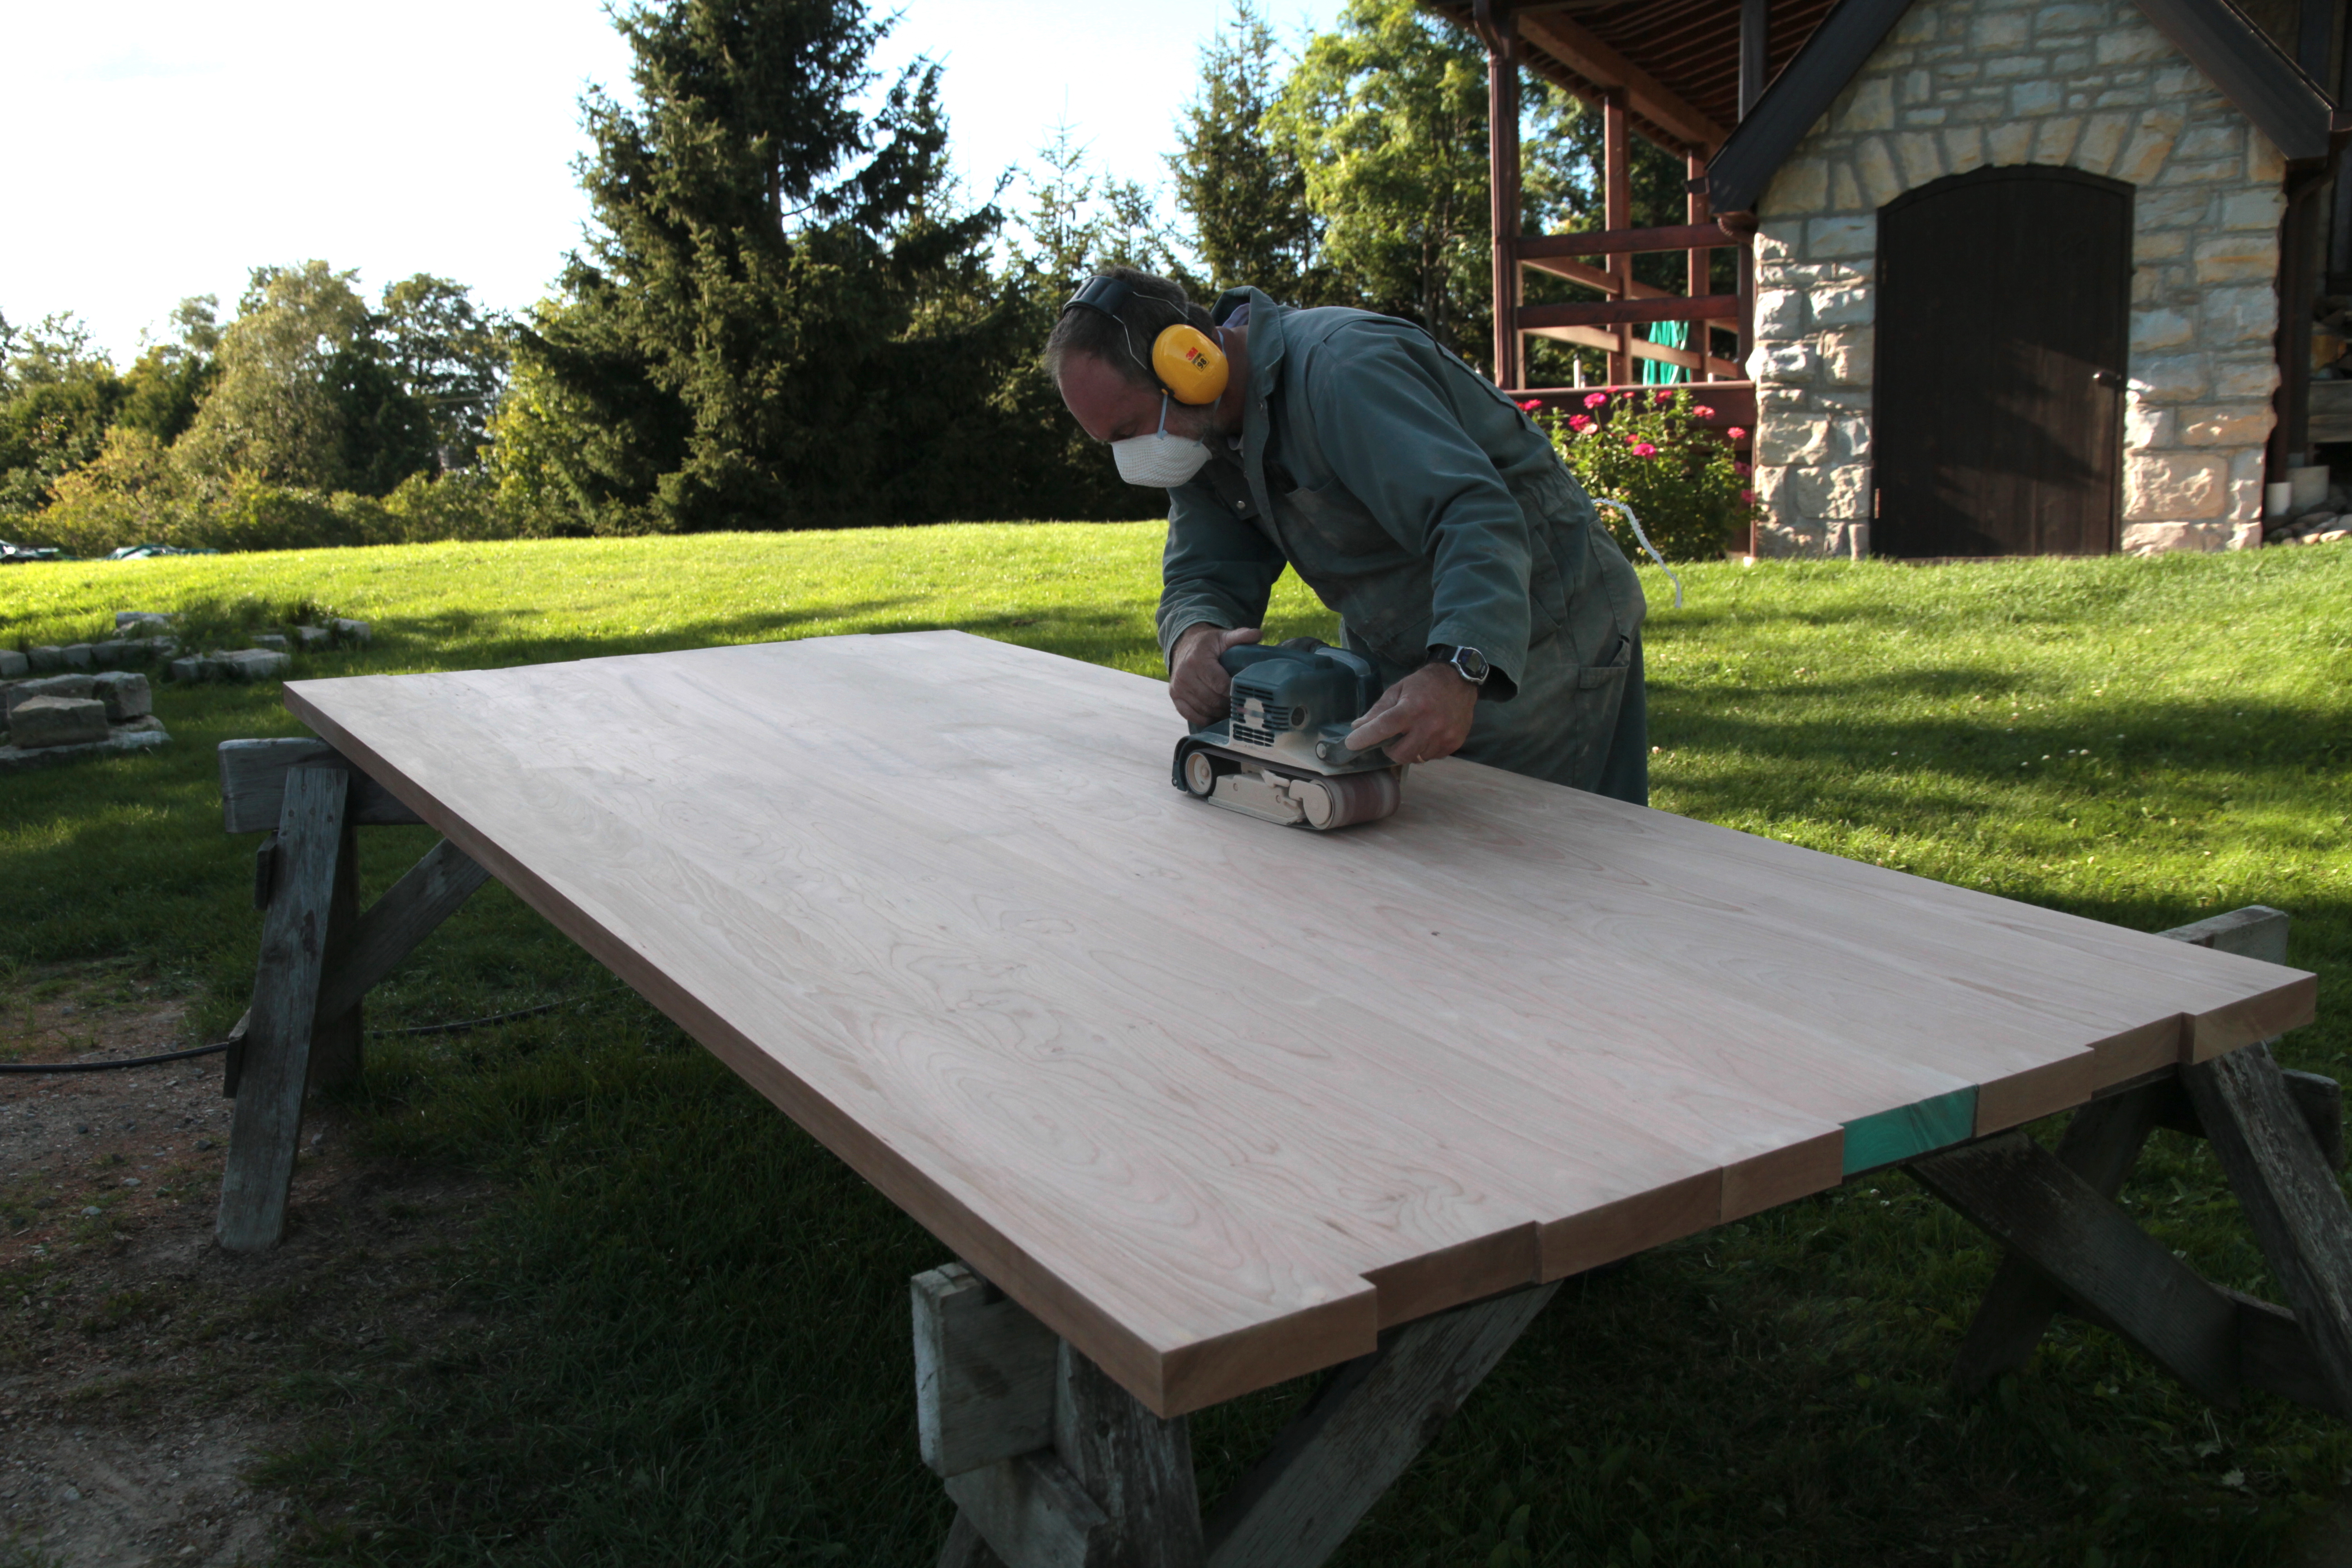
No matter how carefully you aligned boards during glue up, there’s always some mismatch along joints. Unless this is exceptionally small, start by sanding edge-glued panels across the grain using an 80-grit sanding belt to level up any mismatch. Next, use the same abrasive parallel to the grain to remove cross-grain scratches, then cut the laminated panel to final size before proceeding with finer and finer levels of sanding.
Master these techniques and you’ll be able to count on flawless edge-glued panels for every project you build. It’s one of those seemingly-difficult things that you’ll never forget how to do once you’ve mastered it.
Watch the video below to see how I mill rough lumber so it’s flat, square and true. This is a necessary step when working with solid wood.