UPDATED 2Oct2020: Autumn is a great time at any lakeside cottage, but sooner or later you’ll need to get the place ready for winter. There’s always a lot to do when closing the cottage, and making the job as quick, simple and effective as possible is a good thing. When I began my cottaging career more than 40 years ago, most of the tips you’ll discover here hadn’t been thought of yet. And since things usually change slowly in the world of cottaging, too many cottage owners still struggle more than they need to.
Closing the Cottage: Easier Water System Management
Most cottages have water systems that need to be drained each fall. It’s a pain, but you’ve got to get the water out so it won’t freeze, expand and break pipes and the pump during winter. Draining in the fall is usually easier than what you need to do in the spring, though risky. If you don’t get all the water out, you could have plumbing repairs to do next spring. And even if you do get all the water out this fall, you still have to fill the system with water again next spring to get it working again. This is where two small modifications can help when it comes time for closing the cottage. Autumn is the ideal time to make them happen.
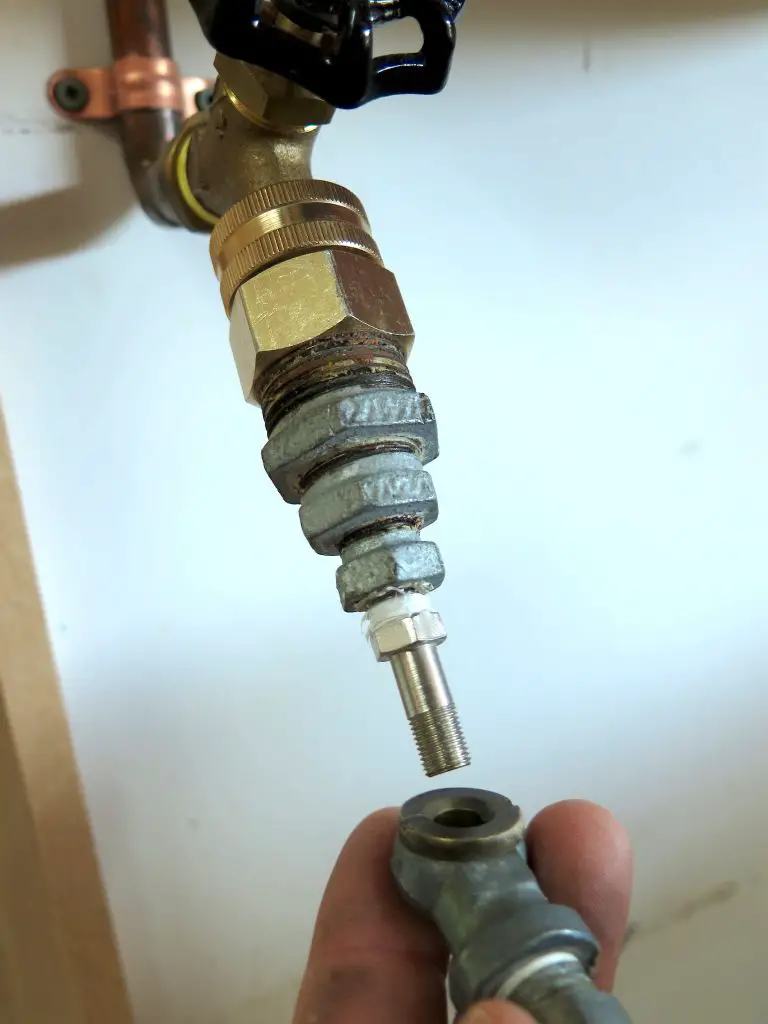
These fittings allow compressed air to be added to a seasonal water system to blow all water out of pipes and fixtures. Note that the tire valve for blowing out the system with air is connected to a tap outlet with a female garden hose fitting.Do you have a small air compressor? Many people do these days, especially cottage owners who are into air nailers and power tools. And if you’re not, maybe your cottage neighbour has a compressor. Compressed air offers the fastest way to boost the speed and safety of your water system draining task. All you need is a few small fittings that allow air to be pumped into your pressure tank. Assemble fittings that allow air to be pumped into the tank through the drain tap, put about 10 psi of air into the tank, then open taps here and there one at a time until water stops coming out, leaving only a flow of air.
Of all the cottage chores out there, filling the water system to get it going in the spring is usually the most frustrating. Any experienced cottage owner knows this. The refilling operation is called priming, but it doesn’t have to be a headache. Add a few fittings to your water system now that it’s drained, and you’ll have a much easier time next spring.
The drawing below shows how to use simple plumbing fittings to allow your cottage water system to be primed from the lake side. By pushing water up from the end of the intake line, instead of hauling water up from the lake by hand in buckets and dribbling it down into the pump from inside the cottage, you’ll enjoy a much less frustrating time when you fire up the system in spring.
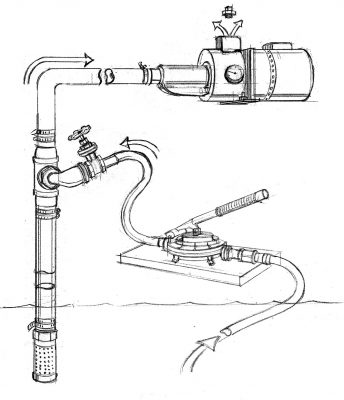
I first designed and installed this system in the mid-1990s, and the whole thing depends on a simple hand pump for pushing water up from the lake. The best I’ve found so far is called the Guzzler. It’s designed for use in boats so you can buy these pumps and find replacement parts at cottage country marinas.
Closing the Cottage: Beating Mold, Mildew & Mustiness
Cottages have a reputation for being musty, and it’s no surprise why. Stagnant air coupled with wide interior temperature swings over fall, winter and spring are common realities in almost all cottages and they can cause interior relative humidity levels to spike sky high. What else can you expect in a building that’s shut up tightly for 5 or 6 months a year, all while experiencing 40ºC temperature swings during that time? To understand why this leads to mold and mustiness, you need to understand a bit of physics.
The relative humidity of air is related to temperature. That’s why they call it relative humidity. The cooler the air gets, the less moisture it can hold and the higher relative humidity levels rise. Here’s how it plays out when closing your cottage . . .
Let’s say it’s 60ºF (about 15ºC) inside your place the day you close things up for the winter, and the air has 50% relative humidity. As fall moves into winter, things get cooler and cooler indoors. By the time interior temperatures in your cottage drop to 40ºF (about 5ºC), relative humidity has risen to 100%. This is called the dew point. Any further drop in temperatures (and of course there will be plenty as winter unfolds) will result in microscopic droplets of liquid moisture appearing out of nowhere on various surfaces. This is condensation and it’ll also happen inside drawers, closets and cupboards. This seasonal drop in temperature coupled with the necessary fact that your cottage must remain closed and unventilated all winter long is why mold, mildew and mustiness is such a common cottage problem. The real solution involves removing moisture from the air, but you need to do it differently than in any other situation. It’s simply impossible to combat interior cottage moisture the same way you’d do it at your year-round home.
While heating a space is a great way to drive down relative humidity levels, it’s either impossible or too expensive to heat an empty cottage all winter long. And to make matters more challenging, you can’t use a dehumidifier, either. They won’t work unattended for months on end even if your cottage was warm enough to allow one to operate without the coils getting plugged with frost. Besides, a dehumidifier uses $50 to $100 of electricity per month depending on where you live and the size of the unit. All this is why a new breed of energy-free moisture absorbing products are catching on with cottage owners.
You know those small, white moisture-absorbing packets inside bags of beef jerky or other foods? Sometimes you see these same packets inside boxes with electronics coming from overseas. These packets are made to absorb moisture to keep things fresh in tiny spaces, and they’re similar to what’s available now in much larger formats for keeping enclosed spaces dry. The best I’ve seen so far are called Moisture Grabbers. They’re a Canadian invention by a company called Concrobium. Products like these are generically called “desiccants”. These bags absorb water from the air, lowering humidity and preventing things from hitting that destructive dew point level. Remove the plastic covering from a Moisture Grabber pouch, shake it up, then set it aside to lower humidity in your cottage, reducing the chance mold, mildew and mustiness will develop. Can pouches like these really make a difference? Yes, but within limits.
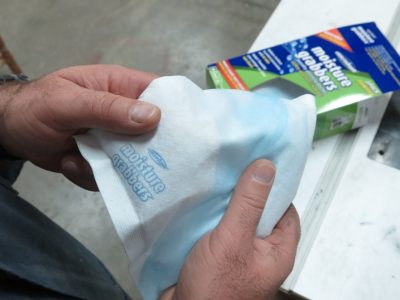
Moisture Grabbers can’t compete with an electric dehumidifier in large spaces, but they do perform well within small rooms and enclosed spots such as closets, bathrooms, cabinets and pantries. One of the largest pouches will dry 8-foot tall spaces up to 125 square feet. Each pouch works for about 6 months, so it’s enough to get you from fall to spring. This stuff is also non-toxic so you can throw it out safely when it’s done.
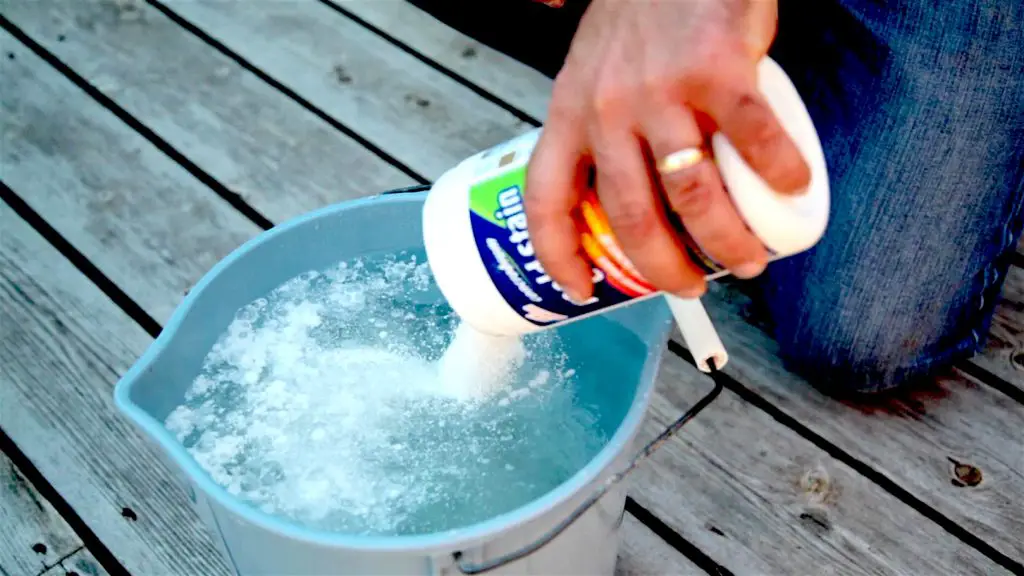
Do you have mold staining at your cottage? Many people do and the most effective way I’ve found to remove it is the new breed of oxygen-based bleaches. Unlike traditional chlorine bleaches, the best oxygen products have the ability to remove mold staining without changing the underlying colour of the surface. In side-by-side tests I’ve conducted with different oxygen-based bleaches over the last five years, the best so far is a product called Mold Stain Eraser. It’s a powder you mix with warm water, and it gets rid of mold and mildew without affecting the underlying colour of fabric or paint. Got weathered wood to brighten? It also leaves wood grain visible while removing grey mold and weathering stains on outdoor wood. It works well in my experience
Closing the Cottage: Keeping Vermin at Bay
Humans aren’t the only ones who like a roof over their head. Small wild animals like shelter too, and they’re not usually polite about making their way into your cottage uninvited during winter. All this is why cottage owners have been setting out bait stations and mouse seed for years. It’s a cottage tradition and is usually the last thing you do before leaving. But wouldn’t it be better if your cottage was more vermin proof to begin with? There are two tricks to help make this happen.
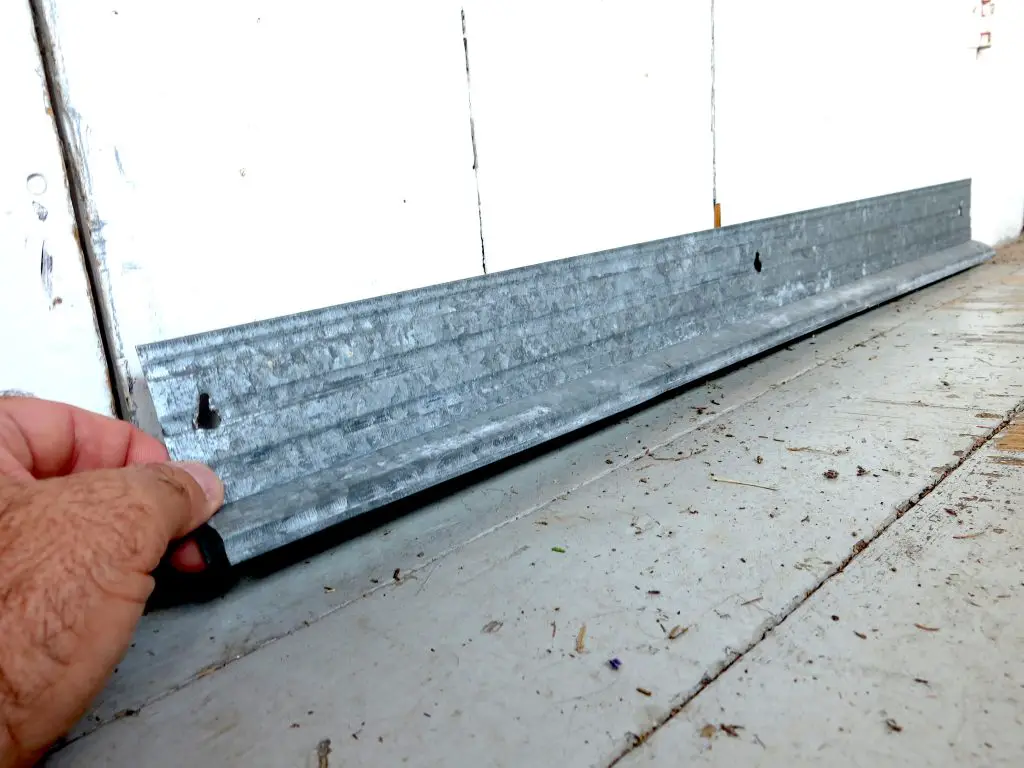
This piece of sheet metal drip edge made for roofing is a great mouse shield in a seasonal cottage. Fasten it at the bottom of a door in fall to keep mice out over winter.You might not realize it, but mice love to enter a cottage through the gap at the bottom of old wooden doors. The best way to block this for winter involves a piece of metal drip edge of the sort normally used to protect the edges of a roof. It makes an ideal mouse excluder because the little darlings can’t chew through the metal. As the last thing you do after you close the cottage door for the winter, fasten a length of drip edge along the outside bottom edge so the metal is tight to the floor or threshold. Remove it when you come back in the spring, then swing the door open. Your dishes of mouse seed might not even be touched.
Got vermin-inviting holes in parts of your cottage structure? Copper blocker mesh is the best way to plug them. It looks just like the material some kitchen scouring pads are made of, except it comes in a roll. I buy mine from Lee Valley Tools. Cut off what you need, then stuff the copper into cracks and gaps with a stick. It’s permanent, rot-proof and it excludes everything from insects to squirrels.
Putting the cottage to bed for winter isn’t always easy. We love these places so we keep doing it and keep enjoying the family traditions created by the lake. Learning new tricks for doing the big autumn chore is all part of the lakeside lifestyle.
Thinking of installing a submersible pump at your cottage? Click here for my article on how to do the job. This is one of the top-ranked stories on Google for this subject.
