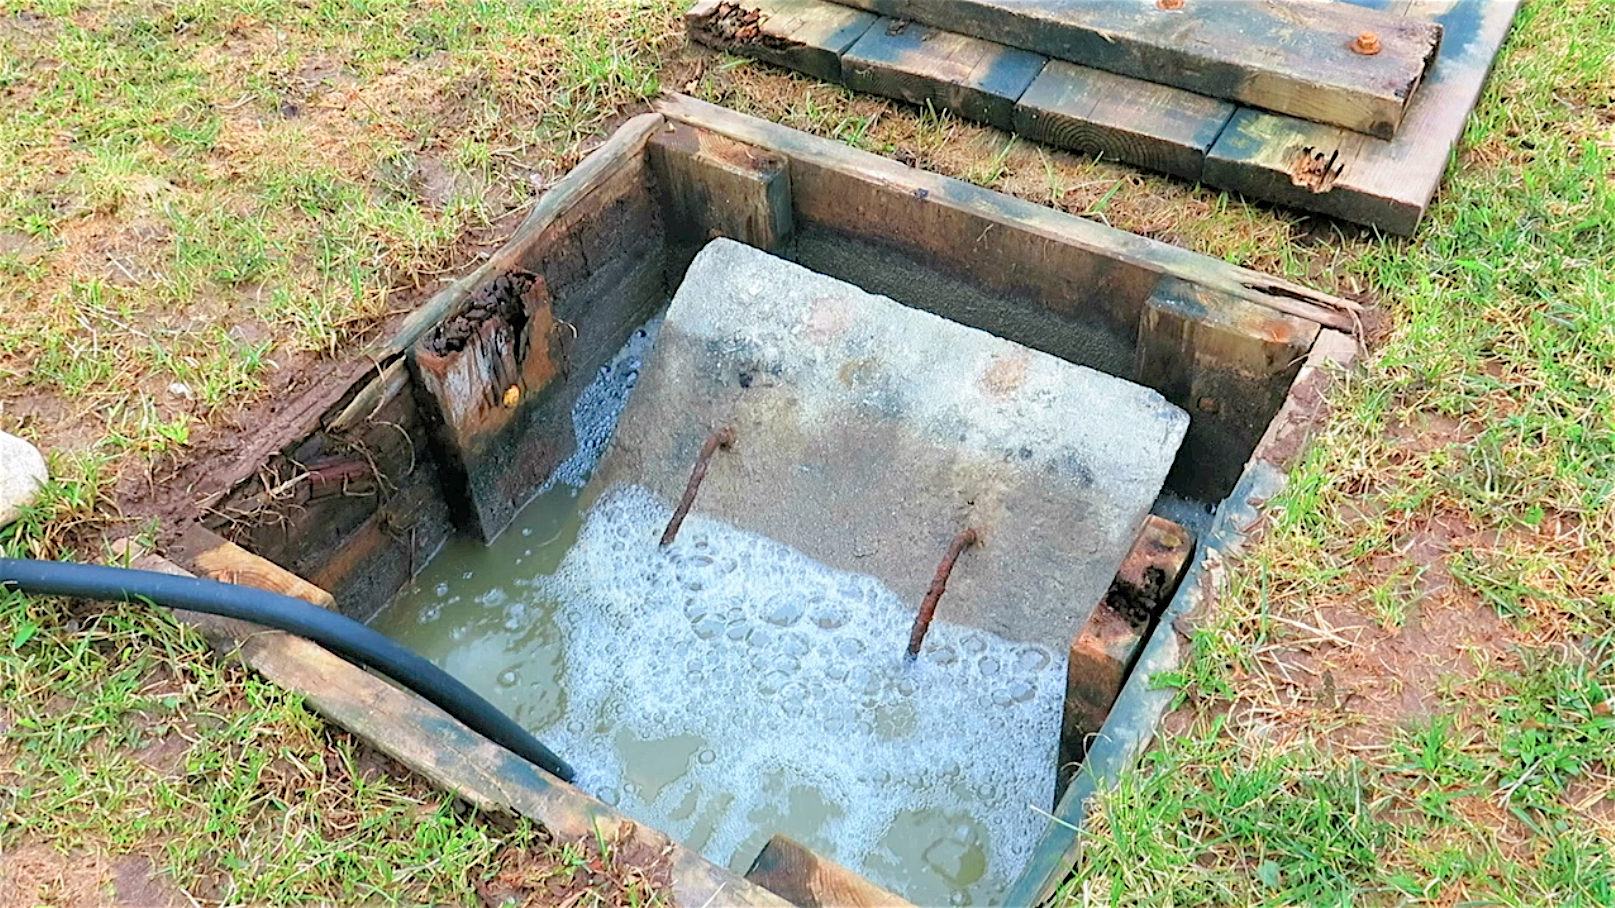
UPDATED 10Jul2020 + video below: June 17, 2011 wasn’t a great day at our house. That was the day I discovered that my septic system had failed. Sewage was sitting about a foot over the top of the tank. Sometimes it even ran out over the ground. The photo below shows my system before I fixed it.
As bad as this situation was, I wasn’t ready to throw in the towel and have my system rebuilt, even when a professional installer told me I had no choice. After multiple unsuccessful attempts to use various products to fix my septic system, I decided to go back to first principles. Bacterial additives weren’t working (I tried lots of those for a long time), and aeration of the tank wasn’t working fast enough (or at all, it’s hard to tell). I’d tried everything obvious, but didn’t want to give in yet and have my system rebuilt.
Watch the video below to learn why most septic system failures happen. This video is from a course I created on DIY septic system revival, and it’s important you understand why failure typically happens.
Mechanical Septic System Cleaning
After struggling unsuccessfully, a question occurred to me: “Is there something out there that could deliver the power of a pressure washer to the inside of leaching pipes?” I knew that gunk in an around the perforated pipes in the soil was the reason my system was backed up, but I didn’t know of anything to clean inside the pipes. I looked anyway, and found success. Seek and ye shall find, right?
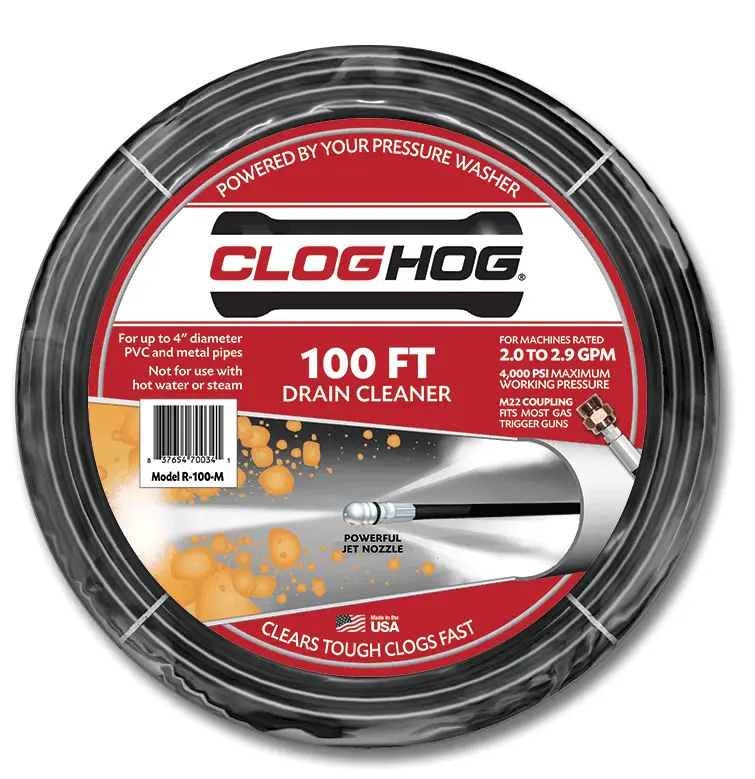
The first thing I did was figure out how to physically de-gunk the insides of the leaching pipes in my septic system. As it turns out, this makes all the difference for septic system revival and maintenance. It’s at the heart of the DIY septic system techniques I found worked perfectly for me. The crazy thing is, this kind of cleaning hardly ever happens. The tool that makes it all possible is a long, fairly stiff hose attachment called a Clog Hog. It clips onto the wand of a pressure washer and delivers blasts of water to the inside walls of pipes as long as 100 feet. The end of the device has four water jets. One points forward to blast out anything blocking the pipe, while the other three point backwards at an angle. These backwards-facing jets propel the hose into the pipe, sort of like little jet engines. In the case of leaching pipes, these side jets also deliver valuable cleaning action along the side of the pipes and through the holes in the leaching pipes. I’m sure the sideways blasting action that comes through the holes does a lot to open up the soil and allow more sewage percolation later on.
To work properly for septic system revival, I discovered that the hose attachment needs to be connected to a gas-powered pressure washer that delivers at least 3000 psi of pressure and 3 or 4 gallons per minute of water. Don’t bother with an electric pressure washer or a tiny gas model for jetting out your septic lines. In my experience you need lots of power to do the job. Below you can see the Clog Hog in action, cleaning gunk out of the open end of a septic leaching pipe.
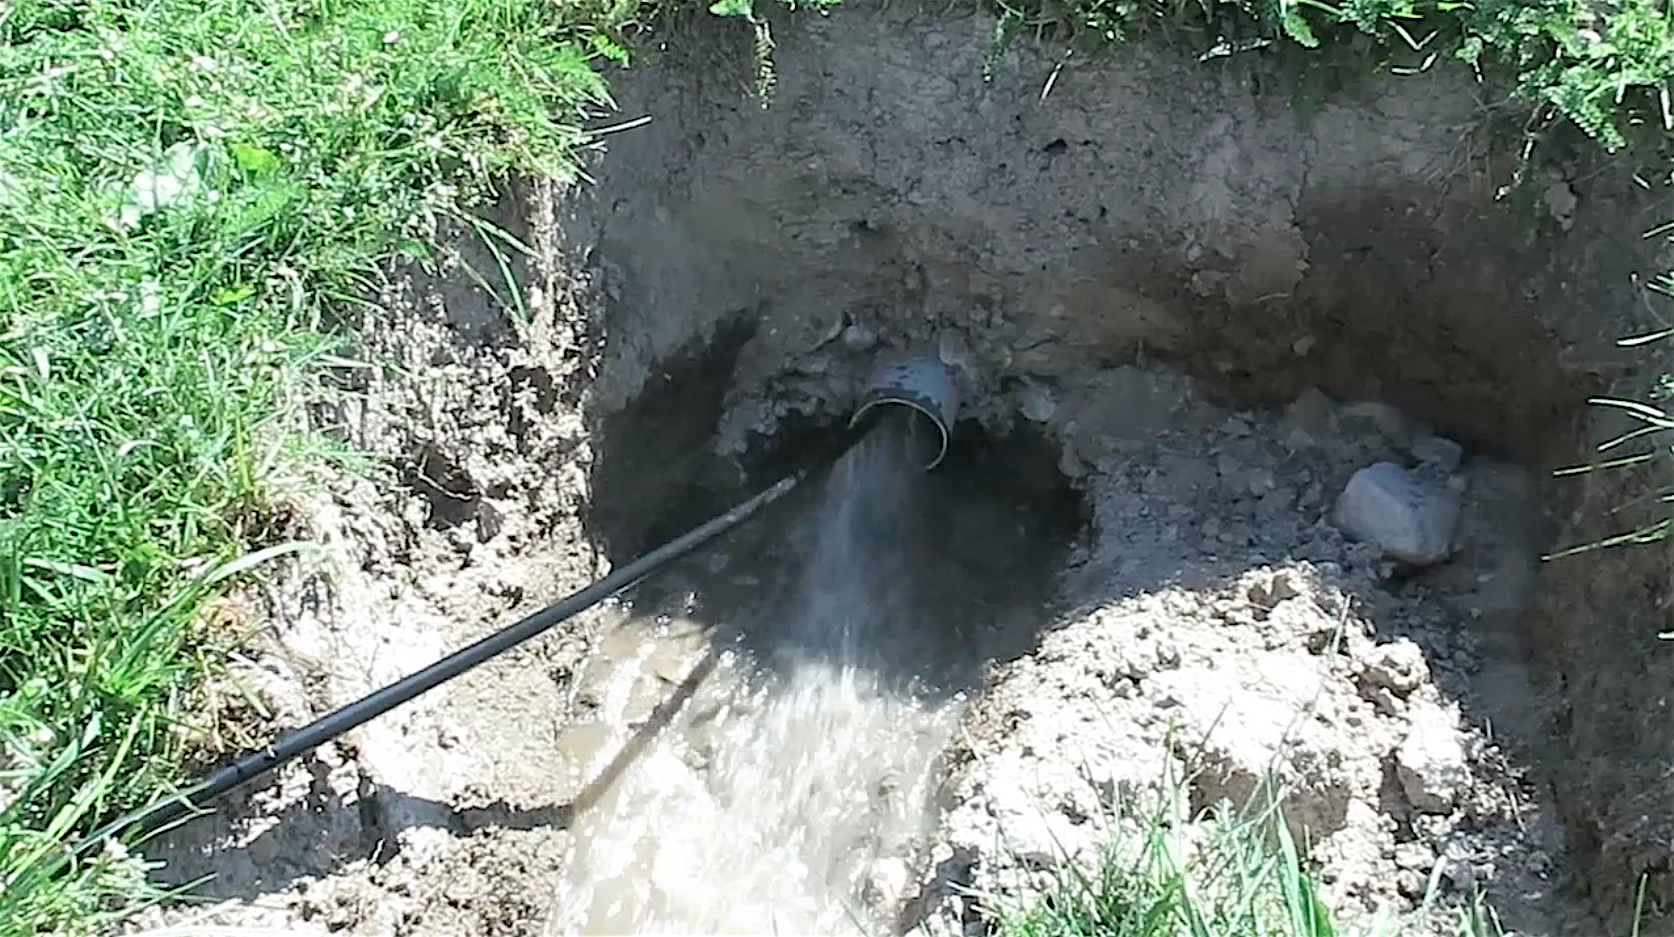
So how do you get into your leaching pipes to clean them? First, you need to find the ends of each pipe, so I started thinking like a detective with a shovel. A typical household septic system might have four to six leaching pipes extending 40, 50 or 60 feet underground out from the tank and manifold. If you’re lucky enough to be able to see extra growth of grass along the length of one or more leaching pipes, that makes your detective work easier. Even in my failed system, there were faint traces of extra grass growth along one pipe. I dug down near what I thought was the end of a leaching pipe and crossed my fingers. You’ll probably have to make several attempts before you find any part of your leaching pipes, but don’t give up. Once you’ve discovered the end of one pipe it’ll be easier to find the others. The goal is to remove enough soil to create an open space around the ends of the pipes, extending far enough back that you can cut off the capped end of the pipe. I used a reciprocating saw to cut the plastic pipe end caps off.
I don’t know if jetting alone would have done the trick for reviving my septic system, but I wanted to make sure I did all I could. That’s why I also focussed on improving the percolation rate of soil around leaching pipes. As it turns out, biomat slime on the inside of the pipe and covering the leaching holes is not always the only problem with failed septic systems. Sometimes chemical reactions can occur in the soil over time that prevents full leaching action around the pipes. This is why a few products are made to dissolve impervious layers of soil right around leaching pipes.
Pressure Washing & Soil Treatment
After a lot of research, I bought a product called AfterShock. It’s specifically made to improve the percolation rate of soil around leaching pipes and it uses a combination of chemical and microbial treatments to get the job done. Unlike other products that get added to the tank, AfterShock goes only into the leaching pipes themselves, and only after cleaning them out. It comes as a powder that you mix with water then pour into the leaching pipes after you’ve made them squeaky-clean with the pressure washer. You don’t want the AfterShock to have to battle with biomat and slime on the inside of the pipes. That’s not its job. It has to get in contact with the impervious layers of soil around the holes in the leaching pipes. That’s its job.
You want to give as much time as possible for AfterShock to work, so you need to have your septic tank pumped out immediately before the treatment. Depending on how much household water you use, this will buy you at least a couple of days of working time without sewage flow – more if you’re frugal. In my case, since there was no distribution box in my system, I put a flexible piece of 1” polyethylene pipe into the outlet of the tank, put a funnel on the end of the pipe, then poured the liquid into the leaching pipes this way. Do this work after you’ve jetted the leaching pipes and after you’ve installed some removable cleanout ports on the ends of the pipes. You don’t want that precious AfterShock liquid to run out of the leaching pipes right away. The longer it stays in contact with the soil around the pipes the better.
Fix Your Own Septic System
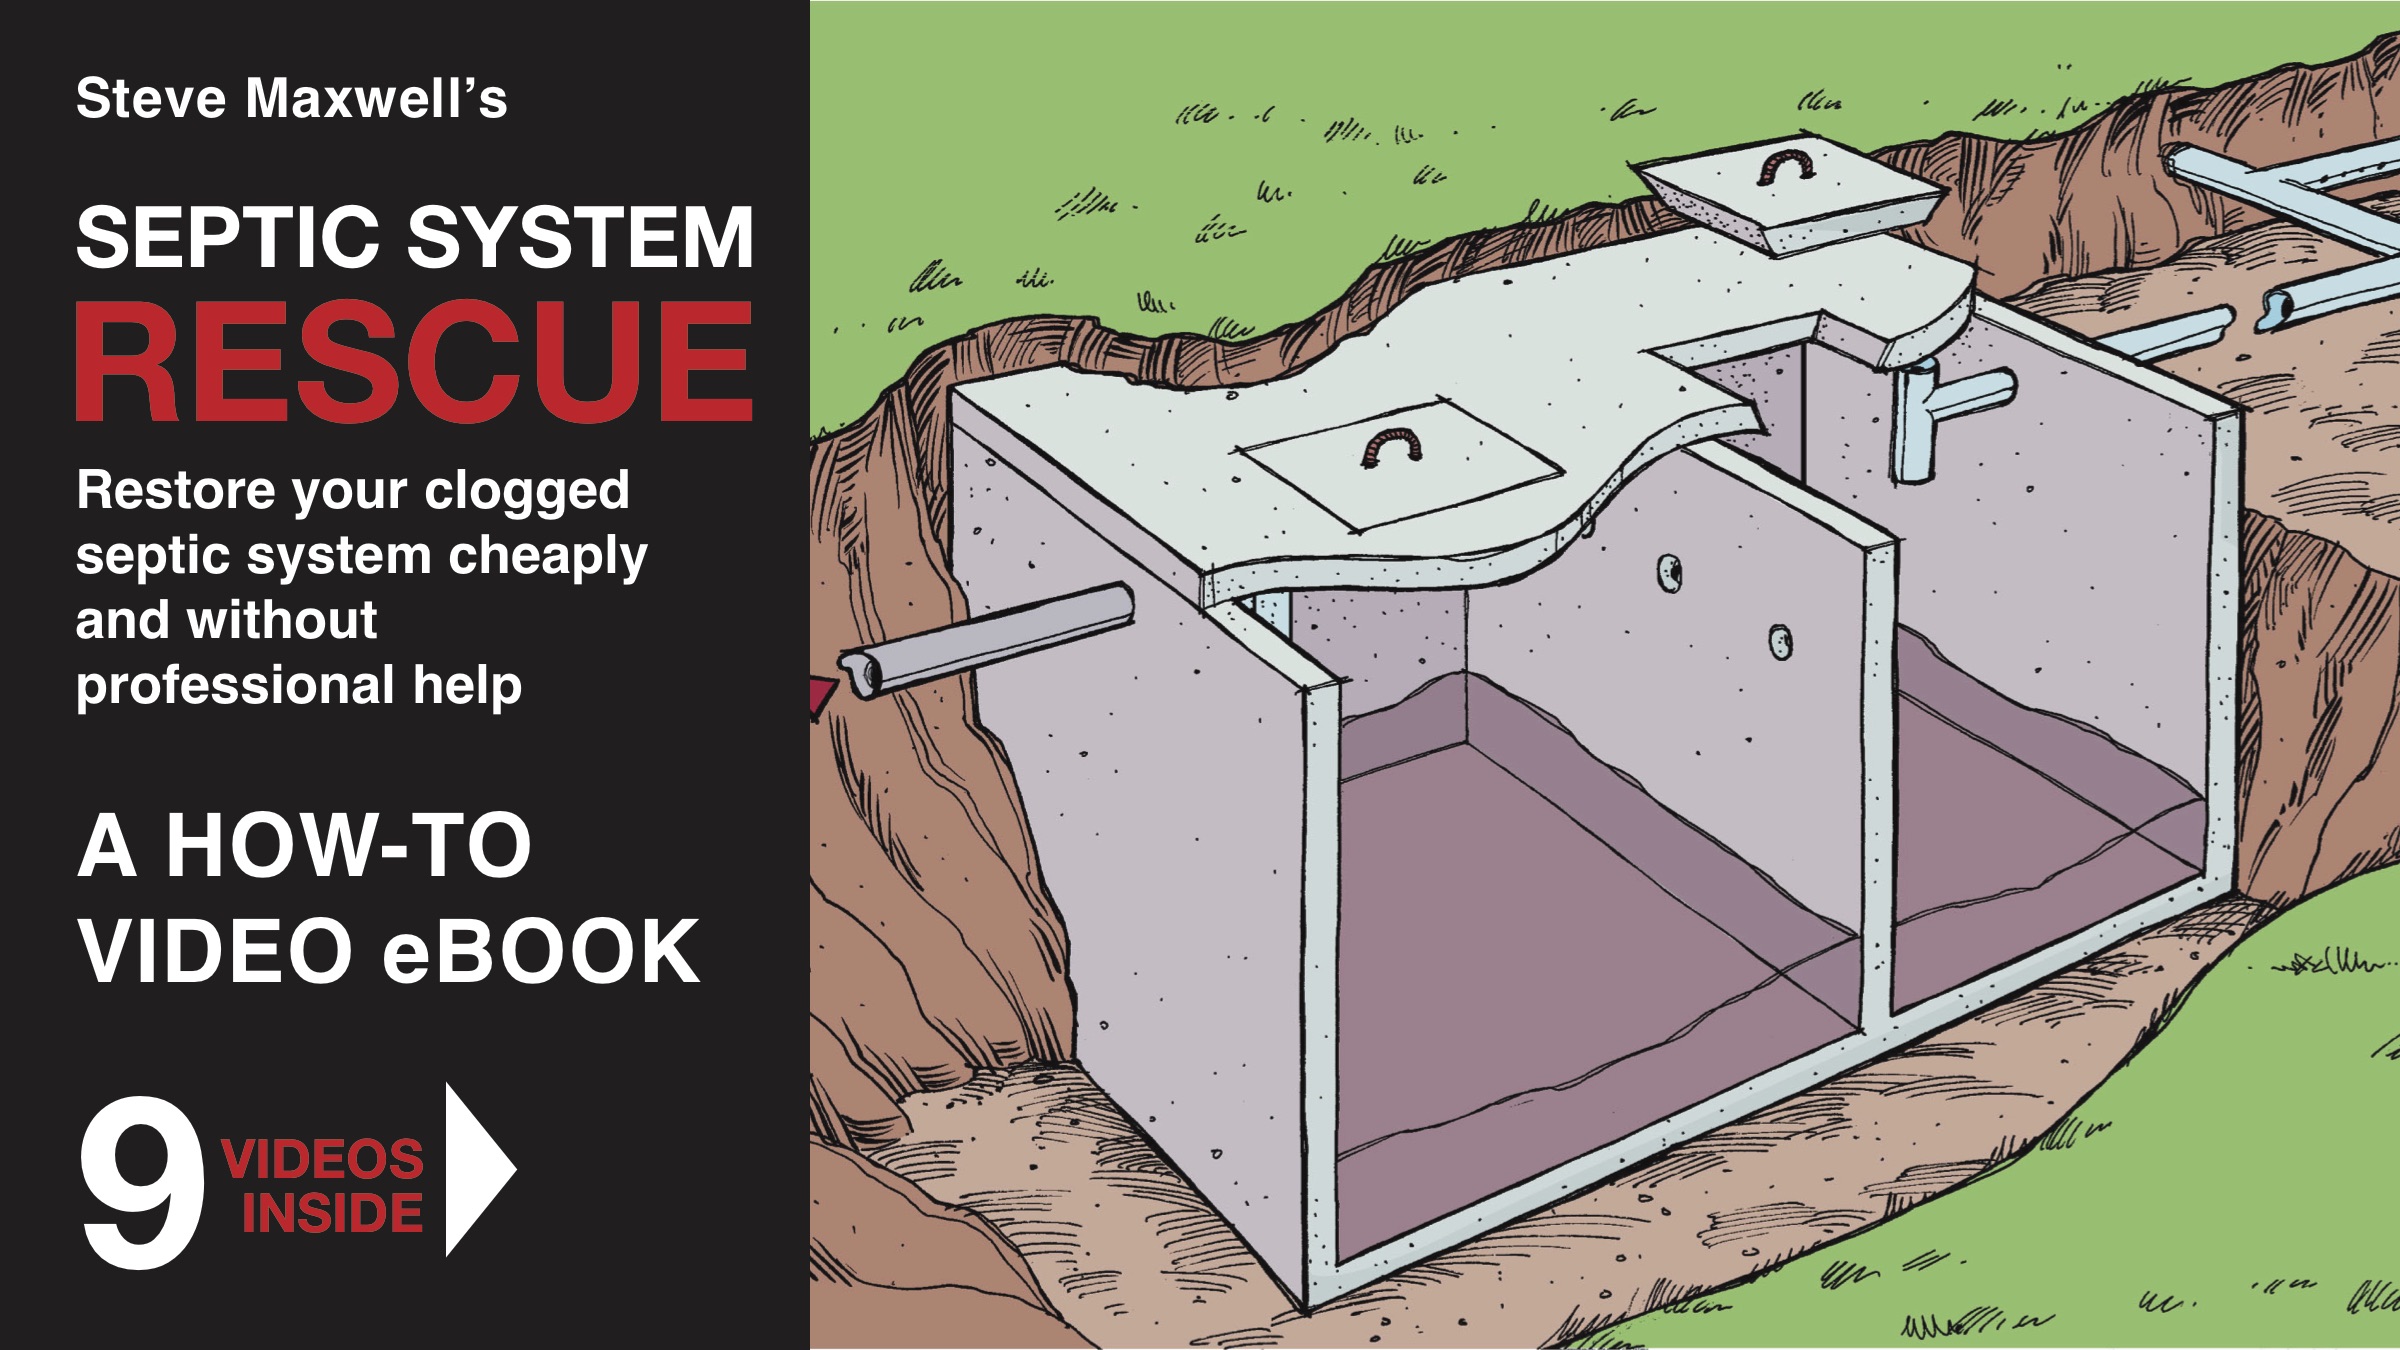
Got a septic system thats threatening to fail? Want to prevent your current septic system of ever failing? I made my video course SEPTIC RESCUE for people like you. In this course you’ll learn exactly how to:
- Use a pressure washer to fix 90% of all septic system failures.
- Find and apply a soil treatment to improve percolation rates.
- Source specific supplies that I know work for the rescue job.
- Contact me for advice if you have trouble.
- Save thousands of dollars and avoid massive disruption of your yard.
Click here to examine SEPTIC SYSTEM RESCUE video course risk-free. It includes all the details you need to get a failed septic system going with 9 videos, illustrations, photos, instructions and sources of supply. Download it right now for $39 risk-free. If SEPTIC SYSTEM RESCUE isn’t everything you hoped for, just let me know. I’ll refund your money and you get to keep the course. I figure that anyone interested in fixing their own septic system is probably pretty honest, right?
Questions? Email me at [email protected]